Bring Subtle Dimension To Any Room With This Stylish Spackle Trend
We may receive a commission on purchases made from links.
Texture is making a huge comeback in the decor world, and it's not just on your walls; it is your walls. No more boring and flat walls or obsessing over the right color just to add a little "umph" to them. Incorporating texture into your walls doesn't always mean using fancy swirls of a paintbrush, adding expensive wallpaper, or hiring a painter who works by the hour. There is an option that you may not have considered. This option is stenciling — a creative and easy accent to add both character and depth to any wall in your home.
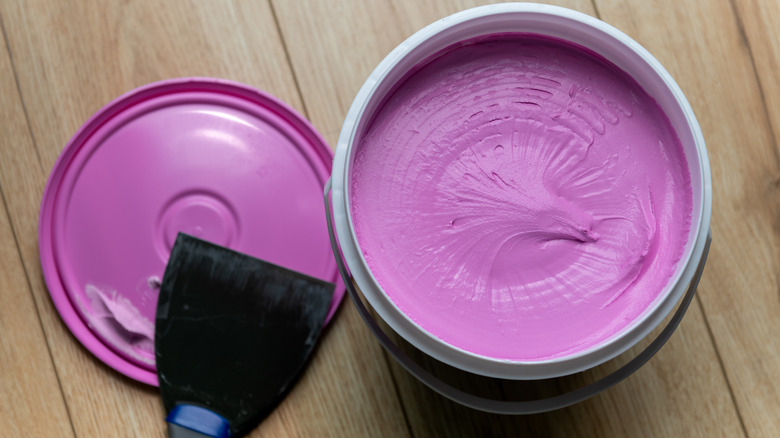
All you need to make this happen is some wall spackle (such as the Dap Fast N Final Interior Exterior Spackle), a putty knife, and a stencil painting template. The Marspark 20 Pieces Wildflower Stencils is a great pick, in this case. It's also helpful to purchase a wider putty knife, like the Rerdeim 5-Piece Putty Knife Set, to cover more of the stencil at once, or a thinner one if you have a slimmer design.
You'll be surprised by how much a little spackle can add texture and charm to plain walls. For instance, you could use flower-shaped stencils and putty to create a simple but flattering pattern across an indoor wall, creating a breezy and light-hearted feel in the room. And with this interesting technique, you can use your walls to create a canvas of dimensional beauty all for $25 or less. Each design application only takes a few seconds.
Steps to create wall texture with stencils and spackle
First, consider doing a small trial test initially in an inconspicuous corner, just to master your technique beforehand. This will help you avoid some common stencil accent wall mistakes in the more noticeable areas, especially if it's your first time working with stencils. Other than that, be sure to start with a clean wall surface. Take a glance at your wall and ensure that it's free of protruding nails, cobwebs, holes, dirt, or other imperfections that may impact your design process.
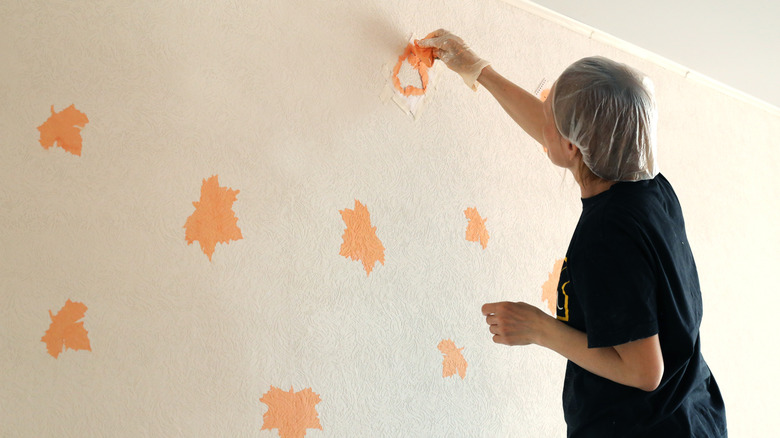
Start by placing your stencil paper on the wall and then going over it with a layer of putty. Carefully remove the stencil to see your design, and if it's okay keep going. Make sure to estimate how much space you want in between each pattern to create consistency both horizontally and vertically. Check out your local craft stores if you're having trouble finding designs that pique your interest. Or if you want to make it your own, consider using customizable stencil mylar to cut out your own designs.
Adding your own wall customizations
No need to fully commit yourself to plain spackle with this DIY project. Brighten things up by adding color to your sparkle. A little bit of pigment powder (like the GOODTAKE Concrete Pigment Powder) or acrylic paint can help create cohesiveness with your design and completely transform the room's ambiance. One example is to bring in a more subdued aesthetic by adding dark blues or grays to lighter-toned walls and designs.
Sometimes different lighting options can enhance wall accents, creating mood-setting tones and uniquely curated themes. Lights tend to highlight textured surfaces, which may offer some interesting shadow effects for your designs. For this, consider hanging lights, or even multiple LED lights for edgy, dramatic, or even warm looks for your stenciled shapes. It's all about choosing an accent wall and design that fits your personal style.
Take it even further by pairing your texture with a metallic Modern Masters Pearl White Decorative Paint for a futuristic or luxe flair. These paints are especially fun to work with, and a little will go a long way to giving your room an added dimensional pop. And this is a good thing because a small 6-ounce tub can cost you upwards of $16. There are just so many places you can take this DIY. So many layers and colors that you can add in. It may be a challenge not to get carried away.