The Little-Known Mason Jar Hack That Can Totally Up Your Gardening Game
When it comes to handy ways to use old mason jars in your garden, your mind likely goes to decorative options — mason jar lanterns or DIY wind chimes, for example. But there are some practical uses for your old jars as well. With a bit of granular dish detergent and some water, you can use an old mason jar to create a super useful soil test for your garden. Testing your soil is an essential gardening step that helps you understand the soil's health so you can, in turn, understand and optimize plant growth.
This particular test will show you the levels of sand, silt, and clay within your soil. With those numbers, you can use this USDA Soil Texture Calculator to determine the soil classification you're working with. This will help you understand things like how well your soil drains and how well it holds nutrients. After you're done with the soil test, you can store your old jar with your gardening supplies for future tests or clean it up and reuse the old mason jar to light up your outdoor living space.
How to conduct a soil test with a mason jar
To complete this test, start by gathering the required materials. You will need a shovel or garden trowel, a bucket, a mesh kitchen strainer, a tall mason jar with straight sides, granulated dish detergent, a ruler or tape measure, and some water. With those supplies in hand, you can begin digging. Using your shovel or trowel, dig at least 6 inches into the ground and pile your soil sample into your bucket. Next, use your hands to thoroughly mix your soil sample together, breaking down big clumps and removing any rocks or pieces of wood as you go. Then, place your mesh strainer over your second bucket and begin sifting the soil through it. You only need to sift enough soil to fill your mason jar about halfway.
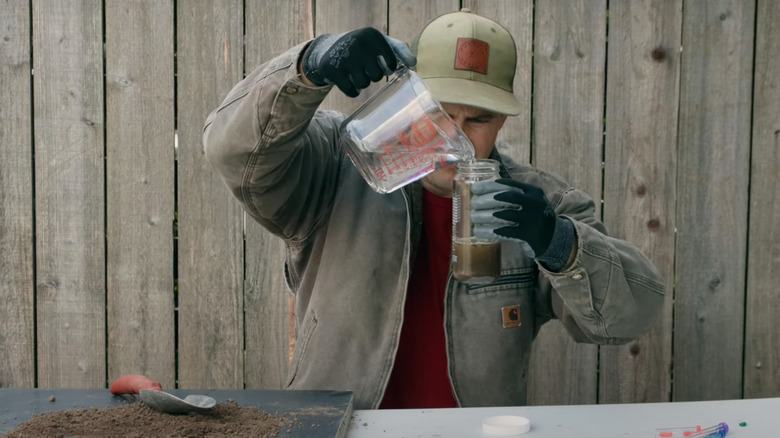
When your jar is filled halfway with dirt, you can add water almost to the top of the jar. Then sprinkle in roughly 1 tablespoon of your powdered dish detergent. After that, secure the lid on your jar and vigorously shake it for roughly 60 seconds. Now, it's just a matter of waiting and using a marker to track the levels. After roughly one minute, you can mark the sand level. After approximately two hours, you can mark the silt level and the clay level around 48 hours later. If you have multiple growing areas around your yard, you should conduct multiple tests, as the soil can vary greatly from one spot to the next.
Understanding your home soil test
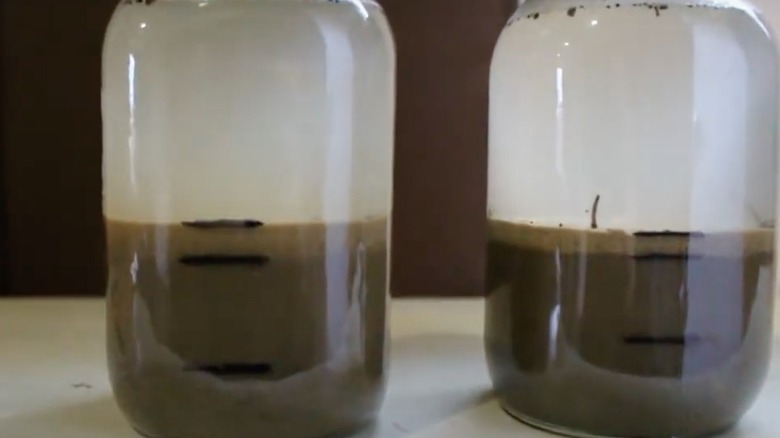
After the clay has settled, you should see four distinct levels in your jar — the very top level is water, followed by clay, silt, then sand. Use a ruler to measure each layer via the markings. You will want to measure each layer from the base of your jar. With these measurements, you can begin calculating the percentage of each material.
For the sand level, take the height of the sand and divide it by the total height of your mixture (not including the water layer). For the silt layer, you will subtract the height of your sand and then divide it by the total height of the mixture. Finally, for the clay, subtract the height of the silt layer and then divide by the total height of your mixture once more. These percentages can then be plugged into the USDA Soil Texture Calculator. Once you know what type of soil you have you can make informed decisions on what you will plant. Carrots, for example, do great in sandy, sandy loam or loam soil but would struggle to grow to their full size in heavy clay soil. Having this information makes growing carrots a breeze and will help give you a headstart for growing all kinds of veggies and flowers.