The Easy DIY Trick To Get The Look Of Luxe Arched Bathroom Mirror On A Budget
We may receive a commission on purchases made from links.
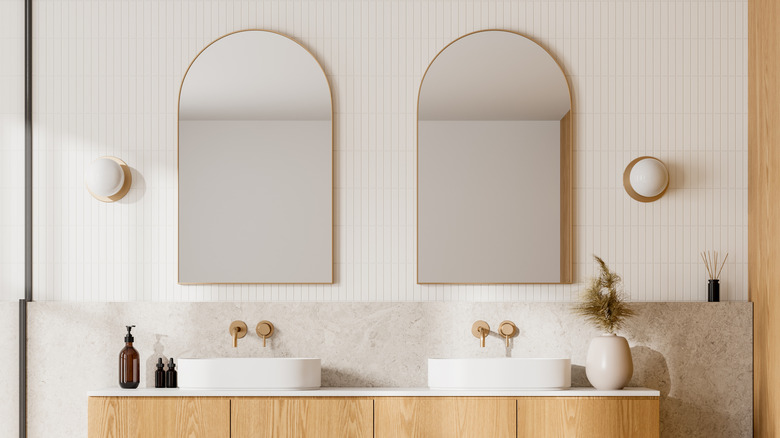
Arches are a chic way to level up your home decor. Instead of needing to change the paint or tiles in your wall, using an arched mirror or DIYing arched doorways can provide a hint of extra personality, whether you want to keep things simple and minimalist or you're leaning fully into maximalism. Plus, decorating with mirrors is a great way to make your bathroom feel roomier and more put-together. Instead of buying an arched mirror and potentially spending way too much simply for the rounded-off corners, you can craft one yourself. Simply install plywood cut in an arch shape on top of a rectangular mirror, and then use peel-and-stick tiles to complete the look.
DIYing this project is sure to save you a significant amount of money, regardless of whether your bathroom has a mirror already or not. For one, arched mirrors are quite costly: A simple but stunning one from Anthropologie costs upwards of $400 for a single mirror that would fit on top of a bathroom vanity. Also, if you're starting with a bathroom that already has a large, rectangular mirror, the cost of removing it could be higher than you expect, since many mirrors are installed into the wall and could require drywall repair afterward. You'll also need to repaint the exposed parts of the wall once the arched mirror is installed. All this is also a lot more stressful and time-consuming than simply working with your existing rectangular mirror.
How to craft a DIY arched mirror yourself
There are a lot of simple tips and tricks that are required to bring this hack to life, and this first one is the most important; you'll need to make a perfect semicircle using the nail and string hack. This method is also used for achieving the arch wall paint trend because it's a foolproof way to make an arch. First, get your base material, which, in this case, is a large piece of plywood with the same dimensions as your rectangular bathroom mirror. Use measuring tape to pinppoint the exact center of the lower edge of the plywood, and place a nail or screw slightly above that point. Then, attach a piece of string to the nail by looping it on, and pull the string to the height where you want your arch to begin (probably about six inches below the top of the plywood). Loop the string around a pencil and trace the pencil along the plywood, pulling the string taut to guide you. This will create a half circle that you can use a saw to cut out.
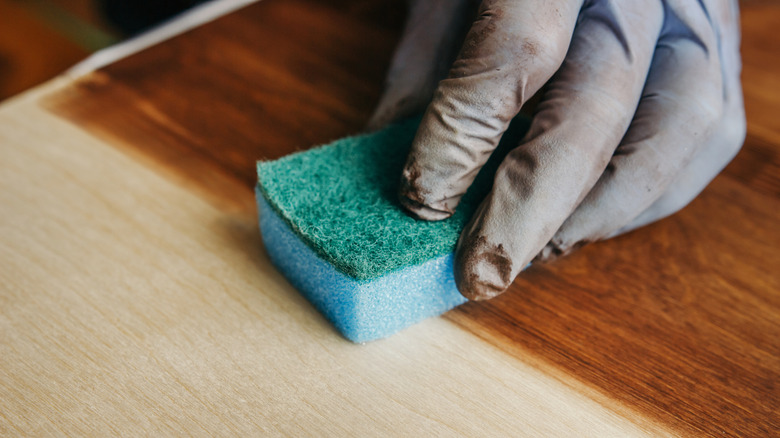
Once you've cut your arch out, remember that the piece you want is the outer one with corners, not the arch itself. Take those outer pieces aside and apply your peel-and-stick tiles, then use a box cutter to trim the edges down. Next, using a good mirror glue like Mirror Mastic, you can attach this piece to your mirror and see the arch shape come to life.
Getting this mirror DIY right
If you don't want to use peel-and-stick tiles for your project, or are worried about the process of cleaning the inner edge when the tiles are applied, you can paint your plywood arch instead before placing it on the mirror. It would be a great idea to match the color of the arch to the other walls in your bathroom, using the same paint. The arch's area would likely be small enough that you can get away with buying just a simple sample size or pint of whatever paint and primer you'd like to use. You could also use peel-and-stick wallpaper for a similar effect, as it will provide a fun pattern and be easier to trim than the tiles, allowing the arch's edges to be crisp and elegant.
You should also ensure that the materials you use will not warp in the damp environment of your bathroom. If you plan to stick with the original plywood, ensure that the product you're using is approved for water exposure. If it isn't, you can seal the product before installing: A simple epoxy sealer could be your best friend for that step. Just make sure to read the safety information before working with epoxy. You could also switch out plywood for other moisture-resistant materials that are approved for bathroom use, like PVC sheets or foam boards.