How Some Chalk Paint Can Completely Change The Look Of Your Potted Plants

We may receive a commission on purchases made from links.
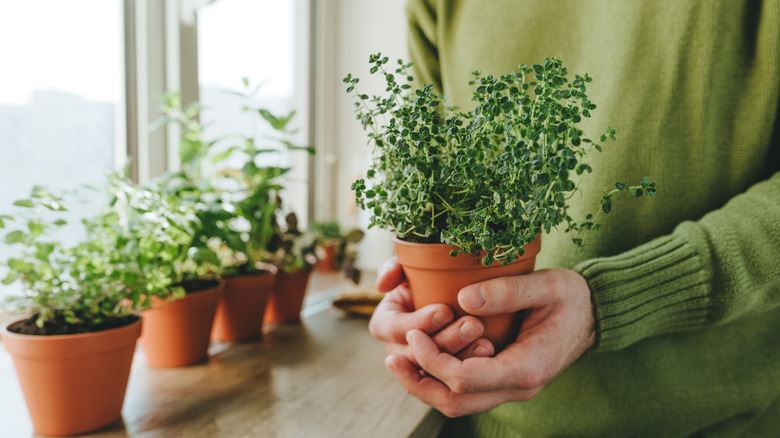
Maybe your potted plants are a little chaotic and disorganized, and you're constantly forgetting which pot has what. Or, perhaps you love to cook and dream of having fresh herbs within arm's reach while you're making dinner. Either way, adding a coat of chalk paint to your terracotta pots is the perfect way to clearly label each pot while elevating and organizing your garden setup.
This DIY helps maximize your space, especially if you're working with a tiny apartment kitchen or balcony. It even adds a bit of charm, too. Instead of trying to remember which pot has basil and which one has thyme, you can label each directly on its planter. Even better, when you switch out your herbs or replant them next season, you can wipe the pots clean and start fresh. All you need is a few basic supplies: a few terracotta pots and saucers, black chalkboard spray paint, white chalk, a paper towel or chalk duster, potting mix, and the herbs you use most. In just a few steps, you'll have a stylish little garden that's cute, personalized, and easy to use. If you love this idea, here are a few more ways to antique your terracotta plant pots for a stylized upgrade.
How to apply chalkboard paint to your terracotta herb pots
To begin this DIY, select some plain terracotta pots and matching saucers in whatever size works best for your garden or kitchen setup. Before you start painting, give each pot a quick wipe to remove dust or debris to help the paint adhere better. Next, take painter's tape or masking tape and wrap it tightly around the top rim of the pot. This helps give you a clean edge and keeps the rim paint-free for a nice visual contrast.
Once prepped, turn your pot over and spray the rest with chalkboard spray paint in even, light coats with something similar to Krylon Chalkboard Aerosol Spray Paint. Let the pot dry between coats if you need more than one. After the pot is fully painted and dry to the touch, gently peel off the tape. Now comes the trick to making the surface actually usable: take a stick of chalk and rub it all over the outside of the pot, then use a dry paper towel or chalk duster to wipe it down. This seasons the chalkboard surface so you can write on it cleanly and erase later without leaving marks. Now, your planter is prepped, labeled, and ready for your herbs. If you're unsure what herbs to grow, here's how to create an herb garden on your patio.
Match your chalkboard paint to your unique aesthetic or stencil designs on your pots
Once you've mastered the basic chalkboard pot, getting creative with how you use it is easy. If you'd rather not use black chalkboard paint, you can explore other colors like green, slate gray, or even navy blue. To take this DIY to the next level, you can make DIY chalk paint with one simple baking soda addition. Or, you can try to stencil designs onto your pots alongside the labels. This DIY is an excellent gift for your friends who love to cook and are looking to start an indoor garden — or it's even a charming housewarming gift. You can also use this labeling tip for other seedlings, plants, or even succulents.
Ultimately, whether you're growing basil, rosemary, mint, and oregano or just want to elevate your potted plants, this project makes it easier to keep everything organized while adding some charm to your indoor or outdoor setup. Plus, it's easy to redo — erase, replant, and rewrite when the seasons change. No green thumb required!