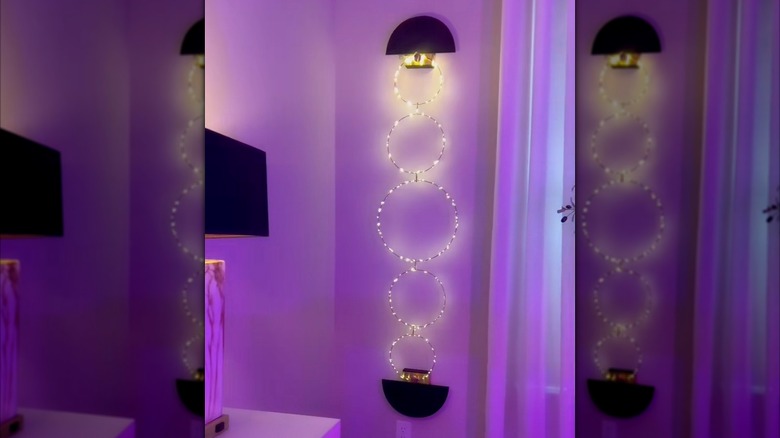
Use Embroidery Hoops & Some Dollar Tree Supplies For A Budget-Friendly DIY Wall Light That Looks So Luxe
When you're trying to have a cozy night in, harsh overhead lights simply won't pass the vibe check. That's where decorative accent lighting comes in. From cordless wall lighting fixtures that brighten your home to torchiere floor lamps, there are plenty of ambient lighting options from which to choose. But why spend money on something new when you can easily DIY luxe-looking lighting with a few Dollar Tree items. With some metal embroidery hoops and a few affordable wooden craft supplies, you can create a long, wall-mounted accent light to help elevate your space.
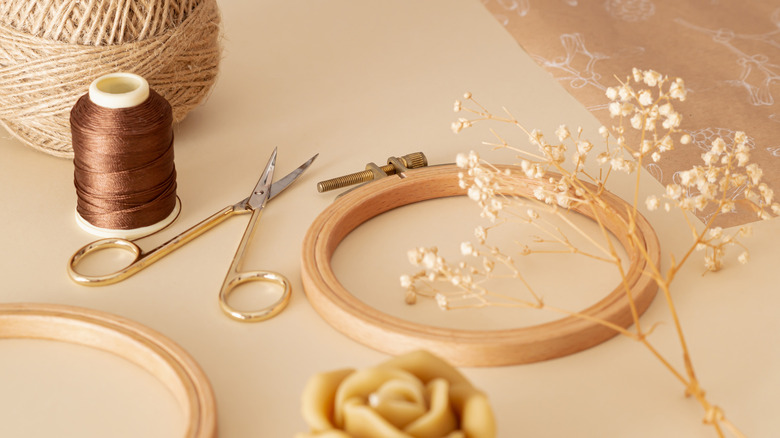
For this DIY you will need two small Crafter's Square wooden boxes, two gold cabinet knobs, a Crafters's Square circular plywood sign (cut in half to create half-moon shapes), some Crafter's Square gold vinyl paper, gold metal embroidery rings, zip ties, a hot glue gun, a drill, gold spray paint, and a string of fairy lights. When completed, this wall light almost evokes the phases of the moon, making it perfect for rooms with a celestial theme. One big advantage of this lighting project is how easily you can change up colors, giving the whole piece a different look.
Make a luxe wall light with embroidery hoops
To start, you will need five embroidery or metal craft hoops — one large, two medium, and two small. Use zip ties to attach each of the hoops together with the largest hoop in the middle, scaling down in each direction to the smallest. Don't pull the zip ties all the way closed, so the metal hoops can hang loosely. Cover everything, including the zip ties, in gold spray paint. Set this aside to dry.
Take your circular wooden sign and cut it in half (penciling off the diameter as a guide) to create two half-moon shapes. Then paint your wooden boxes and half-moon shapes black, white or something similarly neutral. Next, add a strip of gold vinyl paper or gold tape to the backside of your wooden box. The gold strip should go about halfway up the backside of the box. Using your hot glue gun, attach the half-moon shape to the remaining half of the wooden box. Drill a small hole into the gold strip along the box and screw in a cabinet drawer knob. Repeat the process with your other wooden box and half-moon shape.
Finally, it's time to assemble the lighting. Begin by mounting your wooden boxes to the wall using nails or screws. Space them out so you can hang your crafters' hoops on the golden knobs so they are fully extended. Then wrap your fairy lights around each hoop, and your luxe accent light is complete.
Ways to customize your DIY accent light
When creating unique lighting fixtures with simple Dollar Tree supplies, there is always room for customization. For this project, you can swap the black and gold color pallete for white paint and burlap ribbon for more of a farmhouse feel. Take the aesthetic a step further and wind dried flowers or greenery around each hoop in addition to the lights.
If you plan to put the wall light in a kid's room, you can opt for multi-colored lights for a fun vibe. This also allows you to paint the half-moons into rainbows if you want. Depending on the size of your hoops, you can use this lighting fixture to highlight your favorite photos by placing them in frames inside the hoops. The tone of lighting will also make a big difference on your final product, so be sure to choose one that best fits your personal style.