Make Rustic Home Decor With DIY Coffee Clay
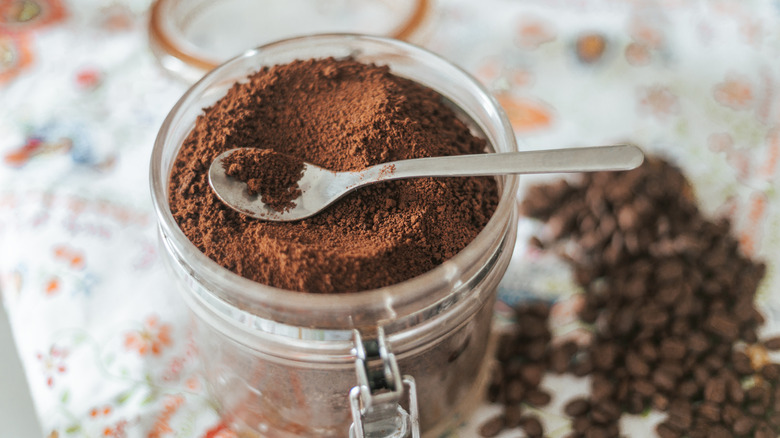
If you're an avid coffee drinker, then you already know that you should never put coffee grounds down your garbage disposal or your sink drain, as the grounds can cause major blockages. Even throwing your used grounds in the garbage is considered one of the things you should never do with coffee grounds because as they decompose, the grounds release methane into the atmosphere. And although there are several genius ways to use leftover coffee grounds in your yard and garden, if you don't have a yard, those genius hacks are essentially useless. Luckily, there's a fun alternative that's perfect for crafters: DIY coffee clay. Using old coffee grounds and a few common ingredients, you can create a gorgeous brown clay that's perfect for simple pottery projects, DIY sculptures, and small arts and crafts.
Other ingredients you'll need to make the clay include flour, salt, sand, and water. Once dried, this DIY clay offers a rustic look that resembles stone pottery. You can then paint and style your coffee clay pieces into all kinds of shapes to make cute decor pieces for your home. That said, be careful about the thickness — rolling your clay out too thin will cause it to crack and break when dried.
How to make clay from coffee grounds
To make the clay, start by mixing your dry ingredients together. You'll need 1 cup of flour, 1 cup of used coffee grounds, 1/4 cup of sand, and 1/2 cup of salt. Some recipes also call for 2 teaspoons of cream of tartar and 2 tablespoons of oil. Once those are thoroughly mixed, add roughly 1 cup of water. Pour the water slowly, stirring as you go until your mixture reaches a clay-like consistency — this may require more or less water. When your mixture comes together, lay a piece of parchment paper down on a flat surface and knead the clay to ensure all your ingredients are fully incorporated. Now, it's time to start sculpting some rustic home decor.
You can make adorable trinket dishes by wrapping a small bowl or little plate in plastic wrap and draping your clay over top, or try making some free-hand ornaments by rolling the clay out and making fun shapes with cookie cutters. For small animal sculptures, try making your desired shape out of tin foil first, then cover the foil in your clay mixture. Keep in mind the coffee grounds clay is not as durable as normal clay and will require gentle handling. Depending on the size of your project the clay could take three or more days to dry completely. Once fully dry, you can add paint and begin styling the pieces in your home.