The DIY Trinket Shelf Made Entirely From Upcycled Materials
From mini figurines of your favorite fictional characters to tiny thrifted ceramics, it's hard to resist a good trinket when you spot one in the wild. And while there's absolutely nothing wrong with accumulating a small collection, trinkets can quickly become clutter if you don't have a place to store them. One way to avoid an unsightly mess is to make the perfect trinket shelf for your room using entirely upcycled materials. With a little cardboard, newspaper scraps torn into small strips, and Mod Podge, you can craft an inexpensive, lightweight shelf that's perfect for all your tiny treasures.
For this simple and stylish shelving idea, you will also need painter's tape, paint, a glue gun, hardware to hang the shelf, and optionally some fabric for a cute customization. Although the Mod Podge layers make this shelf quite strong, it is best used for small, lightweight trinkets. Valuable, heavy ceramic pieces, for example, are best saved for a sturdier display. That said, when complete, you can hardly tell this shelf is made from materials that would have ended up in the garbage or recycling.
How to build a trinket shelf from cardboard
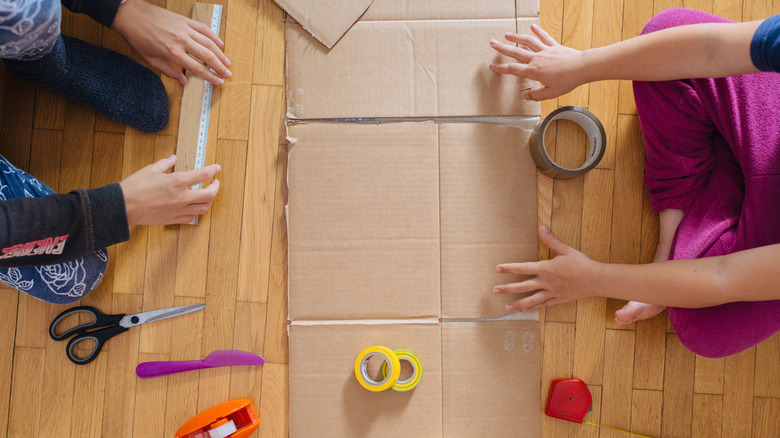
When it comes to crafting the shelf, there is plenty of room for creative liberties. You're free to decide the number of tiers to include, the width, the height, and whether or not you want an arched look. To get started, gather your recycled cardboard and cut a large piece to use as the backer board. Then, draw the shelves onto the backer board to give yourself an outline. Try to add shelves of varying shapes and sizes to accommodate a range of trinkets. Next, cut out the border strips and shelf pieces from your remaining cardboard. Attach them to the backer board using a combination of hot glue and painter's tape. Now your main structure is complete.
Here's when you'll apply Mod Podge and adhere your newspaper scraps one section at a time. Allow this first layer to dry for about 15 minutes, and then continue applying layers of Mod Podge and paper until you're happy with the thickness. Let the entire structure dry for at least 24 hours before painting. Once fully dry, you can begin painting your shelf in a color of your choice.
If you'd like to take it a step further, consider hot-gluing patterned fabric to the ledges or backing. Now all that's left to do is hang your shelf. Because this shelf is so lightweight, you won't need any foolproof tips or tricks for hanging shelves. Instead, just use a hammer and two nails or some Command strips, if the weight allows.