Upcycle Plastic Nursery Pots With Burlap For A Modern Farmhouse Feel
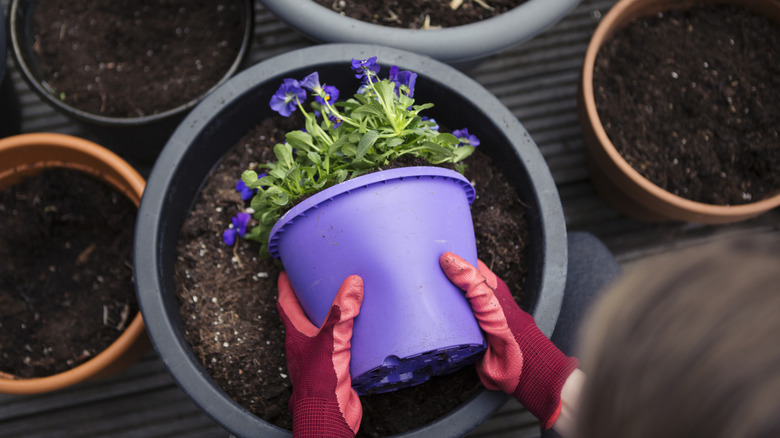
For plant-loving, DIY enthusiasts, there's nothing better than a good plant pot upcycling project. After all, there are so many ways to make a plain-looking plant pot look stunning. Plants often come in undecorated, boring pots — a blank canvas for those with creativity and the drive to craft. Plant pot upgrades aren't only for the sturdy clay or ceramic varieties, though. There are many creative ways to reuse the plastic nursery pots your plants come in, too. One such project is using strips of burlap to create a unique farmhouse-style wrap for your plastic nursery pot. All you need for this nursery planter upgrade is some burlap, scissors, and a hot glue gun. The finished product will resemble an adorable pleated burlap sack.
While you will probably end up transplanting your plant into its sturdier, long-term home, there's no reason this nursery pot hack can't make it look as stylish as possible in the meantime. You could also use the container as storage around your home or garden — toss seed packets or small tools in it, for example. There are lots of modifications you can make to this project to customize the final look. So, if a burlap, farmhouse-style decor piece isn't your thing, you can use a different material, and apply this wrapping technique to it. Because you are simply styling the plastic pot the nursery gives you, and not a sturdy clay one, this is a low-stakes project. This is an upcycle you can experiment and have fun with.
How to make a stylish burlap wrap for your planter
To get started, measure the height of your pot, and cut strips of burlap that are twice that measurement. The width and number of strips depend on the circumference of the pot you're using and the desired look. Next, temporarily empty your plant into another container. If you're going to use the pot for storage instead of as a planter, clean out the dirt and debris, and let it dry.
Then, turn the pot upside down, and use your hot glue gun to attach the strips of burlap to the bottom in a fanned-out fashion, making two semi-overlapping layers circling the bottom of the pot. Allow the glue to dry for five to 10 minutes, and then flip the pot right-side up. Use your hot glue gun to attach the exposed ends of the burlap strips to the top of the pot, leaving an inch or so sticking out above the rim. As you attach the strips, you should notice a bulb-like shape forming around the pot. You can adjust where you attach the strips to control how much it sticks out. Cut a small strip of material, and glue or tie it around the pot to form the trim. You can also add ribbon, dried flowers, or other embellishments.
While you may be tempted to use this idea to take your other planters from boring to beautiful, that may not be wise. The bottom of your plant pot will be exposed to moisture with watering, which will cause the burlap to mold and smell. That means this decorative touch is best for temporary planters, like the ones from nurseries. Or try it on a ceramic planter, vase, or jar that you want to use as a decorative storage container.