Don't Throw Out Your Old Shutters: Use Them To Turn A Dresser Into The Most Stunning Storage
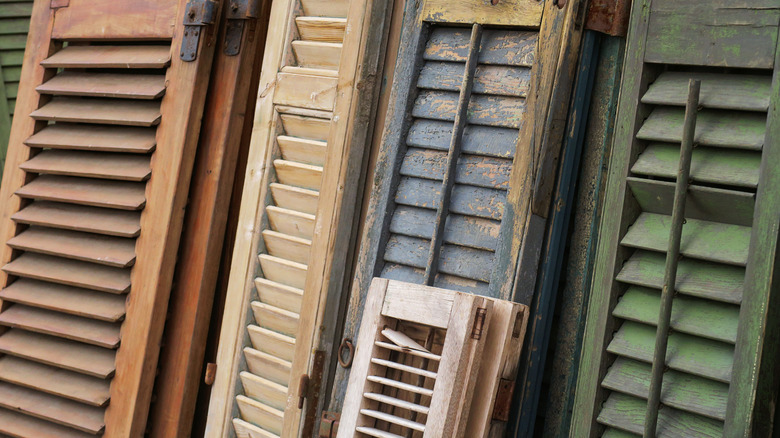
Upcycling projects for old furniture pieces are some of the most satisfying. You get the reward of saving a once-beautiful piece of furniture from the landfill while creating something unique and new. What's even better is using what would be trash to give an old furnishing new life. One such project that combines landfill-destined items is transforming a dresser into a kitchen storage cabinet by modifying it and using old shutters for the doors. If you have a dresser that you are looking to upcycle, but no shutters, they can be found on Facebook Marketplace, eBay, or places like Habitat for Humanity ReStore. This is a straightforward upcycle that will yield a beautiful, custom furniture piece. For this project, you will need a set of old shutters, a dresser, plywood, drawer pulls, a table saw, an oscillating tool, a screwdriver, hinges, and a nail gun. You will also need primer, cabinet paint, spray paint, and painting supplies.
This is a really neat upcycle, and there are numerous ways to customize or modify it. It's also a fairly simple project. The bulk of the work is in cutting and installing the plywood and shutters. Other than that, you'll simply paint and add any finishing touches you like.
How to make a shutter door storage unit from an old dresser
To begin, remove the drawers and clean out the inside of the dresser. If the dresser has any plywood that needs to be replaced or if there's flimsy cardboard backing, you can remove it. Also, decide if you want shelves where the drawer frames are, or if you intend to keep the top or bottom drawer. Use your oscillating tool to remove the framing bars for the drawers you don't want. Measure and cut plywood pieces to create the shelves and the bottom of the unit. Secure the plywood shelves to the frame using a nail gun. Then, prime and paint the unit. Measure and cut your shutters to fit into the structure as doors, and then spray paint them. Then, attach them to the unit with hinges. Lastly, put on fresh pulls and reinstall the drawer (if you kept one).
When your unit is finished, you can add bars on the sides for kitchen towels, hooks for utensils, or even floating shelves for spices or other small items. This cabinet works great for a kitchen storage solution, but with some tweaks and more shutters, you could make a kitchen island too. To make this an island, you will need to remove the back of the dresser and modify the unused drawers so they fit into the frame. You can also use this in an outdoor kitchen organization station. Just be sure to use weather-resistant paint.