Stop Shower Arm Leaks With These DIY Tightening Tricks
A leaking shower arm can be an awkward situation, but there's usually nothing to panic about. Chances are, you can fix the leak yourself in just a few minutes. There are different DIY tricks you can try, depending on where exactly the shower arm is leaking from. In most cases, the solution involves using plumber's tape to tighten the connections. If the leak is from the showerhead, for example, you'll want to unscrew the connection, wrap plumber's tape around the shower arm threads, and put the showerhead back on. If it's leaking from the wall, you can try detaching the shower arm, applying some tape, and reinstalling the fixture. As always, it all begins with pinpointing the problem.
The shower arm can leak for various reasons. In most cases, it's because of a compromised seal between the pipe and the shower arm. Another reason is that when you're replacing a showerhead for whatever reason, you risk damaging the shower arm in the process if you're not working carefully. Also, when you're taking a shower, you probably adjust the showerhead sometimes so it's pointing in the right direction. Over time, this can take its toll on the shower arm.
Maybe the threaded joints are not sealing well. Keep in mind that erosion and accumulated debris can affect the seal over time. In these cases, fixing the leak is no big deal. Chances are, a bit of tightening does the trick. One culprit you don't want to deal with, however, is damaged parts inside the wall. Of course, any extensive damage — inside or out — calls for replacement. Plumber's tape can only do so much.
How to fix a leaking shower arm
First things first — you'll want to turn off the water supply. You don't want to risk flooding your bathroom. Then, grab a pair of pliers, a towel, plumber's tape, an old brush, and a bucket since there might be some residual water in the fixture. It's also a good idea to have WD-40 and a replacement shower arm on standby in case yours is too damaged to repair.
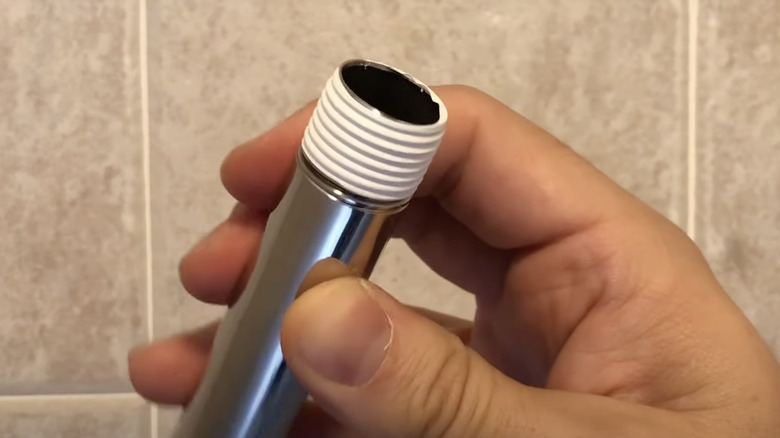
Suppose the leak is at the showerhead. Start by detaching the showerhead, holding the shower arm with the pliers so it doesn't turn. To prevent scratching the shower arm, you can hold it in place using a towel or a piece of cloth. Masking the pliers' jaws with plumber's tape works, too. Next, use the brush to get rid of any debris from the shower arm threads before wrapping them with new plumber's tape clockwise around five times — or seven if the leak doesn't stop. You can also apply some WD-40 on the tape for easier tightening. Finish up by reinstalling the showerhead and tightening it with your hand. In the meantime, this can be a great opportunity to clean your showerhead.
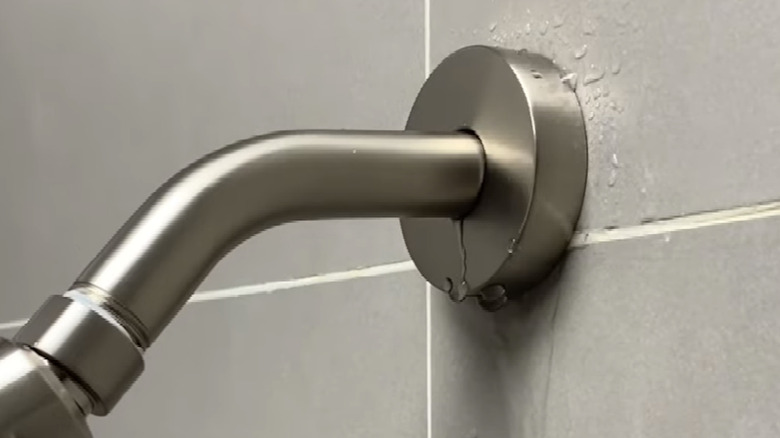
Now, if the leak is at the wall, start by removing the shower arm from the elbow. Clean off any debris from the threads with the brush, and apply a new coat of plumber's tape. Then, put the shower arm back on, making sure not to cross-thread the connection as you twist it in. Turn the water back on to see if the shower arm is still leaking. If all else fails, it's a sign you should call the plumber.