The Amazing Dollar Store Flip That Keeps Cooking Utensils Organized In Style
We may receive a commission on purchases made from links.
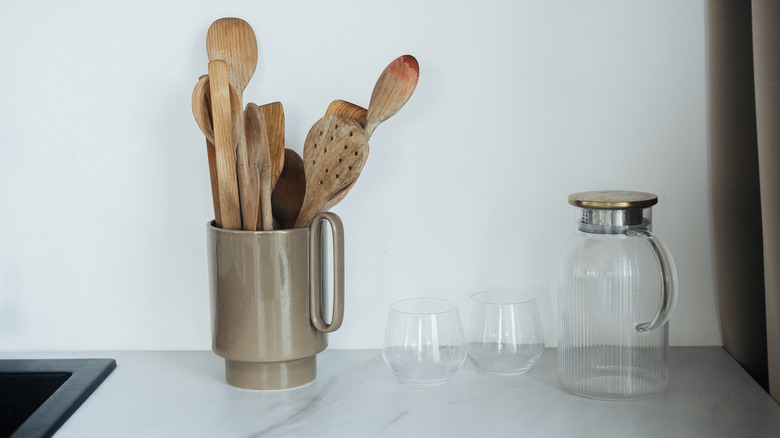
When it comes time to organize your cooking utensils, you're mostly left with the usual options — the junk drawer, a ceramic crock, or a plastic cup you've repurposed for the job. All work but none are particularly original. Though the utensil crock gets some Brownie points for being cute. However, when you allow yourself to get into hack mode, you can come up with clever ways to repurpose something like a spice riser and create a more handsome place to stash your tools.
Like many ingenious DIYs, this one starts with an unexpected item that gives the new piece its basic structure — in this case, this Dollar General bamboo riser serves that function. Because the riser can be a bit fragile, you'll need to reinforce it with a few items, namely two rectangular pieces of craft wood from Dollar Tree and some birch paint mixing paddles. You can dress the riser up with stain if you'd like, but if you have a rustic or farmhouse decor style, you may want to paint and stencil the riser with these farmhouse kitchen stencils from PARBEE Store instead.
You'll need a few electric tools to construct this — a band or skill saw, a drill with large bits, and possibly, a nail gun, though penny nails and a small hammer could also work. Wood glue, painter's tape, clamps, and paint brushes are necessary for this, too. Finally, complete your supplies list by adding a wood or metal ruler, a marker, and a pencil.
Putting the utensil rack together
First, turn the riser upside down to accommodate taller utensils. Because the bamboo riser's wood could be flimsy, you'll want to reinforce it with the painter's sticks at the top of the riser's "steps" and with wood panels on the sides. All pieces of reinforcing wood will need to be cut to fit and sanded down to prepare the piece for staining or painting. Once you've attached the supplementary wood pieces, you'll need to make holes in the top section of the riser's tiers with a drill. These should be big because they'll need to be wide enough to fit the handles of your cooking utensils.
There are ways to get more bang for your buck on this DIY. As it stands, you'll have space for a few standing utensils — space which is made once you drill holes in the tops of the risers. However, there is plenty of unused space on the sides and front of the piece, too. First, use up the space on the bottom front portion of the riser by adding a couple of strips of magnetic tape to that area. This gives you a place to stash some small knives horizontally. And if you'd like to make the most of the space on the sides, glue a Crafter's Square wood pallet there. You should have enough room to slide some scissors into the slots of the pallet. You can safely store more knives and other kitchen tools, like metal can openers, in the second pallet on the other side.