How To DIY A Fluted Sink With An Apron Front On A Budget
One of our favorite budget-friendly ways to make your kitchen look more expensive is texture. A lot of folks see that and think, "Oh, I'll add in nicer kitchen towels and maybe a cute rug." And while those decor pieces can go a long way to making your kitchen feel like a more luxe space, let's take it a step further: DIYing a fluted apron front sink with pencil tiles.
Originally installed in 17th century butler's pantries, the apron front sink is a deep, typically ceramic sink that is situated in line or slightly extending outside the cabinets so its front side is exposed to the room. That front exposure, popular for both its utility (catching water droplets before they hit your cabinetry) and aesthetic (farmhouse vibes, anyone?) caused this sink design to rise in popularity. Incorporating fluting to the front of the sink uses a subtle sense of texture to elevate the space.
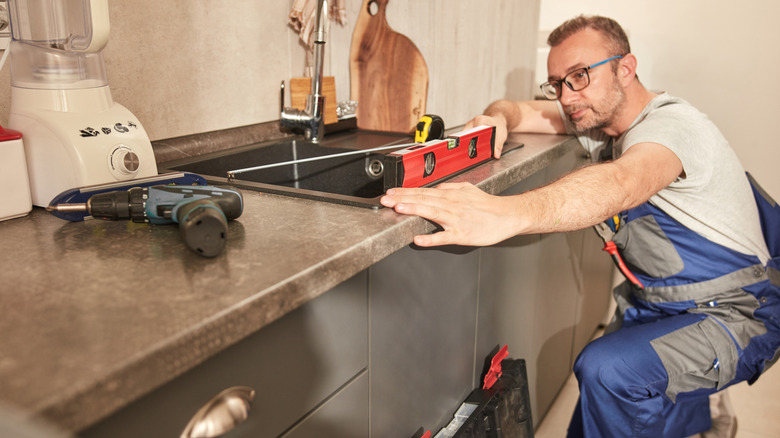
DIYing a fluted sink with apron front is slightly more time-consuming that your typical kitchen decor DIY, but the process is fairly straightforward. But with the cost of installing an apron front sink starting around $1,000, it's worth the time and energy to DIY it for about. a third of the cost. You'll need thin pencil tiles, a piece of plywood, cement board, and 6 L brackets to create the apron front piece, as well as your toolkit and plenty of construction adhesive. Let's get started.
Start with the prep work
Ready to DIY a luxe-looking sink to bring the wow factor to your kitchen? Once you've removed the cabinetry in front of your sink (many homeowners have a false drawer here) and measured the space, it's time to make the faux apron front board. Cut a piece of plywood and cement board to size. Prime the plywood and apply a thin layer of liquid latex to increase water resistance. While that dries, cut your pencil tiles to size with a tile saw, then lay them out to see how the final look will be. Make any needed adjustments. If your plywood is dry, apply construction adhesive, like Loctite PL Premium Polyurethane Construction Adhesive, to the wood, lay the cement board on top, clamp, and let dry. Then use screws with wingnuts throughout the board to add extra security (better safe than sorry).
Next, look at your cabinet frame and decide where the L brackets will sit. They should be positioned to hold the faux apron front equal to the rest of the cabinetry. Drill screw holes in the cabinet frame and, when the plywood/cement board combo is secure, in there as well. Take a moment to fit the boards into the space in front of the sink and position a tile under the lip of the counter just to make sure everything fits properly before moving on to the next steps.
Finally, mix thin-set mortar, apply to the boards, and lay your tile. For a more cohesive look, apply grout and wipe away. For a more polished look, apply Schluter edging and cover with strips of brass. Then install the L brackets to the board, secure into place, and you're done.
Tips to personalize your DIY fluted apron front sink
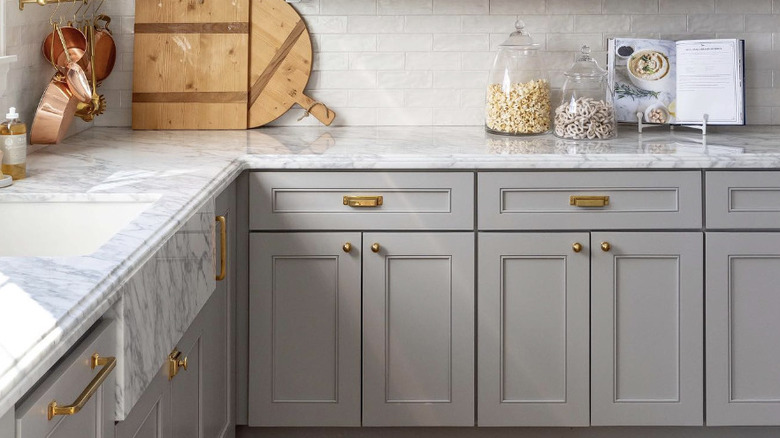
The wonderful thing about tiles is there are so many options, so take your time to find the one that not only fits your kitchen's decor, but also truly lights it up. For example, a longer fishscale tile could be trimmed to create a scalloped look on your faux apron front. Or let's say you find a tile shape you love, but the color? Not so much. A can of paint can solve the whole problem; just make sure to avoid one of the biggest mistakes everyone makes when painting tile: using the wrong type of paint.
If you're not sure what kind of pattern to add to the front of your sink, take a cue from your kitchen's current decor. Fluting lends itself to a more modern-style kitchen, so it may be a good option if your space is primarily decorated in neutrals. If your decor is leaning more into whimsy, a scalloped apron front piece may create a more elegant, whimsical look.