The Easy Way To Make Your Vintage Sealed Glass Jars Last Even Longer
We may receive a commission on purchases made from links.
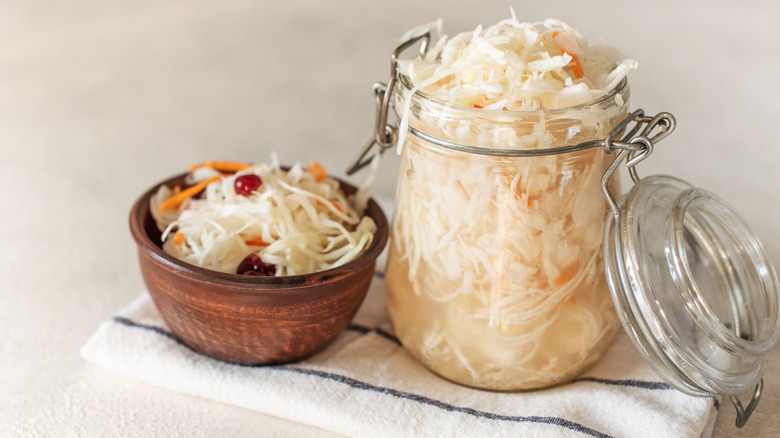
There are so many ways to use the old glass jars you have around the house. For example, you can upcycle them by turning them into unique home decor pieces or use them as containers to declutter and organize your kitchen — the possibilities are endless. And one of the best aspects of these jars is their popular lid. These jars have a clamped lid that works well to preserve goods, keeping them shelf-stable for long periods of time. Unlike metal jar lids that can rust over time, or if they're left sitting in water for too long, glass lids offer a waterproof surface that's easy to clean and will stand the test of time. And if your vintage jars are either missing their gaskets or have worn out jar seals, look no further than Viceroy rubber seals. This will help your jars last even longer.
There are other types of jar seals available on the market, such as silicone. However, the problem with silicone is that it tends to wear out, becoming brittle and dry. And eventually, it will likely crack. Once a silicone seal has reached this point, it becomes a less effective seal. It can become compromised, which can lead to air leaks and spoilage. Rubber seals, on the other hand, though having price points similar to silicone, tend to stay in better condition over time as antique jars' seals. On average, you can expect to pay about 70 cents per ring, and they usually come in multipacks.
Tips on cleaning, replacing, and removing rubber seals
The convenient thing about using rubber lids is that they are super easy to clean and maintain. Also, if storing food in your antique glass jars, it's always best to hand wash the rubber seals with mild dish soap and water before use. Be sure to rinse the seals well and allow them to dry. Avoid placing the seals in boiling water to sterilize them, as it can damage the material's integrity, leading to faulty sealing and potential contamination. And of course, be sure to follow the manufacturer's recommendations.
When replacing your seals, remember that the new seal should fit snugly around the edges of the jar's lid; it shouldn't hang loosely. When pulling down the metal clamp to close the jar, the lid should form a tight seal around the rubber with no gaps. If it does, you're good to go. Before shopping for new seals, know the specific sizes needed for your jars. To get this measurement, simply remove the lids and then place a ruler across the top center of the jars to get the diameter. This will give you the size of the lids you'll need.
Over time, some rubber seals may adhere to the lid or mouth of the jar. So to clean the jars, dampen a cotton pad or Homexcel microfiber cloth with alcohol and rub it over the rubber area a few times. Next, use a knife to scrape off the remaining rubber remnants. If this proves difficult, soak the lid in hot soapy water for a few minutes, which will allow the seal to pop off without as much effort.
