DIY Your Own Home Sauna On A Budget With Wood Pallets

For the Finns, sauna bathing has been a way of life for thousands of years. Given the many health benefits the practice offers, it's easy to see why. The problem is, saunas don't come cheap — a traditional setup can easily cost upwards of $5,000, depending on size and features. Fortunately, there's another way. By sourcing recycled wood pallets and a few key components, you could DIY your own home sauna on a budget.
It's a good idea in principle. Pallets are sturdy, sustainable, and you can often pick them up for free at building sites, online marketplaces, moving companies, and so on. They're also modular enough to form the base structure of a small sauna. Add insulation, a vapor barrier, and the right heater, and you've got a cozy retreat that mimics the feel of a commercial build. If you're a seasoned DIYer looking to create a cost-effective backyard wellness spot, this pallet sauna is a smart, sustainable way to go — especially if you love upcycling and don't mind tackling a project that might not be finished in a single weekend.
How to build and insulate a pallet sauna (if you've got the skills)
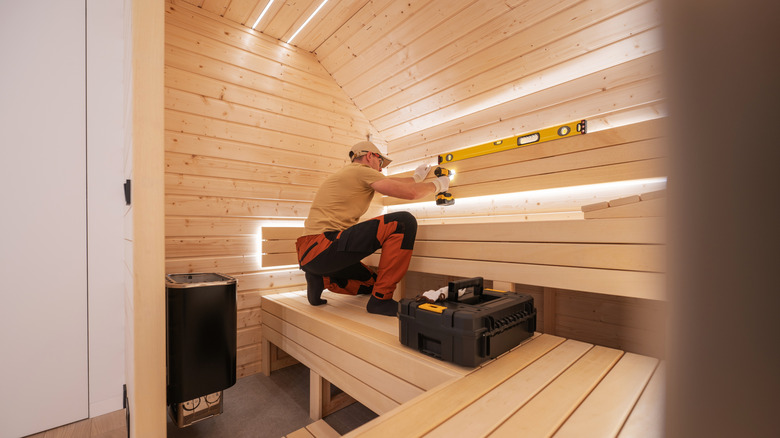
With the right tools and know-how, this project is absolutely doable — but if it's your first DIY rodeo, you may want to hold off. It involves careful planning, sourcing, measuring, cutting, insulating, and sealing to make the sauna safe and effective. That said, here's the basic roadmap. Start with a solid foundation. Use concrete blocks or pavers to keep the structure elevated and dry. Build a floor frame from pallets and top it with plywood or OSB for stability. To frame the walls, stand heat-treated pallets vertically and secure them with brackets and screws. Wrap the exterior in a water-resistant barrier like roofing felt or a heavy tarp to protect against moisture.
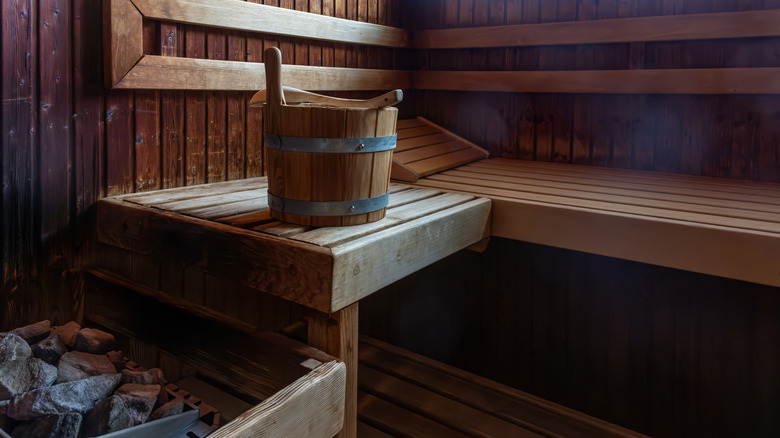
For insulation, fill any gaps with affordable materials such as rock wool, fiberglass, or polystyrene, then add a vapor barrier — aluminum foil works well — to lock in heat and prevent moisture. Line the interior with untreated softwood like cedar for comfort and safety. Sand all surfaces smooth, and coat benches with linseed oil for durability. Add ventilation openings near the floor and ceiling to support healthy airflow. When it comes to heating, you can use an electric or wood-burning stove — just be sure to follow the installation guidelines carefully to keep things safe. That's it. Crank up the heat, grab a towel, and enjoy the sweat.
DIY sauna mistakes to avoid (and low-cost alternatives if you opt out)
To stay on budget, try salvaging leftover materials, borrowing or renting tools, and tackling as much of the build on your own as your experience allows. One of the costliest mistakes is using the wrong kind of pallet. Never use ones marked "MB" (methyl bromide), as they can release toxic fumes when heated. Always choose pallets stamped "HT" for heat-treated. Under-insulating is another common issue. Skipping the vapor barrier or using inadequate materials leads to poor heat retention and disappointing results. A solid combo of aluminum and softwood cladding is both budget-friendly and effective.
Ventilation matters, too. Without it, you risk mold, overheating, and reduced lifespan. And don't overspend on fancy finishes — this build is meant to be rustic and practical. Reclaimed wood, pallet planks, and basic bench designs are more than enough. One thing to keep in mind is that there some downsides to owning an outdoor sauna, such as the maintenance required to keep it in good shape. Still, for a lot of people the benefits outweigh the effort. And if this project is too ambitious for your current skillset and you still want a sauna, portable sauna tents and infrared blankets offer budget-friendly, no-fuss alternatives — no tools, building, or fire-safety worries required.