Create A Luxe-Looking Garden Water Feature With A Few Affordable Materials
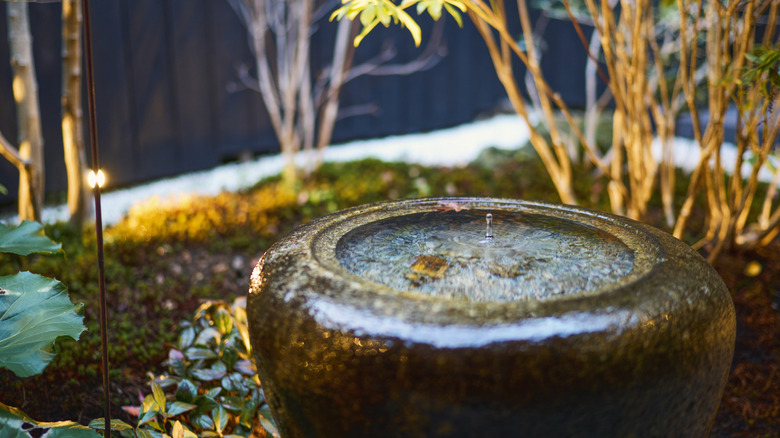
Adding a stunning water feature to your backyard can help give it a little pizzazz, without a lot of effort on your part. It's also a great way to attract more birds and create a curated look in the outdoor areas surrounding your home. Sure, you can head to the store to spend a few hundred bucks on a chic water feature that looks like it belongs in a magazine. But why not create your own water feature that looks just as fancy, and spend only a fraction of the price? Believe it or not, you can do this with a styrofoam cooler and Quikrete concrete patcher. The idea behind this easy DIY hack is to simply use the styrofoam tub to create the basin of a water fountain and use the concrete patcher to line the styrofoam so it's suitable for outdoor use. The pipe will serve as a water spout.
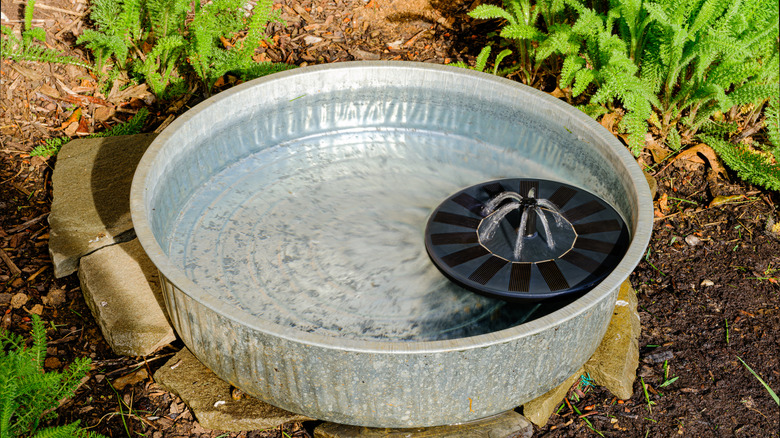
This fun DIY project has several steps but is relatively easy to do. It's also great for renters or homeowners with small backyards. Before getting things started, you'll need a few additional items, such as a 12-inch copper pipe, paint brushes, acrylic paint, a solar pump, a drill, Flex Seal, and a standard brand of waterproof caulk like Gorilla. If you already have a drill, the most expensive items will be the styrofoam cooler, the paint, and the concrete patcher. You may also want to shell out for a pair of protective gloves to apply the patcher, as this isn't something you want to get on your hands.
Steps for making a DIY water fountain
Before starting on your outdoor lawn ornament, it's best to measure the top of your pump to ensure that you get the right size copper pipe to fit over it. Then, begin the project by drilling a hole in the center bottom of your styrofoam cooler. This will allow you to thread the water hose for your solar pump into the basin. Next, grab a bucket, and pour your concrete patcher into it, before adding the recommended amount of water. Mix the solution using a paint stirrer or similar object.
Using your hands, apply the concrete patcher to the sides of the cooler. Apply two coats total, and level it out with your hands to make sure that it's evenly applied. Let it dry for 24 hours, then dilute your acrylic paint with water to create a runny consistency, and apply it to the cooler with a cloth. Once it dries, add the Flex-Seal spray to the interior. Place the pump inside the bottom of the cooler and thread the water hose through the hole to the outside of the basin, sealing the hole with caulk. Finally, add the copper pipe to the top of the solar pump, ensuring that it can stand firmly in place.
Ways to customize a DIY water fountain
One way that you can customize your homemade fountain is by adding small pebbles or river rocks to the bottom, creating an organic look. For extra flair, you can also toss in a few vines or small succulents, or even some faux plants. Jazz things up by applying sheets of gold or silver leaf for a more elegant, modern feel. That is if you want to opt out of the old-world look.
But don't just stop there — you can also add stenciled shapes and designs to the exterior such as plants, birds, or your own custom designs. Also, consider throwing in a few LED floating tea lights or glow stones to create an eye-catching night-time ornament. Don't feel confined to the styrofoam cooler as the only basin option. This idea can also work on any extra planters or plastic storage bins that you have lying around the house. These materials will require the same building process, and you won't have to spend extra money.