How To Make Kitchen Cabinet Hardware That Matches Your Wood Contact Paper
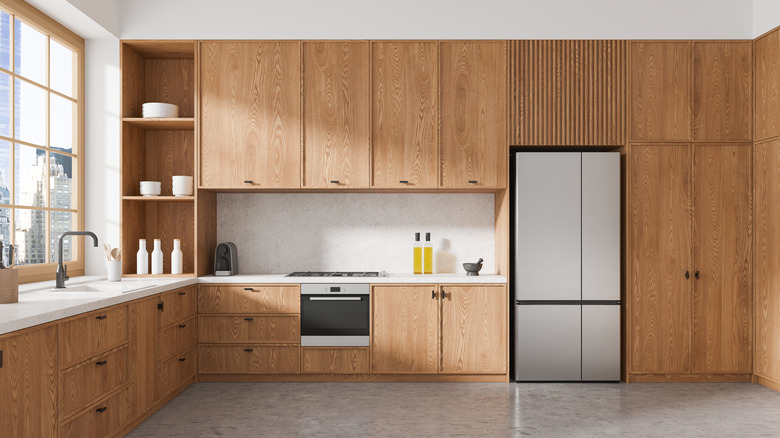
If your freshly, contact paper-wrapped kitchen cabinets are still rocking their old hardware, it can instantly undo all of your hard work. Pulls that clash with your new look — especially those of a drastically different wood tone — can draw attention to those outdated kitchen design trends and the fact that you didn't commit to a full remodel. But before you spend time and money on brand new cabinet pulls, there's an easier, more customizable fix: make your own wooden pulls and stain them to match your contact paper, giving your cabinets a cohesive design, even if they're different shapes and sizes.
That's where this simple DIY comes in: using scrap wood that you may have lying around and a bit of stain to create custom hardware. By staining it to match the tone of your vinyl, your cabinets suddenly feel high-end and intentional. The trick doesn't require drilling any extra holes in your cabinets or any major renovations. You can mix and match knobs and pulls to create a cohesive, yet visually interesting look for your cabinets. Putting knobs on cabinets and pulls on drawers can create a more functional space, allowing you to curate it and make it work with the way you use your kitchen. And, as you can customize your pulls to any length, it is much easier to follow simple design rules like keeping pulls about 1/3rd the length of your cabinets. The biggest hurdle: maintaining a consistent finish on your cabinet hardware to avoid any clashing tones or materials that may draw attention to your contact paper.
Creating custom stain-matched cabinet pulls
Making your own kitchen hardware might sound like a project that's reserved for experienced woodworkers, but it's a surprisingly approachable DIY. First, measure your existing hardware to ensure that the dimensions match. Cut down a bit of scrap wood to the correct size, typically around 1/3 of the size of your cabinets. Give your wood pieces a generous sanding with 180 grit sandpaper. Stain your piece, being mindful of the wood grain direction when cutting and installing your cabinet pulls. You might also want to give them a coat of clear sealant (like polyurethane) to protect the finish, especially in a high traffic area. Allow each piece to dry completely before securing them to your cabinet doors. This should be done from the back of your cabinets, using the existing hardware holes and a few screws.
If the blocky appearance of solid wood doesn't match the vibe of your kitchen, there are plenty of ways to customize this DIY. You can carve a simple arch into the back of your hardware for a more traditional-feeling cabinet pull. To achieve this, simply cut a semi-circle into one side of your wood using a jig or table saw. Sand down the entire piece and stain it in a matching wood tone. You can also cut relief grooves into the upper and lower side of your cabinet pulls to create custom finger pulls. These can either be angled towards the floor or on both sides of your cabinet pulls to make gripping that much easier. If you're looking for something a bit more ornamental, you can always repurpose a different piece of wooden hardware. Simply remove the wood stain and start fresh with a matching shade to curate that seamless feel for your cabinets.
