Aerate The Lawn Without Heavy Equipment Using These 4 Tools Already In Your Garage

We may receive a commission on purchases made from links.
Many homeowners would agree that lawns are a source of pride and curb appeal. However, it's not easy to bring out their utmost beauty. Constant mowing and watering are needed for them to thrive. But over time, lawns can still lose their charm when foot traffic, heavy rains, and even the weight of a lawnmower compress their soil, making it harder for plant roots to breathe. Thatch buildup, water runoff, and patchy growth then become inevitable. This is where aeration comes in. It resolves such issues by loosening up the soil.
Aeration is the process of perforating compacted soil for water, air, and nutrients to reach plant roots. This not only improves drainage and root depth but also makes your lawn lush with thicker, greener grass. Many people assume you need expensive and bulky lawn aerators to achieve this, but that is not always the case. You can actually aerate your lawn using some of the tools you already have, such as a hand-held drill or even a shovel.
What's good about manual aeration is that it allows you to be precise and avoid mistakes everyone makes when aerating their lawn, such as going too deep and damaging roots. So, whether you're fixing a patchy area or preparing your yard for reseeding, know that you may already have what you need to get your aeration job done. Below are the tools sitting quietly in your garage that you can use to aerate your lawn.
Garden fork
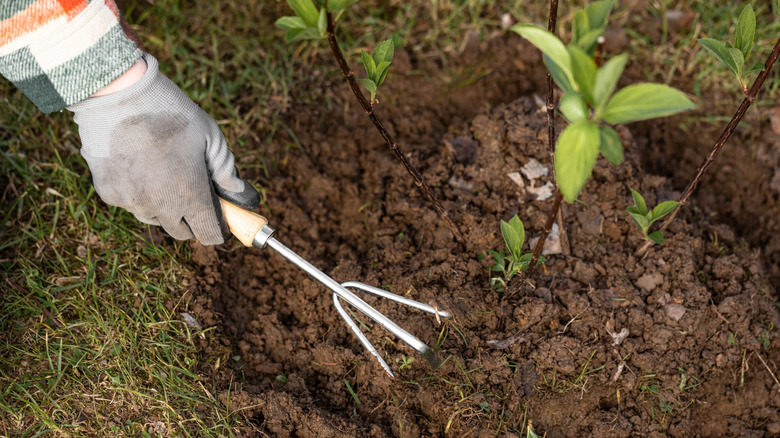
Perhaps one of the simplest ways to aerate your lawn soil without spending on expensive and bulky equipment is with a basic garden fork. It's a garden tool many homeowners already have lying around, so it's likely that you have one, too. A garden fork is typically used for turning soil or compost. But it can also work wonders for breaking up compacted soil. However, considering its size, it is best used for lawns that are on the smaller side or just the problem areas in a large lawn.
To aerate with a garden fork, press the tines straight into the soil to a depth of about one to two inches. Then, gently rock the tool back and forth to widen the holes slightly. This will allow oxygen to reach the roots of your grass, and it opens up channels for water and nutrients. Move systematically across the area, spacing your punctures a few inches apart. While this method takes a bit of elbow grease, it is quite effective for small to medium patches of lawn.
The benefit of this approach is the control you have. Unlike powered aerators, you can easily navigate around roots, rocks, and garden beds with ease. You are also much less likely to make errors, such as overdoing it or applying uneven pressure. So, instead of rushing off to buy or rent an aerator, check your garage. If you don't have one, consider this Fiskars ergo cultivator, which retails for $13.99 and has a 4.8-star rating on Amazon.
Shovel
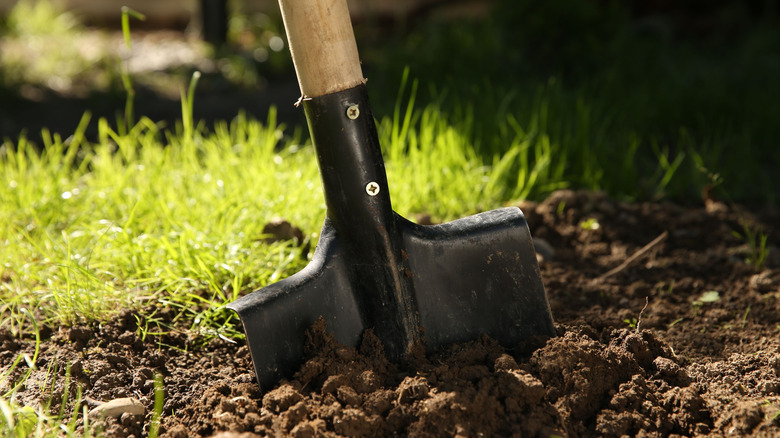
Even your humble shovel can serve as a reliable aeration tool in a pinch. While not the first tool many would think of, it works well for loosening compacted areas, particularly when the soil is moist but not muddy. This is an effective, low-cost solution for homeowners who want to fix a patchy lawn without using expensive tools.
To aerate using a shovel, insert the metal blade into the soil as deep as possible at a slight angle. Then, gently tilt the handle back to lift and crack the soil open slightly. Don't turn it over entirely like you would in a garden bed. Repeat this process every 12 inches or so across the compacted zone. This loosens the soil enough to allow better water penetration and significantly improves airflow without disturbing the roots.
However, caution is necessary if you are using a shovel to aerate your lawn. In case you go too deep or get too aggressive, you risk damaging the lawn, considering the blade's size. As much as possible, avoid aerating immediately after it rains heavily, as the soil will be too wet and vulnerable to tearing. If you are thinking of buying a shovel for this purpose, Yeacool is offering a folding shovel with a portable bag and accessories on Amazon. Also, consider the Fiskars ergo trowel, which has a 4.7-star rating from over 11,000 reviews and retails for only $13.99.
Hand drill
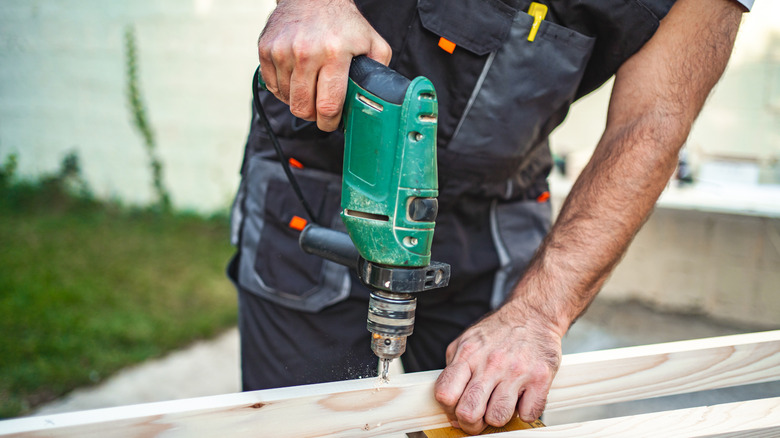
You can also aerate your lawn with a hand-held drill. Pair it with a long, sturdy bit and you have the perfect device to bore clean and deep holes into compacted soil without ripping up your grass.
To effectively aerate your lawn with this power tool, start by working on the patchy or bald areas first. Punch the drill straight into the ground to a depth of 3 to 4 inches and create as many holes as needed, provided you space them about 6 inches apart. In true aeration fashion, these holes will help improve drainage, boost airflow, and create channels for nutrients to easily reach the roots of your grass.
While this method doesn't remove soil cores like a plug aerator, it's still effective for revitalizing neglected areas in your lawn. It's also useful in hard-to-reach corners or tight spaces near walkways where larger equipment won't fit. What's also good about using a hand-held drill is that it does not require much effort, given that it's powered by either an electricity source or a battery. Though you still need to manually control the device, you won't have to force it down to bore holes.
If you don't have a drill, or your old one is worn out, consider Dewalt's 20V cordless drill that comes with 2 batteries. It's Home Depot's most popular drill for a reason. You can use it without worrying about running out of juice while working on a large lawn.
DIY aeration tool
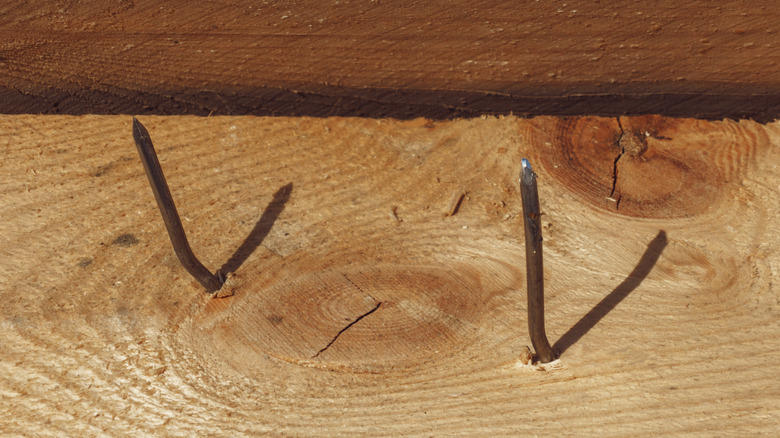
Last but not least, you can build a makeshift aeration tool using stuff you already have in your garage. Aerate your lawn for less with a budget-friendly DIY lawn aerator made from basic materials like wooden planks, long nails, a hammer, and a strap.
To make this DIY aeration tool, start by gathering two 2-by-6-inch boards that are about 2 feet long. Using a pencil or marker, mark where you want the nails to go — a 2-by-10 pattern is recommended. Drill small pilot holes over the marks to prevent splitting, then hammer in 6- to 8-inch nails until they stick out the other side. Next, stack the boards together in a way that the nail heads are sandwiched in the middle, then secure them with screws. Add straps or ropes using hitching rings so you can pull the aerator across the lawn or even strap it to your shoes for a walk-through aeration session.
To use this makeshift tool, press the nail side firmly into the ground, creating deep punctures as you go. Move across your yard and ensure you overlap slightly for full coverage. This method works well for medium and small lawns, and it also offers a middle ground between manual and machine-powered aeration. Compared to the other options on this list, however, going the DIY route means you need to allocate more time and effort to the task since you need to build the tool first before you aerate.