How To Make Simple IKEA Drawers Look Like Custom Shaker Furniture
We may receive a commission on purchases made from links.
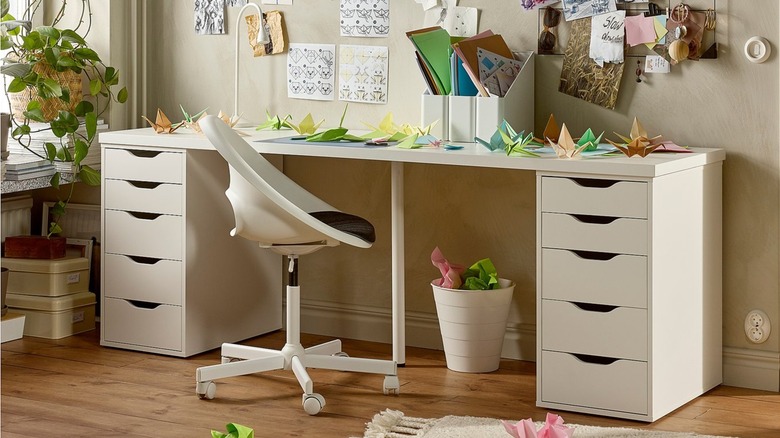
IKEA has become a powerhouse company in the world of home design and decor. You can easily take a few affordable IKEA items and use them to decorate a dresser, organize drawers, or create an entire layout for your living room. One standout feature of the popular company is that you assemble your own furniture. And one of the benefits of this is that the simplistic design of many of its pieces makes them easy to customize. For example, you can customize a minimalist ALEX drawer unit from IKEA and turn it into a sleek Shaker-style furniture piece by simply adding a wood frame and drawer handles. This upcycle can be done in just a few hours, and you may not have to spend over $100 to make it happen. In this project, you'll create a wood-based veneer for the front of the dresser's drawers, giving it a clean, Shaker-inspired aesthetic.
So, what is Shaker furniture? It's a wood-based furniture style that has a modern, simplistic design, often featuring elements such as overhanging tops and clean lines. This project is an easy way to bring Shaker style to your room. It's easy to tackle, but will require precise measurements to ensure your drawers function properly and also look professionally made. The ALEX drawer unit for this project costs $75, and a piece of 8-foot wooden trim board typically runs around $9. You also need to purchase Loctite construction adhesive, drawer handles, sanding paper, paint, and Wadities wood filler — all of which can be purchased for under $10 each.
Steps to transform an IKEA dresser into a Shaker furniture masterpiece
Before purchasing your wooden trim, you'll need to determine how thick you want the veneer to be on the drawer fronts. Note that you're going to cut out four trim pieces for the front of each drawer. You'll need to cut a piece for the bottom and top of the drawer as well as two smaller pieces for the sides. The specific steps for your project may differ depending on your design, but here's an overview. Measure and cut your trim pieces to ensure you have enough for each drawer front, then attach all the trim pieces using the adhesive.
Once the adhesive dries, fill in all gaps with wood filler and sand them as needed. Make sure all the drawer fronts are flush with each other. Next, paint your drawer according to your preference. After the paint dries, measure and then drill two horizontal holes for each drawer handle into the center of each drawer. Finally, add your fasteners and attach the drawer handles.
One way to make the drawers look high-end is to purchase modern handles, including those with unique designs or interesting colors. Speaking of colors, there are no limits when it comes to deciding how to paint the drawer. Consider painting just the front of the drawer, so that it stands out from the rest of the dresser, or create a distressed look with chalk paint and a bit of sanding. You can also add a bit of flair to the drawer using stencils to create interesting shapes or your favorite quotes. Maybe even play with different types of wood trim and stain it to give it an edge.