Upcycle A Vintage Toolbox Into A Cabinet For All Your Small Trinkets
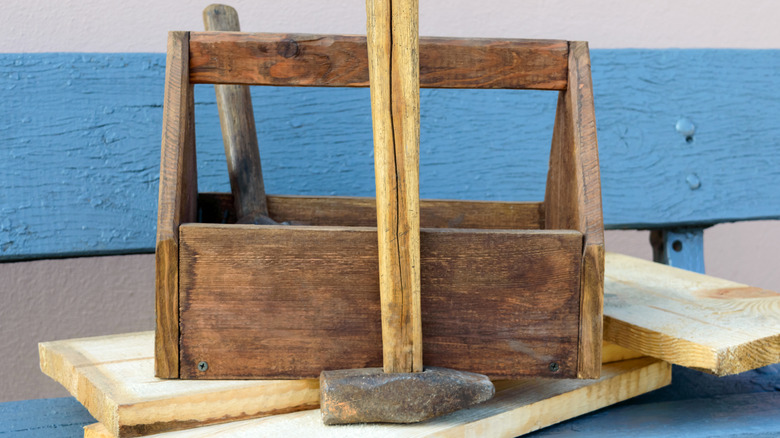
Vintage wooden toolboxes exude a rustic, timeless charm with their old-style design, worn edges, and sturdy craftsmanship. Each scratch and stain tells a story of the years spent in the hands of skilled workers, adding historical charm to the beauty and function. As wonderful and charming as these old toolboxes are, numerous more practical options have been available for many decades. Still, finding one of the old-school wooden toolboxes at a thrift store or yard sale can feel like discovering hidden treasure. Just because there are better ways to store and organize tools in these modern times doesn't mean you should leave that treasure sitting on the shelf. There is a unique upcycle that can turn that vintage wooden toolbox into a beautiful trinket cabinet. One of the creative ways to repurpose an old toolbox around the house involves mounting the toolbox to your wall, allowing it to serve as a storage cabinet for small items. All you need for this upcycle is an old wooden toolbox, cabinet mounting hardware, a drill, and a screwdriver. If you want to dye or paint it, you will need supplies for that as well.
When you are finished with this project, you will have a unique and charming cabinet. There are numerous ways to customize this DIY and several places around your home where you can incorporate it to create a functional and aesthetically pleasing wall addition. No matter where you place it, what you keep in it, or what customizations you choose, you will have a one-of-a-kind cabinet that gives new life to an old wooden toolbox.
How to turn your old wooden toolbox into a rustic cabinet
To begin this vintage toolbox upcycle project, you need to make sure the wood is clean and finished. The old brass hinges may also need to be cleaned or replaced if they are in disrepair. To clean all of the old grease and grime from the wood, you can use steel wool and sugar soap. To clean the brass hinges, wipe them with a soapy cloth, and then scrub a baking soda and vinegar paste onto them. When everything is clean and dry, apply wood dye if desired, and then coat it with beeswax to protect the wood.
To hang your toolbox cabinet, mount wall brackets on the wall. You'll attach the bottom of the toolbox flat against the wall. You can decide if you want to hang it vertically or horizontally. If the toolbox has hinged lids, hanging it vertically keeps them both closed. Secure the toolbox to the brackets through the bottom, then into a wall stud through the back using your drill and screwdriver.
There are plenty of ways to customize this DIY. If you intend to use the toolbox as a display shelf, there is no need to keep the lids attached if the toolbox has them. Removing them will also keep them from fanning out from the cabinet, which can create visual clutter. Painting the toolbox to match your home's decor or creating a distressed look are a couple more ideas for your new cabinet. While using the cabinet as a display case for trinkets and collectibles is a great idea, you can also use it to store spices in your kitchen or as a medicine cabinet alternative for stylish bathroom storage if your bathroom lacks one.
