The Professional Trick To Cutting Formica Or Laminate Countertop
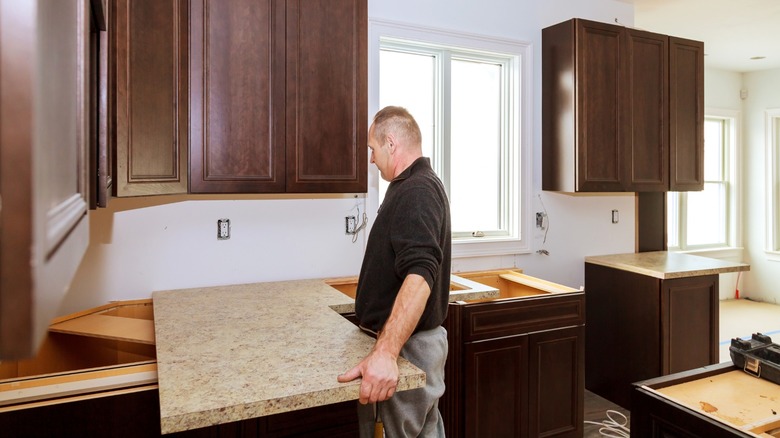
There are plenty of steps in a DIY countertop install that can leave you feeling stressed, with the cutting phase easily being one of the most intimidating. A bad cut or even the most minor blemish can ruin a countertop piece, forcing you into pricey repairs and replacements. Although it's hardly the most expensive countertop material you can put in your kitchen, even laminate costs an average of $19 to $45 per square foot, which can add up quickly when you're replacing long runs. Part of the reason you're making this a DIY project in the first place is to save money. Laminate (or Formica) is, fortunately, the easiest type of countertop to install, but it still behooves you to take as cautious an approach as possible when cutting your sections to size.
With so much riding on proper execution, we reached out for expert insights into the best technique. In a House Digest exclusive interview, Carmine Argano, Owner of Creative Design Ceramic Tile & Bath, addressed one YouTuber's approach involving a pair of squares, painter's tape, and a circular saw to cut their laminate countertop, with some clamps and a wood board making a straight guide for the blade. "This method is what I recommend to both homeowners and my guys when they're working in the field without shop tools. Unless you've got access to a high-end table saw with a zero-clearance insert and a special laminate blade, this is the most reliable way to do it clean," Argano explained. "It gives you a pro-level cut with tools most homeowners already have or can easily get."
Setting yourself up to cut a laminate countertop like a pro
Argano noted this trick's practicality for DIYers wanting to achieve a high-end kitchen with laminate countertops, provided you follow each step to the letter. "If you skip even one, you're gonna run into issues," he stated in his exclusive House Digest chat. "The blue painter's tape is for the finished surface. It helps hold the top layer of the laminate together so it doesn't chip while you're cutting. The cut line runs right under that tape."
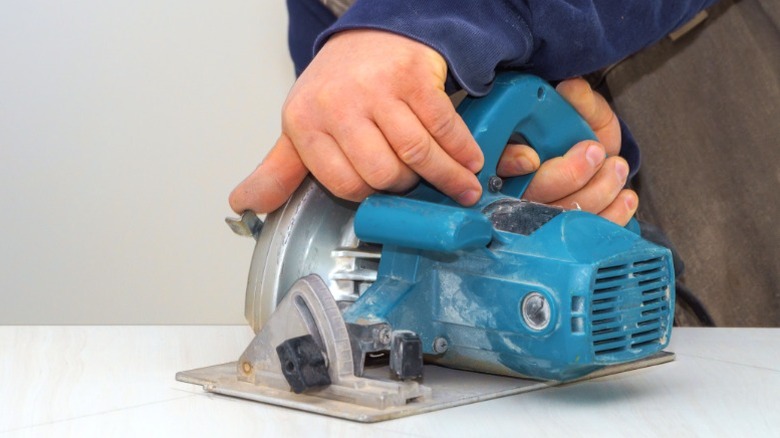
After taping, flipping the counter upside down is crucial. "The teeth come up through the material. If you cut from the top, the blade pulls the laminate up as it cuts and that causes splintering," Argano stated. "When you flip the top and cut from underneath, the blade enters through the raw side and exits clean through the laminate." Alongside the board clamped to guide your saw, Argano emphasized the need for the correct equipment: "None of this works right if the blade isn't proper. You need a 60-tooth extra fine circular saw blade. That's key. A rough blade or a dull one will chip the laminate no matter what."
Putting it all together, Argano stated you can put down tape after measuring and marking your cut lines. "Put a strip of blue painter's tape right over the cut line on the finished side of the countertop. That's the laminate side," he explained. From there, you can flip the countertop upside down to attach your board. "Cut it about 3 inches longer than the width of your top. Clamp it down tight across the line so your circular saw's base plate can ride along it as a guide."
Tips to try and mistakes to avoid with laminate counters
After measuring and marking cut lines, attaching the guide, and flipping the countertop upside down, put on some safety goggles and start your cut. "Place the saw's front edge on the piece, but do not touch the surface yet," Argano advised in his exclusive House Digest interview. "Squeeze the trigger and let the blade spin at full speed before making contact with the surface. This is important to avoid chipping."
"Keep the left edge of the saw base pressed firmly against the 1x6 board. Start cutting slowly and steadily across the entire width," he detailed. "Don't push the saw fast. Let it move through on its own. ... If you followed everything, you'll see a clean, straight edge with no chips." For an extra edge to help ensure a cleaner finished product, Argano offered this trick: "Take a sharp utility knife and lightly score the laminate right on the cut line before you flip it over. ... That helps control the top layer even more and adds another layer of chip protection."
Beyond that, Argano noted common mistakes to avoid. Primarily, you mustn't skip the aforementioned setup, like getting a sharp fine-toothed blade, laying tape, or putting down a guide board. But Argano also notes that inaccurate markings or cutting from the top side are also easily overlooked errors. In some instances, impatience can be your downfall. "Don't rush the cut," Argano recommended. "Let the saw hit full speed first. Then guide it gently. If you force it, it'll tear the top. Most mistakes happen because people push too fast or don't give the saw time to do its job."