Why Your Floating Shelf Is Sagging (& The Best Ways To Fix It)
We may receive a commission on purchases made from links.
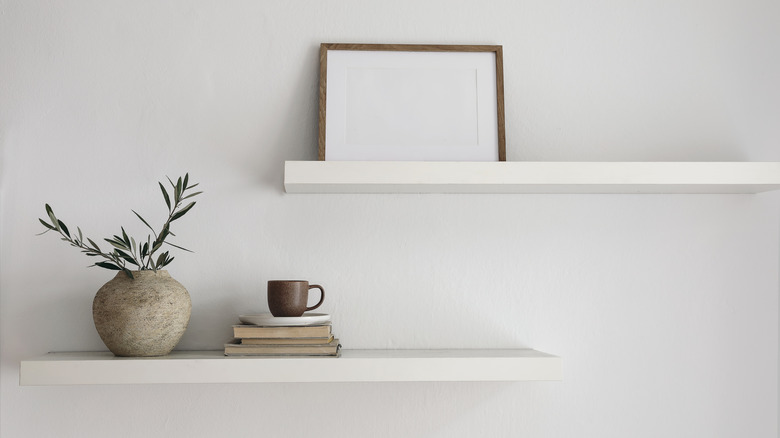
Floating shelves are an elegant way to make space in your home. They work well for most design styles, and are actually a lot easier to install than you might expect. In fact, you can DIY stunning floating shelves on a budget, but unfortunately, they don't always stay in place. Sometimes, your they begin to sag over time. This can be a frustrating experience, and you may want nothing more than to take down the shelves and call it quits.
However, you don't have to give up yet. There could be a very simple reason why your floating shelves are sagging, and the fix may be just as easy. Things like too may heavy objects, uneven walls, loose bolt holes, or a lack of support can all make your shelves sag. Thankfully, it can be as simple as finding a stud, slipping a piece of thick paper under the shelf, or changing the material. However, first, you have to determine which one is the problem for your shelf in particular. It's worth mentioning that it doesn't matter if your floating shelves are handmade or store-bought. They all have the potential to sag for one reason or another. It doesn't necessarily mean it's poor quality, you honestly could've just installed it in the wrong spot. So be patient with it, and yourself, as you work through potential problems and solutions.
It doesn't have enough support
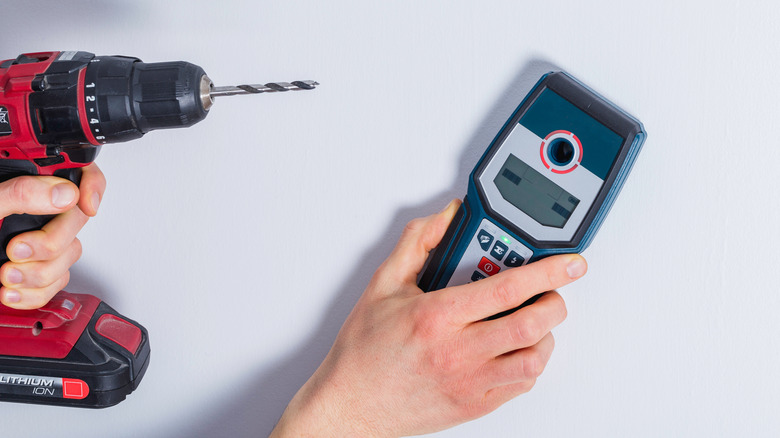
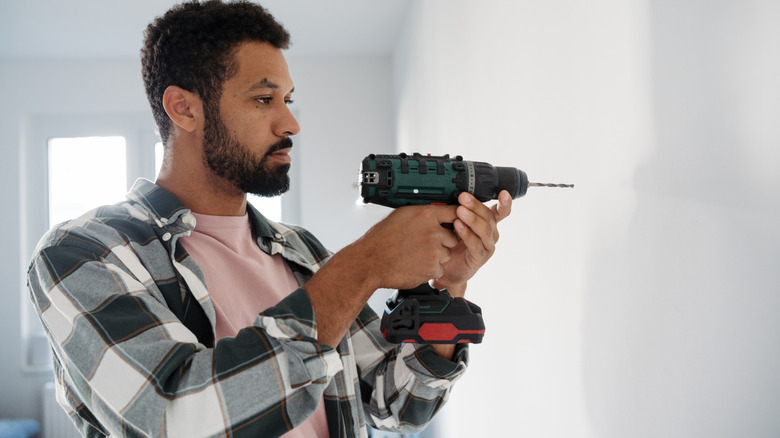
A small problem with your shelf that can make it seem like a big problem is if your brackets aren't screwed into the studs. If this is the case, the only thing you have to do is go and pick yourself up one of the best stud finders you can buy at a reasonable price, and see if there is one somewhere along the length of your bracket. Then, add a screw where you find one to help support your shelf. It's recommended you try and go through at least two studs for maximum support.
If you've ever seen a partially built home, you'll notice that much of the space behind the drywall is empty. While it is useful and can support lightweight objects like pictures, shelves are a little too heavy. The wooden posts holding up the drywall are the studs, and they give your screws a sturdy anchor to help carry some of the weight. It also keeps your shelves in place, as supports placed only into drywall can shift and move over time, leading to sagging or even a shelf that falls down. While there are hollow-wall anchors to keep screws in place directly into drywall, they aren't very effective when it comes to heavy objects, like a shelf. Since this is a common problem, especially if you didn't specifically look for a stud when installing your shelf, this is a great place to start.
The wall isn't level
Though it may sound strange, your walls may not be as level as they seem. Drywall can warp , leading to uneven surfaces that you probably won't notice until you go to hang something on them. This is a common change over time, and may not be noticeable to the average person. A floating shelf, though, is sure to show you all the imperfections of your wall, including whether it is even or not.
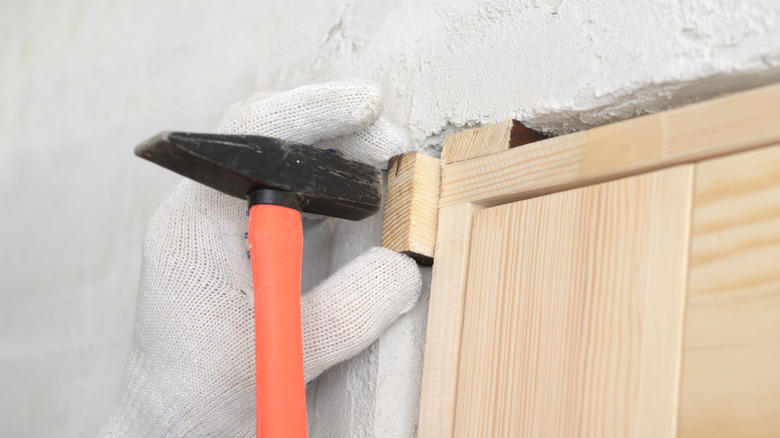
If this is the case, it's actually pretty easy to fix. You just need a shim. There are products you can buy, but essentially, it's the same principle as sticking a folded piece of paper under a table leg to balance it. If you want to save money, or see if this is the problem before buying one, go ahead and fold an index card up a few times and wedge it between the wall and the shelf from underneath and see if that fixes the problem. This can also be a permanent solution, especially if you can hide the index card or shim so it never shows. However, if you want something more permanent, and a couple of sizes and angles to choose from, Wobble Wedges' Rigid and Flexible Shims. You may need more than one shim at a time. Be patient and play around to see what works best until your shelf no longer looks like it is sagging.
The shelf is warped
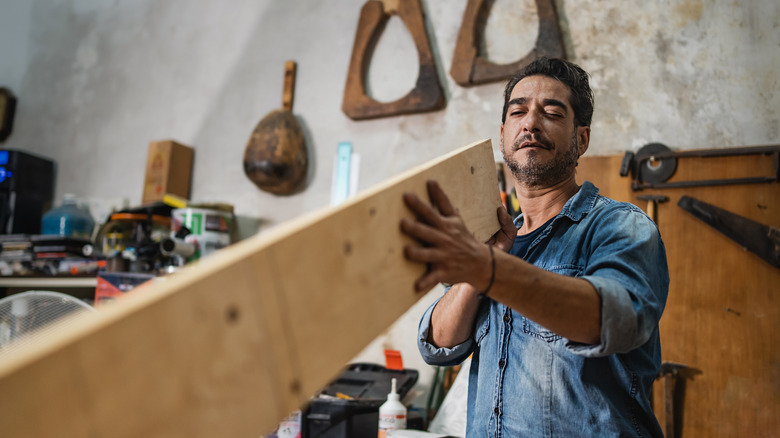
Wood doesn't naturally stay nice, smooth, and flat. Even if it is originally cut perfectly straight, the material may change over time. Generally, as wood loses moisture, especially unevenly, it will start to warp. Changes in temperature can also change the shape. This can look like twisting, bowing, or sagging. There are certain types of wood from trees that do a little better than others, such as fir, pine, cedar, or redwood. Painting and sealing your shelf can also help, but you have to make sure you cover all of the wood, even the parts you won't see, or else you risk it warping more due to uneven moisture loss.
You can try and flatten the wood again by placing something heavy on the warped end. To prevent the issue from happening in the future, make sure it is finished and sealed so sun and water won't cause it to change shape. When you get new wood, it's a good idea to let it sit for a bit, pinned under some very heavy objects so it can dry more evenly. You may also want to freshen up on expert tips on how to buy wood and the best places to find it. Additionally, if the material is getting on your nerves, and you want to prevent this warping from happening again, you can go in a different direction. Using something like plastic or metal.
The shelf can't support the weight

If you notice your shelf sagging in the middle, or underneath heavier items, it may be that it can't hold the weight. Even if your screws and brackets are strong enough to support objects, cheaper and more lightweight materials making up the actual shelf may start to buckle. If this is the case, you'll likely have to replace the material with something sturdier, add more supports, or build multiple shelves to disperse the weight a little bit. Another trick is to put heavier objects closer to the ends. This gives them more support and reduces the strain on your shelf itself, especially if you have deep shelves designed to hold multiple layers of objects.
Wood is often considered the perfect material for your DIY floating shelf, but you have to make sure you get a sturdy wood, such as maple or oak, that can handle the weight of whatever you are going to put on it. However, sometimes wood, no matter what kind, can come warped, or change its shape over time. So you may also want to consider something other than this material, but that still manages to be sturdy. Thick plastic or metal should also be able to hold the weight of all of your trinkets, and won't bend or warp. If you're planning on using your shelf to hold heavy objects, perhaps avoid particleboard or medium-density fiberboard (MDF), as these tend not to be able to hold as much weight.
The holes for your screws are too big
If you push your shelf up and it stays in place for a moment before sinking right back down, it may be because your screws have too much wiggle room in the drywall. Screws don't always go in nicely, and can create a bigger hole than they need. To fix this, you can move the shelf and then fill in any space around the screws with toothpicks dipped in glue . If it's the holes in your shelf causing a problem, consider using a strong wood glue that will make your DIY project last longer. While this isn't the most technical way to do it, it is nice and easy and doesn't require you to completely redo the installation of your shelf.
However, there are other solutions. For one, you can simply purchase bigger screws. You do have to be careful with this method if you are using a bracket to hold up your floating shelf, as the holes for screws are only going to be so big. The toothpick trick basically refills the hole with something sturdy so that you can try to drill in again. If you want to do it a different way, there are also plenty of stripped or large hole repair kits on the market. Or, if you're not entirely happy with where the shelf is, it may be the perfect time to patch up those holes and move it to a better location.