The Easy Way To Give Your Basic IKEA Floor Mirror A Vintage Makeover
Trending vintage and antique mirrors aren't going anywhere when it comes to home decor. For centuries, people have been decorating their homes with embellished mirrors, and many big box stores have their own versions that can elevate any room. It's not always easy (or affordable) to find the perfect vintage mirror, though, so you may need to get a little creative. You can try to DIY your own faux antique mirror with any glass if you want a custom look. Another option is to upgrade a budget-friendly IKEA floor mirror unit — you only need a little Rub N' Buff and some wood embellishments to bring it from basic to a vintage-inspired piece of art. Just by adding that layer of paint and some inexpensive decor pieces, you can create the ultimate dupe for your home with an IKEA full-length mirror.
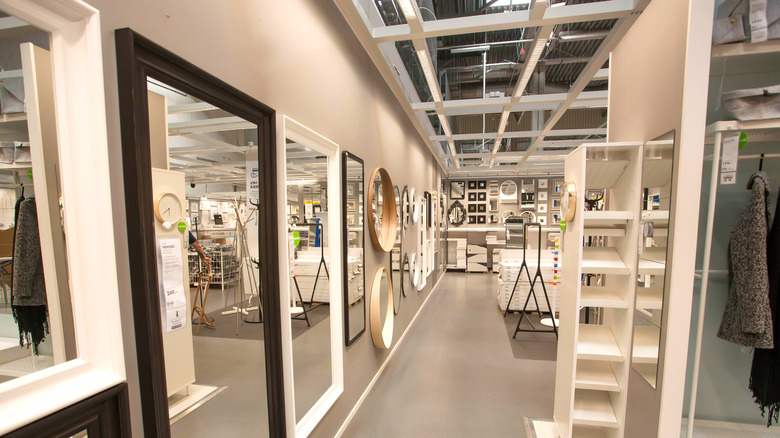
You don't need to spend a ton on your base. Whether you use the IKEA KNAPPER mirror or a similar make, a thin frame will work well with the additions. First, purchase your basic mirror. These range between $50 and $200 depending on the style of mirror, but the inexpensive version will be fine if you're trying to keep costs down. You could also pick up a simple mirror at a thrift store or use one you already own. There are things to know before using Rub N' Buff, including how to prep your surfaces so it doesn't come off over time. You can stop at the Rub N' Buff, but you'll set the mirror over the top by adding wood embellishments with a vintage vibe. Try a straight piece with an arched edge for the top, or look for ornate corner pieces that you can attach to the mirror's corners.
Add paint and embellishments to create a vintage-inspired mirror
There are many ways you can upgrade an IKEA mirror, but this may give you one of the most creative outcomes. Taping off the glass ensures no paint gets on it. Use a foam brush or your finger to apply the Rub N' Buff to cover the entire frame. You can experiment with the product to get the aged look you want. Paint the wood embellishments separately, letting them dry before you adhere them to your mirror. These can be glued on the top of the frame, but you can also add them around the corners and even the bottom if you want a full effect. However, if you attach them on the bottom, you may want to glue them above where it touches the floor so it doesn't create an uneven base.
The gold vintage finish isn't your only option to upgrade these mirrors, though. While Rub N' Buff will definitely give you the antique design, you can also play around with other colors, finishes, and aging techniques. Matte paints will match with everything from farmhouse chic to rustic themes, while gloss finishes could pair with mid-century modern designs. Dry brushing paint onto the frame creates a textured, aged look, as does antique glazing, crackling medium, and waxing. You could also decoupage any thin paper item to the frame to customize the look.
If you've thrifted an IKEA mirror, you may need to sand the wood or plastic frame so the Rub N' Buff will stick. While it may be unusual to thrift an IKEA mirror, they do pop up every so often in secondhand shops. They aren't expensive bought new, but if you can find them for less, why not grab one and try this hack?