Upcycle A Wire Cart Into A Portable Ironing Board With A Simple DIY
We may receive a commission on purchases made from links.
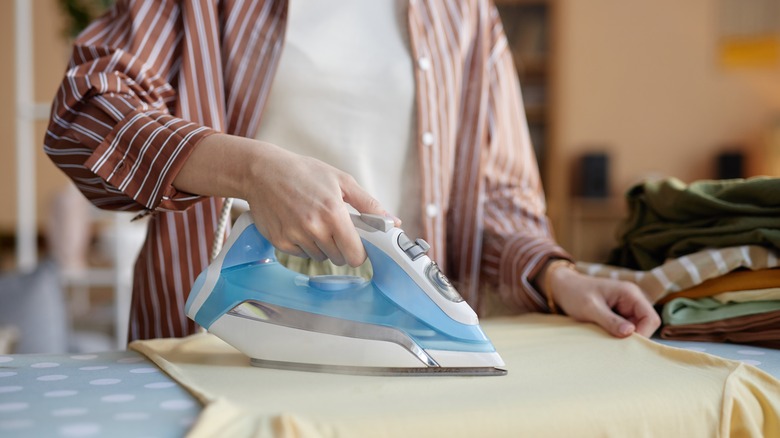
No one likes leaving the house in a mess of wrinkled clothing, but keeping an ironing board in your home can be annoying. The boards are often big and bulky, making it feel like a chore each time you have to dig it out of storage and set it up. But what if you could make your ironing board smaller, portable, and easier to access with just one simple DIY? Whether you're looking for budget-friendly ways to help organize your laundry room or you just need regular access to your ironing board, this wire cart upgrade is perfect. By attaching a mini ironing board like the Storage Maniac Tabletop Ironing Board to a wire cart like the Yasonic 3-Tier Rolling Cart with zip ties, you'll have a portable ironing station with built-in storage for additional laundry-related items.
In addition to the supplies listed above, you will also need a screwdriver to complete this project. With minimal effort, you will have a portable ironing station that can be moved to any convenient location with ease. From the laundry room to your sewing and craft area, anywhere you need an iron, this cart will be there. If you've been looking for an easy DIY storage solution to keep your iron tucked away, this project is for you.
How to build a portable ironing board
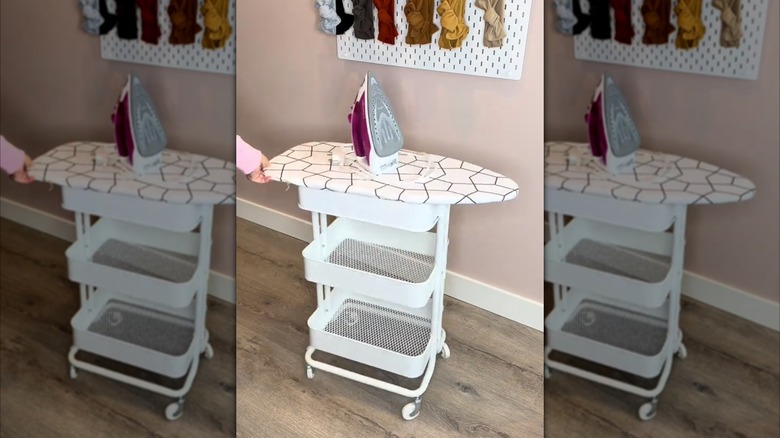
To assemble this portable ironing board, start by removing the top tray of your three-tiered cart using a screwdriver. Then, reattach that tray to the cart upside down. Next, remove the cover from your mini ironing board and place the board on the top center of your cart. Once you're happy with the placement, take roughly four zip ties and wind them through the mesh holes of your cart and your ironing board to secure the board in place. Then put the ironing board cover back on. If you like, use the screwdriver to remove the legs of your board to make the entire unit more compact.
If you're concerned about the use of plastic zip ties on the ironing board, there is an alternative method. For this, you will need two thick planks of wood that fit inside the top tray and four screws with countersunk heads. Attach the wood blocks inside the top tray using two of your screws (through the bottom of the tray), then attach the ironing board to the top of the blocks with two more screws.
When sourcing the materials for this project, look for a wire cart with lockable wheels so your board/station stays put while you work with the hot iron. For the remaining two trays on your cart, fill them with common tools you will need for ironing, such as the iron, a spray bottle, pressing cloth, sleeve board, and pressing ham. Additional laundry-related items like detergent, dryer sheets, and stain remover can also be stored here. All that's left is to familiarize yourself with ironing hacks that give your clothes a fresh-scent boost.