The Low-Cost Trick To Cover Bathroom Tile - Without Demolition
Renovating your bathroom with the latest design trends does not need to be a huge headache anymore. Thanks to modern solutions, walls can be covered with new materials rather than needing to be gutted entirely. This saves time and money in addition to creating less waste that will take up space in a landfill.
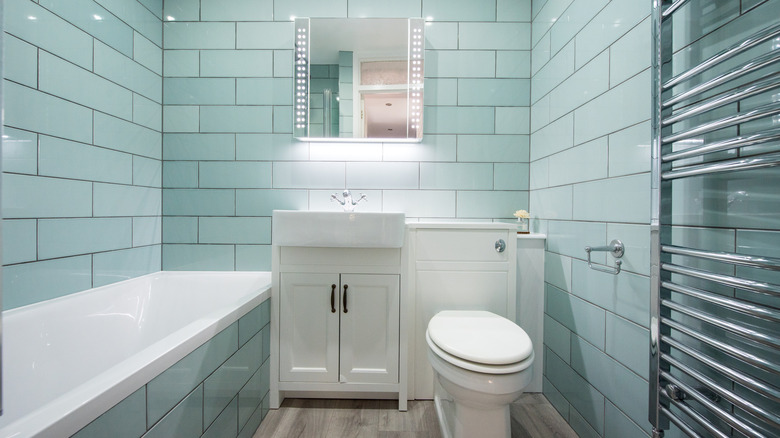
One option for the space is updating lackluster, damaged, or outdated bathroom tile with microcement. Composed of cement and other resins, microcement is a smooth coating that creates a decorative, uniform look. And it can be applied over tile to cover an entire surface. Microcement is waterproof and durable, not to mention it presents a sleek and contemporary visual. It's a great way to establish a new aesthetic throughout the bathroom without needing to take on an entire remodeling project, which can be lengthy and inconvenient. Unlike tile, microcement does not require grout to be applied so the process calls for less tools and takes less steps overall to complete. Perhaps start out by adding a microcement countertop to your bathroom vanity. If you're impressed by the results, let that be a sign that microcement is the right choice for your bathroom walls.
Adding microcement in the bathroom
It's possible to DIY microcement over existing tile for a budget-friendly upgrade in the bathroom. Just like with any project, start by making sure the tiles are ready for microcement to be applied on top of them. This means filling cracks and grout lines, sanding down the surface if it is uneven or glossy, and applying primer. It is most important to make sure the surface is completely dry and clean before beginning the application.
Combine microcement powder with water in a large bucket and mix following the manufacture's instructions. The texture should resemble that of mortar. The mixture will dry as time passes, so you may need to add water and remix approximately every 45 minutes to keep it smooth. Apply the cement to the wall with a trowel over the existing tile. It is imperative to make sure the application via trowel is even and flat so the surface does not erode. Cover the surface fully and then wait for the microcement to thoroughly dry, which could take a few hours.
After the first layer has dried, apply the second coat of microcement. This is the coat that will establish how the microcement will look on your bathroom walls, so feel free to use a sponge or other tools to achieve your desired visual. Wait 24 hours for this layer to properly dry, then apply the topcoat sealer. The sealer is necessary to protect microcement from damage, moisture, and discoloration. Once the project is complete, make sure to properly maintain the surface to keep your microcement clean and beautiful in the bathroom.