Don't Throw Out Old Chairs: Try This Adorable DIY Bathroom Storage Instead
We may receive a commission on purchases made from links.
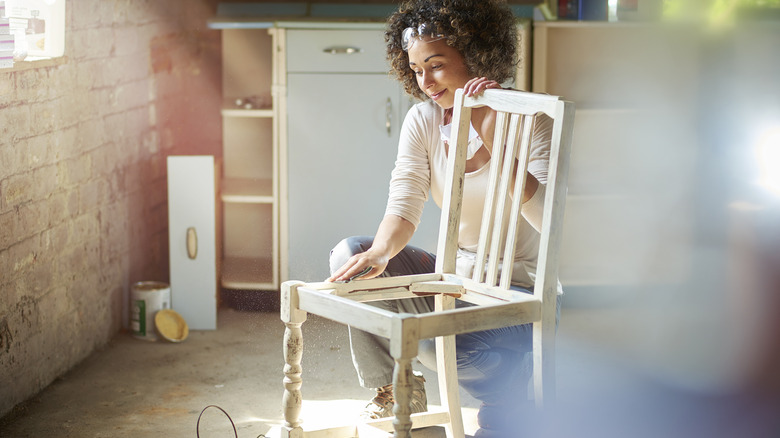
When you've got an old junky chair that just doesn't have a place in your home, it can be tempting to toss it to the curb for trash collection or donate it to your local thrift store. But what if there was a way to repurpose an unused wooden chair and give it a functional facelift as a bathroom storage piece instead? Avid upcyclers might be thrilled to DIY a custom bathroom shelf out of a rickety chair. This project is great for holding towels, knick-knacks, toilet paper, or anything that suits your needs and aesthetic. While you may need a few tools, like sanding equipment, a jigsaw, painting tools, a drill, and possibly mounting brackets or drywall anchors, it can be a creative project for a savvy DIYer with a bit of know-how.
By cutting the chair in half, removing the legs, sanding and painting the wood, and mounting it to the wall, you can make an ultra-customizable chair shelf that looks unique and quirky. This project may not be the most beginner-friendly, but it can be adapted to suit many homeowners' needs. For example, using only the chair back and partial seat acts as a decorative shelf, while utilizing the underside of the chair could be ideal for hanging towels. With a bit of ingenuity, this could be a fun change that'll bring a rustic aesthetic to your bathroom.
How to transform an old chair into a gorgeous wall shelf
Start by outlining the cut with a pencil and sawing your chair in half horizontally across the seat. Once cut, you'll have two halves, with one side composed of the back of the chair and a partial portion of the seat. For the shelf, you'll be working with the half that has the seat back. Next, you could cut off part of the legs, though this is optional. You might also choose to use a plunge router to create mounting holes for the screws, though you could also install brackets, like these GUSSKER Heavy-Duty D-Rings, or use a drill for rough-cut holes instead. For this DIY, keep in mind the chair will be turned upside down when hung. Once your chair has been cut to size, begin sanding any rough edges and the wood surfaces to prep for painting. You might also need degreaser and a cloth at this stage of the project. Next, use a water-based paint to paint the shelf. Any color you choose will do.
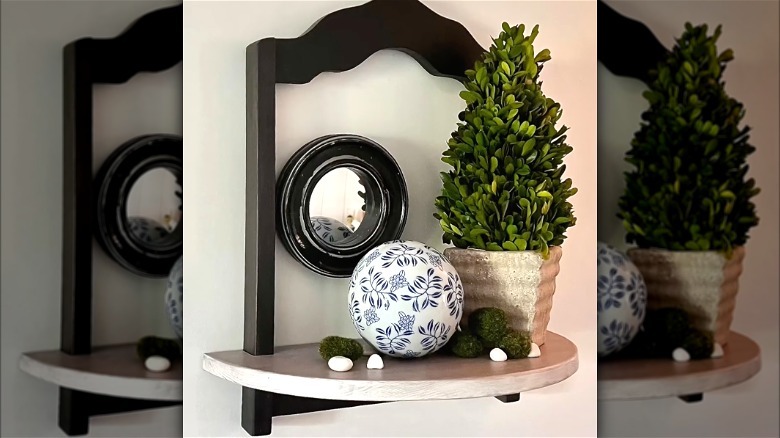
Now, it's time to hang the shelf. Be sure to measure carefully before drilling screws into the wall. If you can't screw into a wall stud, install anchors to keep the shelf from falling. Next, line the screws up with the brackets or mounting holes on your DIY shelf to hang it up. For added security, you could use a clear sealant on the portion of the wood that will touch the wall to prevent shifting. Once your shelf is hung, test its stability. Then, decorate it with your bathroom essentials.
Customize your chair-turned-shelf with these ideas
There are several ways to DIY rustic shelves for your home using old wood, like an unused chair, and even more opportunities to personalize them. Chairs come in all shapes and sizes. If your chair has a ladder-style back, this could be a natural location for hanging towels. Alternatively, if the back is more ornate, you might prefer to hang the chair upright as a shelf rather than upside down, as described above. For example, you could cut the chair in half horizontally, remove the legs, and utilize only the chair back and partial seat for the shelf. Alternatively, you can disassemble it completely, opting to screw the pieces together in different ways, like flipping the seat and attaching the legs to the other side to create a shelf with rungs for towels underneath. Ultimately, the style and build of your chair will impact how you choose to assemble it as a shelf.
Additionally, you don't have to toss the second half of the chair or wait to use it as scrap wood. Some homeowners have transformed the other half of their repurposed chair into a standing mini side table, mounting it to the wall for stability. If you're looking to save money on plant pedestals with a gorgeous thrift flip, using both halves of the chair, whether hung on the wall or placed lower to the floor, could be great uses for this DIY in the bathroom.