Save Major Closet Space With This Dollar Tree DIY To Organize All Of Your Purses
We may receive a commission on purchases made from links.
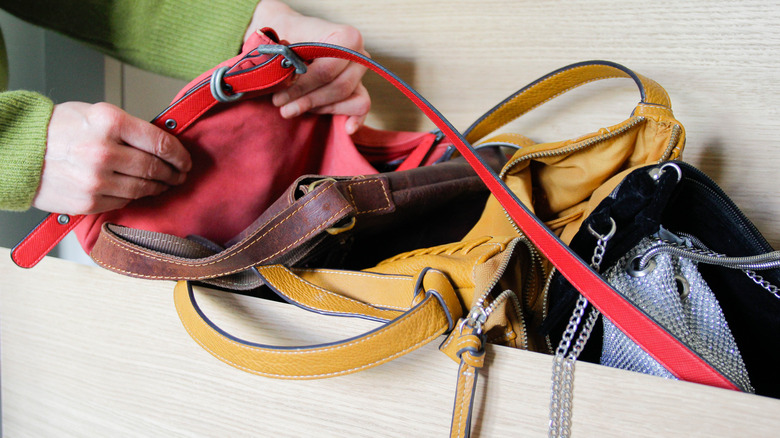
Closets can get out of hand faster than you'd expect, especially when it comes to accessories like handbags. You're probably already embracing the overlooked solution for keeping your closet organized by creating separate zones for shoes and clothes. But purses? They often get tossed in a corner or squished on a shelf. Without a proper home, they can lose their shape or disappear under a pile of other items. Nobody wants to dig around for the right bag when they're running late. If this sounds familiar, there's an easy and budget-friendly DIY hack that can help. Using affordable supplies from Dollar Tree, you can create a simple handbag organizer that looks tidy and saves a ton of shelf space.
Here's what you'll need to get started: five to seven 10-by-8-inch Special Moments Freestanding Borderless Picture Frames and one 12-inch rectangular sign (or the 17-inch Crafter's Square Wood Plank if you want it to be bigger). Also, grab a strong craft adhesive like E6000 glue (or another super glue that works with plastic and wood, since E6000 isn't sold at Dollar Tree). Altogether, it takes less than $8 to pull off this project if you already have glue, turning a messy pile of bags into a streamlined display. With just a little time and creativity, your closet will instantly feel more put together.
How to create a Dollar Tree organizer with acrylic frames and a wood sign
First, lay your 12-inch or 17-inch sign face down on a flat work surface. The design on the front of the sign won't matter since it won't be visible once finished. Next, arrange your acrylic frames across the sign, leaving about 2½ inches of room between each one. Before gluing, lightly mark each spot to help keep your spacing even and straight.
Once marked, peel away the protective film from the frames and apply your adhesive to the bottom edges that will touch the sign. Press each frame firmly into place, and make sure they're aligned. It's important to let the glue dry fully so everything holds strong. When everything is set, place your new organizer in your closet. Simply slide your handbags into the slots created by the frames. With this setup, you can store six to eight purses, depending on their sizes. The result is a neat, easy-to-reach display that clears up valuable closet space. For more ways to organize your space, try these 5 clever closet hacks you didn't know you needed.
Tips to personalize and adjust your new Dollar Tree purse organizer

Before committing to gluing, think about which purses you want to include and adjust the spacing to suit their widths. If you have larger tote bags or structured satchels, you might position the frames farther apart. Smaller bags can be arranged more closely together, and you can even create more than one organizer if your purse collection is big enough.
Feel free to play with the look of your organizer, too. Paint the sign to match your closet decor, cover it with patterned fabric or adhesive paper, or add decorative accents inside the frames for a pop of color. You could also make one for the bags you use seasonally — for example, one organizer for summer purses and another for winter purses. Additionally, this clever setup can hold scarves, belts, or even hats, making it a versatile piece for keeping accessories in order. With a bit of customization, you can create a storage solution that not only helps you stop stuffing handbags into your closet but also makes getting dressed a little more fun.