This Rustic Entryway DIY Is Your Excuse To Not Throw Out Old Pot Lids
We may receive a commission on purchases made from links.
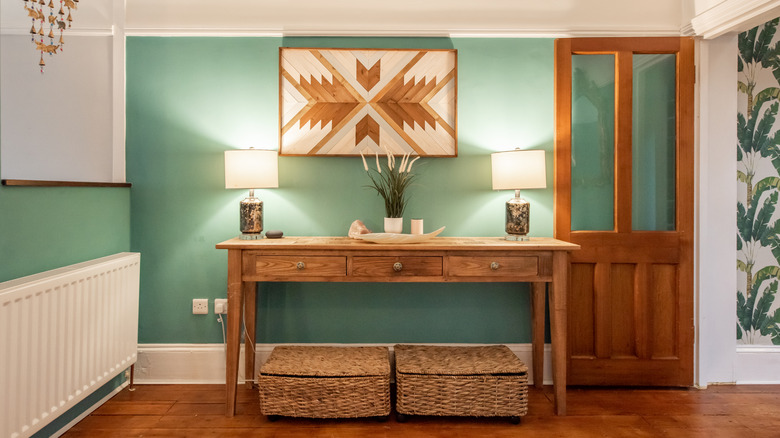
The last place you'd expect to get any use out of those old mismatched pot lids is your home's front entryway. It's hard to see them as anything but covers to pots that cook a bit of pasta and oatmeal. However, with a little elbow grease, a handful of craft supplies, and a few embellishments, those lids go from trash-can-ready to a rustic hook rack that'll level up the space.
To look authentic, rustic decor style calls for a couple of specific design elements, including the use of reclaimed wood. This DIY embraces this as a foundational element. For this project, you'll want to tap something like an old cupboard door or the top of a vintage TV tray to get your reclaimed wood. This piece of upcycled wood becomes the base onto which you'll affix the pot lids. And depending on how you decorate the wood, it can become a key decorative piece in rustic styles as varied as industrial farmhouse is from Western rustic.
Another key decorative element of rustic decor is an affinity for handmade items. Your pot-studded wall art becomes a cool, rustic-themed handmade item when you treat it with some pickling salt, chalk paints of different hues, and a scraper. The latter item you can buy on its own or as a part of a Rerdeim Putty Knife and Scraper Set. You'll also need a paint brush, some paint cleaning supplies, a sander, a drill, and some screws to finish out this job.
Putting together the pot lid DIY
If you're repurposing an old cupboard door, you'll need to remove elements like hinges and knobs from it. Since this piece will essentially become a coat rack, you don't want the wood to be very wide — it should have just enough width to extend a little bit past the edge of the largest pot lid by an inch or so on both sides. Once that's done, give it a good brush with the sander to ready the wood for the paint. The trick here is to remove any splotches of leftover stain or paint and to add just enough texture to make the new coat of paint stick.
Some sprinkles of Morton's Canning and Pickling Salt layered onto the damp paint plus a few more layers of paint of different colors create the appearance of texture. The key to mimicking the look of wood that's been painted, repainted, and then worn out is to add the salt to each layer of paint. For example, it'll look something like white or eggshell paint on the bottom, then a layer of salt. A layer of red paint gets topped by more salt. Finally, a contrasting color like teal, bright yellow, or black and another layer of salt puts down the last layer of paint. Once all of that is dry, strategically scrape to bring forth the bottom layers of the paint.
Finally, you'll fasten the pot lids to the wood by drilling a hole in the lids and putting a screw through the holes. These are affixed to the wood. Their knobs become the rack's coat hooks.
Adding decorative embellishments to the DIY
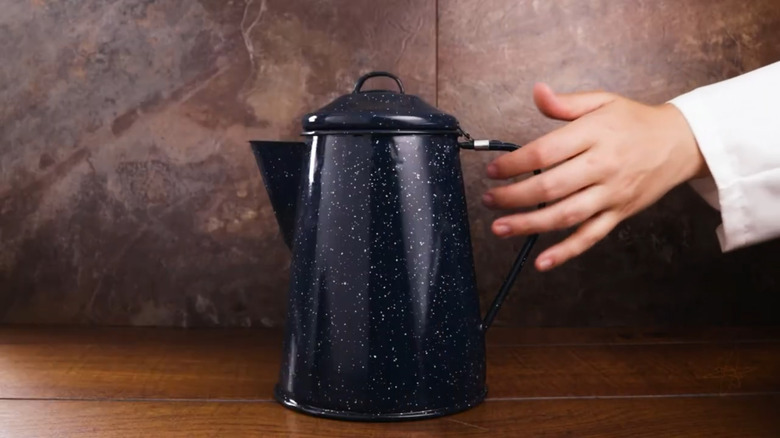
You can add any kind of pot lid to this, but if you want an extra rustic look, consider using blue granite campware lids to lend a layer of authenticity to the project. Mismatched sets of this type of camp cookware can often be found at second-hand stores or at local farm auctions. You can also buy new sets of Blue Granite Cooking Kettles from GSI Outdoors or COLETTI Blue Granite Percolator Camping Coffee Pots. The pots can be used for herbs in your patio garden once you separate them from their lids.
If you'd like a more unique look, replace the pots' original knobs with some Suiwotin Vintage Ceramic Cupboard Knobs. Otherwise, source the knobs from old cupboards or a junk box in your garage for a mismatched look. Or if you feel like you need to add some more hooks but don't have room on the board for more lids, try getting creative by bending some old forks or spoons into hook shapes. Finally, to create more visual interest on the wood backdrop, add stencils of horses or kokopelli dancers to amp up the Western rustic vibe or leaf prints to augment a Scandinavian rustic look.