The Best Hack To Finish Drywall That Butts Up Against Exposed Brick
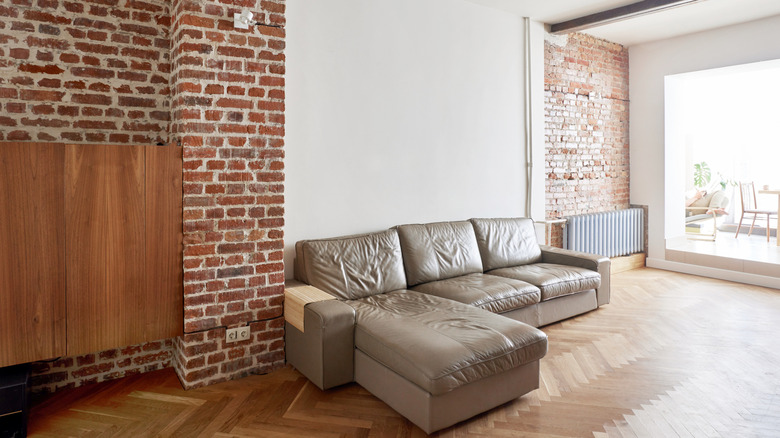
Exposed brick walls add a rustic touch to your home, but creating a smooth transition between exposed brick and drywall can be tricky. From rough, bumpy edges to uneven gaps that invite spiders and other pests, terminating your drywall where it butts up against brick presents a few challenges. Fortunately, there's an easy solution: custom-cut a corner bead.
L beads with a mud track are many people's go-to when attempting this kind of transition between drywall and brick. However, if you don't have an L bead on hand, you can cut a corner bead to create a makeshift straightedge, allowing for a clean seam between the two materials. To create this smooth termination, you'll need a putty knife or trowel, drywall mud, a corner bead, and a sharp knife to cut the corner bead to size. By cutting off one edge, you can create a flat bead that juts up smoothly against the drywall where it meets the exposed brick.
Using caulk to seal these gaps might feel intuitive, but keep in mind that your walls may shift or expand over time due to temperature or humidity fluctuations, potentially resulting in a rough texture or eventual cracking. When installing drywall, it's best to avoid these common mistakes at all costs and instead choose a longer-lasting termination method.
Cut a drywall corner bead to make a custom straightedge
Trim-Tex sells a tearaway L bead that's perfect for when you need a clean edge between two surfaces. The difference between the tearaway bead and a traditional drywall bead is that you can tear away the mudguard post application. However, if you can't access this product or need a quick solution, you can use a corner bead for drywall instead, as demonstrated in an Instagram video from @refreshhomeimprovements.
To do so, measure your corner bead and cut it to size. Dry fit it to ensure that it's the appropriate length. Then, cut off one side of the corner bead to make a custom straightedge. The bead should still have a slight L shape, just enough that the small edge sits in the gap between the drywall and the brick.
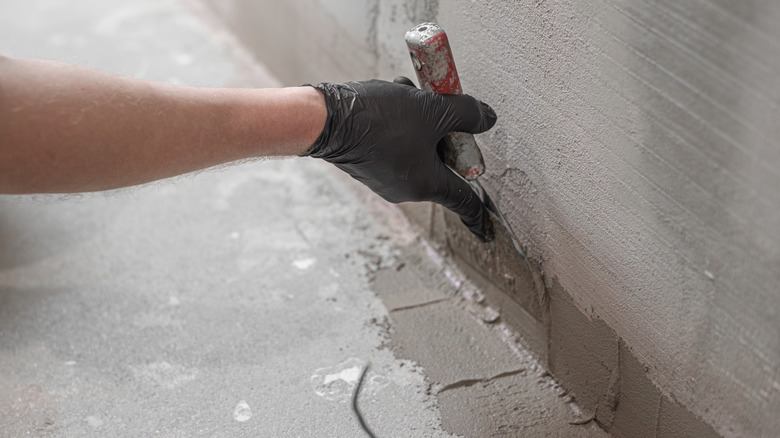
Next, coat your cut corner bead with drywall mud and place it up against the wall where you wish to create a straightedge. Press the bead into place using your putty knife and smooth out the mud beads that squeeze through the holes. Add more drywall compound as needed to smooth over the surface and hide the bead's texture. Allow the mud to dry according to the package instructions, then sand the area. This is also the perfect opportunity to familiarize yourself with mudding and taping drywall like a professional prior to executing the project.
Considerations for using this method of drywall termination
Something to be cautious of when mudding your drywall is accidentally getting the substance on your brick with your trowel or putty knife. Since there's no mudguard on the corner bead, you'll need to work slowly and intentionally. For a bit of assistance, try stapling your cut corner bead in place, as many manufacturers recommend doing during installation.
If you prefer not to use staples but still want a sturdier application, some contractors use mesh tape to bridge the gap between the bead and the drywall for added strength. Another consideration some contractors point out is that despite added adhesives, this hack may not be ideal at floor level without installing protective trim, as vacuums and high traffic could wear out both the mud and the bead.
If you can access a tearaway L bead, modify the process by ensuring you tear away the mudguard prior to sanding the compound. Additionally, it's important to note that while this hack will give your drywall a clean edge where it meets the brick, there may be some potential gapping on the brick side, especially if the bricks are old or roughly cut. Thankfully, a bit of caulking, spackle, or joint compound can help cover large gaps when touching up damaged drywall corners.