Easily DIY A Chic Countertop Tray With Dollar Tree Paper Towel Holders
Maximizing your kitchen countertop space can be crucial if you struggle to keep things tidy. So, if your countertop is starting to look like someone dumped an entire junk drawer all over it, then it may be time to consider making a few changes to its layout. Or, perhaps the counter is fine, and you're just looking to spice it up a bit with more decor. In either scenario, this sleek DIY tray can serve as a practical addition to your kitchen surfaces, adding both style and multi-functionality. Simply zip tie Dollar Tree paper towel holders together, top it with a mirror surface, and place your everyday go-to items on it, including spice containers, coffee mugs, quick snacks, or pieces of fruit.
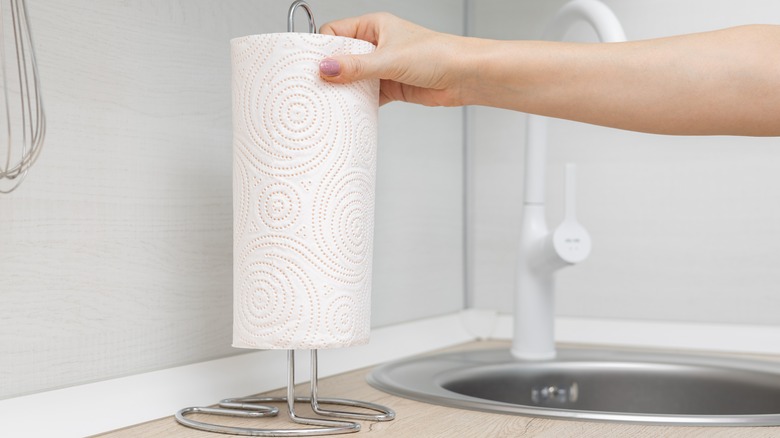
Not only does this countertop tray help declutter your kitchen, but it also only requires four of Dollar Tree's Cooking Concepts Paper Towel Holders, four wood plaques, and Zonon Mirror Sheets to DIY. The small wood plaques can be bought at Dollar Tree, too. Other than that, set aside a few basic tools you likely already have at home, including a pair of scissors, zip ties, screws, a drill, and Gorilla Glue.
Affordability is where this fun project really shines; all of these items can be purchased for under $10 each. If you don't already have a drill, the most expensive items on this list are the Gorilla Glue and the mirror sheets, which are only $7. But the best part? The finished product looks like something out of an interior design magazine, instead of something that was made on the cheap.
Steps to turn a paper towel holder into a kitchen tray
Before buying your four plaques, make sure they're long enough to fit on the tray once joined together. The Dollar Tree paper towel holder is around 12 inches long, so the plaques should be a little under this length to fit comfortably. Start the project by aligning the plaques face-up, side by side, in two rows to form a rectangle. Drill screws through the back sides of the plaques, securing all four of them together.
Next, lay two paper towel holders on their side. Face them toward each other and bring them together so each top is touching the other's base and the vertical wires are lined up side by side. Then, apply two zip ties on each set of wires, spacing the ties evenly apart. Do the same for the other pair of holders. Once that's done, bring both holder pieces together, lining them up side by side at the round base — this will form the tray's base. Zip tie the inner side of the round bases where they touch, and clip the extra slack with scissors.
From there, take a mirrored sheet and lay it over the connected plaques and cut it to fit. Cut another strip for the sides, and then stick the self-adhesive strips on the plaque. Finally, glue the underside of each plaque that will touch the holder's wire. Place it on top and wait for the glue to dry.
Ways to customize your paper towel holder tray
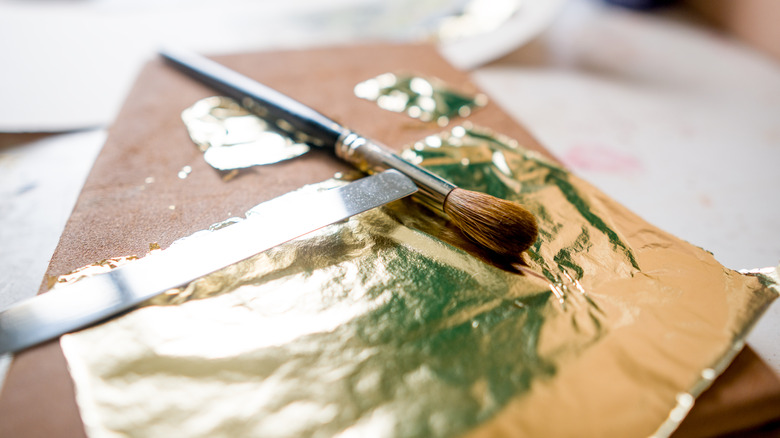
It is very possible to make the most of the space in your kitchen while giving it a touch of refinement. This DIY tray is the perfect way to do just that. Consider adding elegant beads or rhinestones to the sides of the tray to complement the mirror sheeting and metal holders. Or, use gold mirror sheets along with gold VGSEBA Acrylic Paint on the holders to keep a classy look, but with a different tone.
Alternatively, you can also go in a completely different direction and line the wood plaques with real or faux leather strips. Maybe even paint the base to help it blend in better with the kitchen, or choose an accent color to make the tray stand out more on the countertop. In addition to painting, stencils or your favorite vinyl decals offer a great way to add more character to the tray as well.

