The Budget-Friendly DIY To Get Custom Shoe Storage
We may receive a commission on purchases made from links.
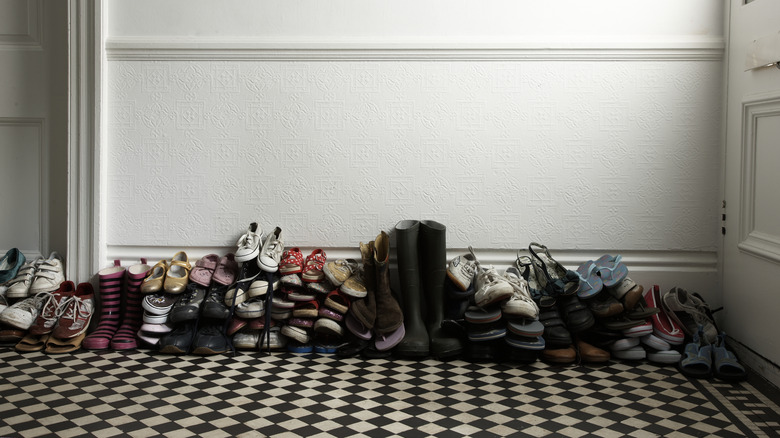
The last thing you need when you return home is to trip over a pile of scattered shoes cluttering up your entryway. While there are several tips for organizing all of your shoes, many of them involve tacky or unattractive shelving. As for those who encourage stashing your footwear in a closet, it's fair to say not everyone has access to a closed storage solution right by their front door. That's where making a custom shoe drawer beneath an existing cabinet could be the solution you've been craving. For those living in a small apartment or who have an entryway or mudroom with existing cabinetry, you can create a custom shoe drawer beneath the cabinet ensemble, hidden inconspicuously behind the toe kick or baseboard.
To complete this DIY project, you'll need a measuring tape, 1-by-4 boards, a plywood sheet, a saw, drawer tracks, and screws or a staple gun. This hidden shoe storage solution may not work for everyone since you'll need a cabinet to achieve the project. Additionally, it may not accommodate all your shoes, depending on the space available beneath the cabinet. Although it could allow you to stash your most-used footwear out of sight and help you avoid the disastrous mistake many folks make when organizing shoes, such as placing them in plastic totes.
Conveniently hide your shoes with a custom drawer behind a cabinet baseboard
To make this custom shoe drawer, you'll first need to remove the cabinet baseboard or toe kick. Disassemble gently to avoid damaging the wood. Once the baseboard has been removed, measure the space underneath to obtain the dimensions needed for the shoe drawer. You might prefer to use a pair of shoes as a general guide for how much depth you want to have in the drawer. However, if you prefer a deeper drawer, you could use two pairs of shoes to help gauge the depth necessary for a space two rows deep.
Next, begin by measuring and cutting your wood to size. Use 1-by-4s to create the sides and back of the drawer, using screws or staples to secure them together at 90-degree angles. It could also be a good idea to use a 1-by-4 along the back of the baseboard for added sturdiness. Then, screw or staple a plywood sheet to create the bottom of the drawer. You can use a layer of contact paper to line the bottom, similar to COSNIGHT Wood Grain Contact Paper. Using drawer rail tracks, attach them to the sides of your drawer and to the walls beneath the cabinet where the drawer will slide in. Lastly, situate your drawer on the rails and test to ensure it slides smoothly. For added utility, you could add a magnetic push latch, similar to CBRIVE's Magnetic Push Latch & Lock, to make it easier to pop the drawer open and close by pushing your toe against the baseboard. This DIY can be a great way to maximize storage space in your small home while still maintaining a minimalist and luxurious appearance.