The Affordable Dopamine Decor You Can DIY With Just Some Pool Noodles And Yarn
We may receive a commission on purchases made from links.
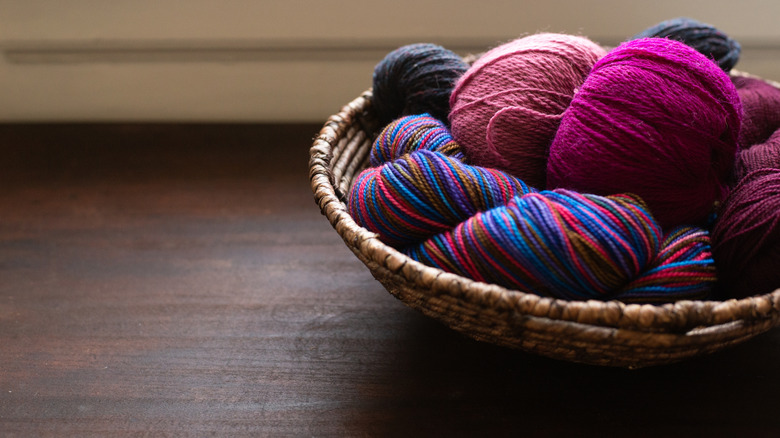
We love a good pool noodle DIY, especially when it involves creating adorable decor on a budget, like turning pool noodles and yarn into a fun rainbow wall hanging. It's a great way to embrace the dopamine decor trend and bring some color and joy into your home for under $40. All this DIY requires are three pool noodles (available at Dollar Tree and Walmart for just a few bucks) and three spools of yarn in complementary colors. You can opt for traditional rainbow hues, muted tones to create an ombre effect, or any combination of colors that best matches your aesthetic.
For this particular project, you'll need to completely wrap each noodle with your chosen yarn, so opting for a braided or chunky variety is best. This will speed up the process while also diminishing the actual amount of yarn you'll need to use. This is important because it's the yarn that will dictate the majority of your final cost. If you're planning to use your homemade rainbow for a birthday party or as temporary decor, it might make sense to opt for something affordable like this THY Supplies 100-color acrylic yarn. If, on the other hand, you plan to hang it in a child's bedroom or add a permanent pop of dopamine to your living room, we suggest opting for a higher-end wool yarn. Now, it's time to get to work.
How to DIY a gorgeous hanging rainbow from pool noodles and yarn
Begin by tying the three pool noodles together with a rubber band, then bend them into your desired arch and cut off the excess ends with a knife. Next, wrap each noodle tightly in a different shade of yarn, hot gluing both ends of the string to your noodle to ensure it doesn't unravel. This portion of the DIY may take upwards of an hour (the total project takes about two hours) and is a great time to get kiddos involved.
Once each pool noodle is completely wrapped, hot glue them together and shape your arch. Prevent the noodles from bouncing back by tying the two ends together with yarn or driving skewers through the bottom portion, which will eventually be hidden under DIY clouds. Alternatively, you can also run a copper wire through all six pieces of noodle to keep the bend in place. Take things up a notch by hot gluing additional string or even pom-poms to delineate the different arches of your rainbow.
Finally, craft clouds by wrapping thick white yarn around your arm, from hand to elbow. Tie it in the middle with a piece of yarn, then cut each of the hanging loops to create a frayed effect. Hot glue two clouds on each side of your rainbow, flip it over, and thread a piece of string under the yarn at the center of the middle arch, creating a loop with a double knot. Now your DIY is ready to hang, offering the perfect kids' bedroom decor that won't be too childish as they grow up.