Don't Throw Out Old Towels, Upcycle Them Into A Cute DIY Bathmat
We may receive a commission on purchases made from links.
Towels are a bathroom essential you should always buy on sale. But what do you do with the old ones? Do you just wish them a good life ahead and chuck them in the trash? However, if you aren't keen to add to the 11.3 million tons of textile waste in landfills (according to the EPA), consider giving them a new life in your home. Simply cut the towels into chunky strips and braid them to upcycle them into a cute DIY bathmat. Besides the environmental impact, you won't have to worry about slipping on your wet bathroom floor. Win-win!
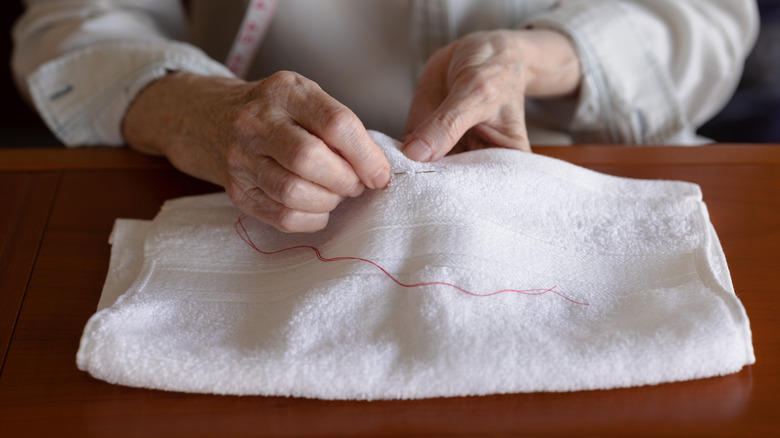
Plus, this DIY won't burn a hole in your pockets since you don't need a lot of items. Start by gathering a few of your old towels. Ensure you pick ones you wouldn't mind looking at day-in, day-out. Next, you'll need a sharp pair of scissors for snipping off extras and cutting the strips. Or, pair a rotary cutter, like Headley Tools' 45mm Cutter with 5 Extra Blades, along with a ruler if you're worried about straight lines. You'll also need your sewing machine to seal the ends and bring the strips together. But if you aren't a proficient sewer, use a dedicated fabric glue you should have on hand in your home. For instance, E6000's Fabri-Fuse Adhesive is a good option. A glue gun could also help out in a jiffy. You could even keep a few push pins handy for an easier time. Buy the cheap ones from Dollar Tree if you don't have spare ones at home.
How to create a braided bathmat using old towels
Once you have the necessary supplies, cut off your old towels' corners. Then, start dividing them into 1-inch strips. Since you don't want the braid to look wonky, use a ruler to space the cuts evenly on your first towel. A marker will help if you're using a scissor. Just use it on the reverse side to avoid blemishes. Then, place a cut strip on the remaining ones and use it as your North Star. After you have all the strips, pick three differing ones and pin one of their ends. Sew or glue them together for a finished look.
Now, for the fun part: rolling the strips for a chunky look and braiding them. In case you're having difficulty keeping them rolled, use pins to make your job easier. Just don't forget to pull them out once you're done. When you reach the edge, sew or glue other strips to their ends and keep braiding them until you run out. Seal it in the same way you did the other end. Then, tightly coil the braided towels to form your bathmat. Apply glue or sew the levels to keep them together. Be generous since you don't want the coils to come apart after a few days. You could even use hot glue to speed up the process. But choose the water-resistant kind to ensure your mat doesn't unravel after being subjected to moisture. To keep it from sliding, glue some mesh fabric to its bottom.
Ways to personalize a braided bathmat
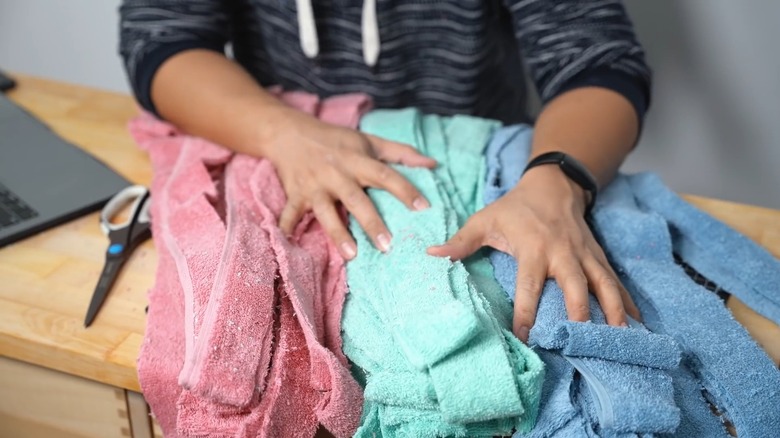
Since you'd be looking at your DIY mat every time you use the bathroom, try sprinkling in personalized touches to ensure you don't get bored of it too soon. After all, you'll be spending a significant amount of time on the project. One of the easiest ways to customize it is to use colorful towels. Get at least three different ones for a delightful result. You could even throw in more towels if you want something kitschy. However, avoid mixing in solid colors with patterns, as they might not gel well together. In case you want to go this route, ensure the two have something in common, like the base tone, to avoid DIYing an eyesore.
You could even do a themed mat. You just need towels with beautiful designs. For instance, create a superhero-themed bathmat for your kid's bathroom. You could even match it to your decor theme. For example, if your bathroom's design leans towards nautical, use towels that showcase water-based scenarios. But if you're a fan of minimalist decor, pick towels in the same color. Worried it'd look too basic? Add tassels or ribbons (you could combine the two, too, if you're feeling frisky) to your mat's outer edge. This simple addition will spruce up its appearance and add your personal stamp.