9 Mistakes To Avoid When Cleaning Your Hummingbird Feeder
We may receive a commission on purchases made from links.
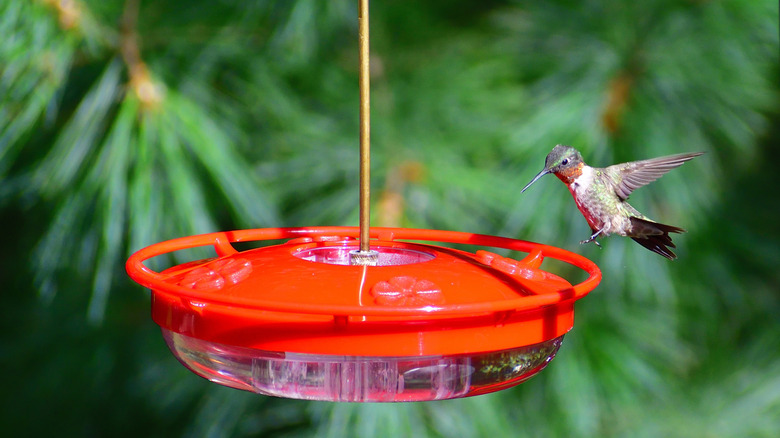
Watching hummers zoom around your yard and drink nectar from a hummingbird feeder can be gratifying. But with great pleasure comes great responsibility. Basically, it isn't enough to keep a feeder filled. You must clean and maintain it the right way to ensure your colorful visitors don't fall sick due to poor practices. For example, leaving the device up for too long and giving it a wipe down occasionally will promote the growth of bacteria and mold. They, in turn, will hurt your tiny friends. So, if you don't want them to boycott your yard, stick to a regular cleaning schedule.
There are several common cleaning blunders when maintaining your feeder. For instance, you might not disassemble the device. This will make it impossible to eradicate the bacteria and mold hiding in tiny crevices. You might also be guilty of using bleach inappropriately, not employing the right tools, or not cleaning it thoroughly. Don't want to be a lousy host or see hummers fall sick on your watch? Here are nine mistakes you should avoid when cleaning your hummingbird feeder. We've also included ways to rectify them to make the process easier. Pro tip: Buy extra feeders to ensure your visitors don't go hungry while you scrub the dirty ones.
Not cleaning your hummingbird feeder frequently
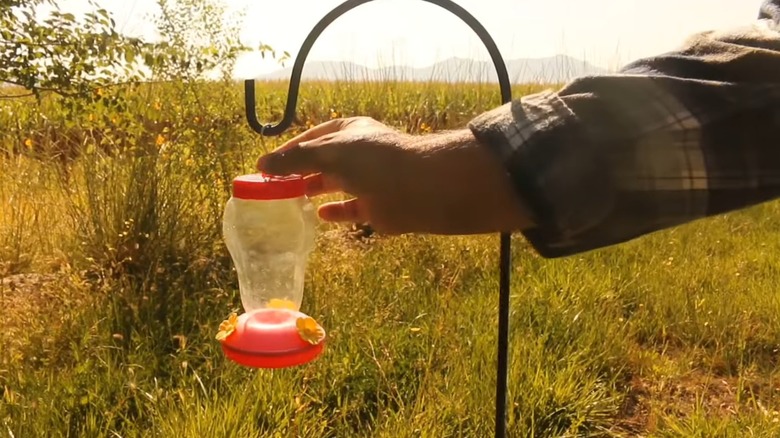
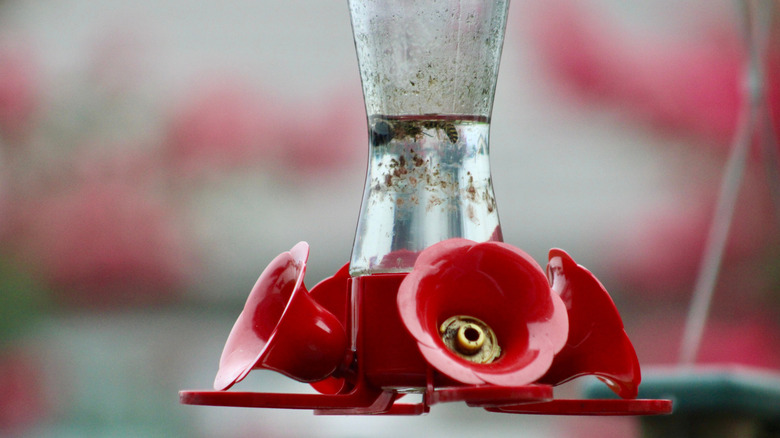
A common mistake you might be making is not cleaning your hummingbird feeder frequently. This can be especially damaging during summer months since the heat will promote the growth of mold, yeast, and bacteria. They'll infect your feeder and make it unsafe for hummingbirds to drink from it. In a best case scenario, a few might fall sick and stop visiting your yard. In worst cases, some might even lose their lives. Since you don't want their death on your conscience, clean your hummingbird feeder often for always-fresh nectar.
The exact frequency will depend on the weather you're experiencing at any given moment. To elaborate, clean the feeder daily or every alternate day during hot and humid summer days. This also applies to ones placed directly under sunlight. In case of moderate climate, empty and clean it every three days. During winter or for devices hung in shade, you can get away with a weekly cleanup. That being said, don't hesitate to wash the feeder if the nectar isn't clear anymore or you notice mold spores. You should also clean it immediately after you notice an ill bird drinking from it to prevent cross-contamination. Dead insects around the device or live ones breaching its walls are other indicators it's time for a wash.
Not disassembling the feeder before cleaning it

Do you take apart your hummingbird feeder before cleaning it? Or, do you believe in the "it'll all get cleaned together" philosophy? In case you practice the former, you're in the clear. But if you follow the latter approach, rethink your strategy. Although it's easier to clean the device in one go, you can't get rid of the mold and bacteria hiding in the tiny nooks and crannies.
So, don't forget this crucial step when cleaning your hummingbird feeder. Always take apart the feeding perches, ant moats, and bee guard ports after emptying the device. If you're having trouble reaching each part with your fingers, use a pair of tweezers to gently pull out the tiny components. Separate the base and reservoir, too, where possible. If you aren't sure about how to disassemble your feeder, follow the manufacturer's instructions to avoid expensive mistakes.
Not having the right tools at your disposal
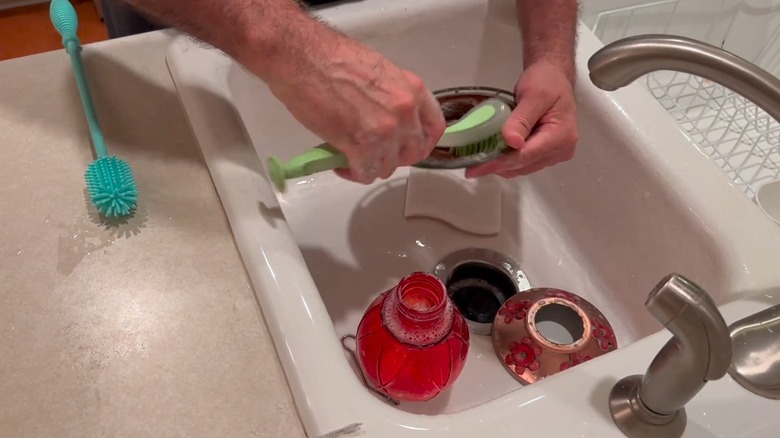
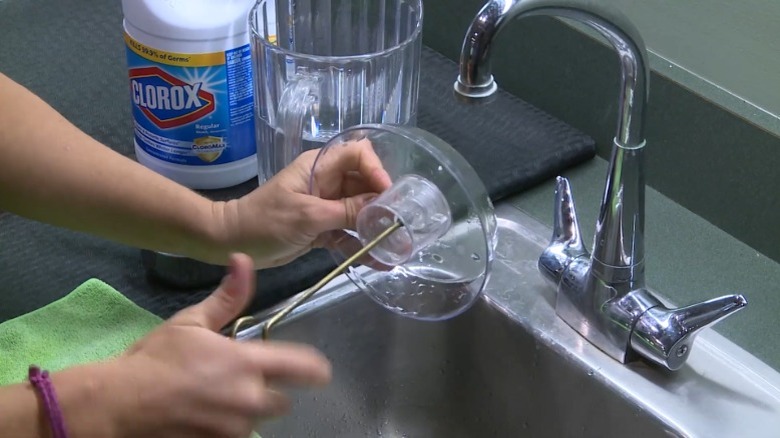
Simply sticking to a schedule or disassembling your hummingbird feeder before cleaning it won't kill the lingering bacteria. You must have the right tools at your disposal to eliminate the pesky microbes from the device. For instance, a coarse brush or steel sponge can scratch the insides of the device. This won't just reduce its aesthetic appeal but also offer bacteria unique spots to nestle in.
This is why you should get a bottle brush, like Scotch-Brites' Glass and Water Bottle Brush, to clean the dirty reservoir. Or, you could use some uncooked rice to wash the holder. Whichever way you go, it won't sufficiently cleanse the small ports and other crevices. So, invest in a dedicated hummingbird feeder cleaning brush set, like Perthlin's Nylon Double Headed Kit, to get into each nook and cranny with ease. But if you're on a tight budget or have already taken the device apart, grab an old toothbrush to scrub it well.
You'll also need a small plastic bucket or dishpan to soak the sticky and dirty parts. Avoid washing them in your sink to keep the germs contained. Additionally, get a clean microfiber towel to dry the feeder. Moreover, don't make a big mistake when cleaning your hummingbird feeder; arm yourself with disposable or rubber cleaning gloves as protection against diseases. Remember to sanitize all your tools before you store them away for next time, and avoid reusing these tools around the house to prevent cross-contamination.
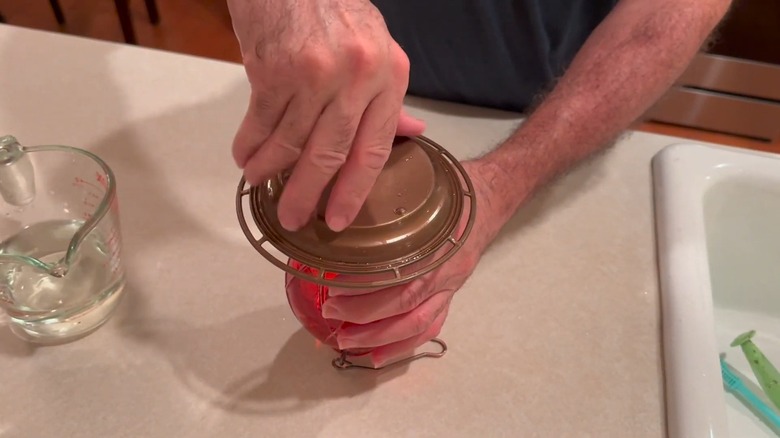
Not cleaning your hummingbird feeder thoroughly
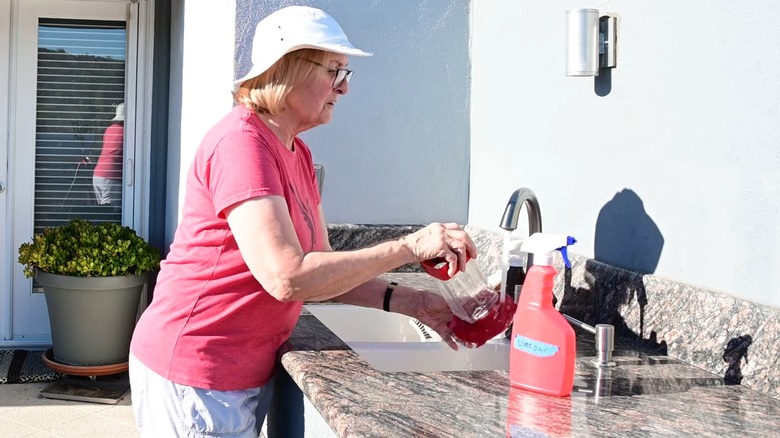
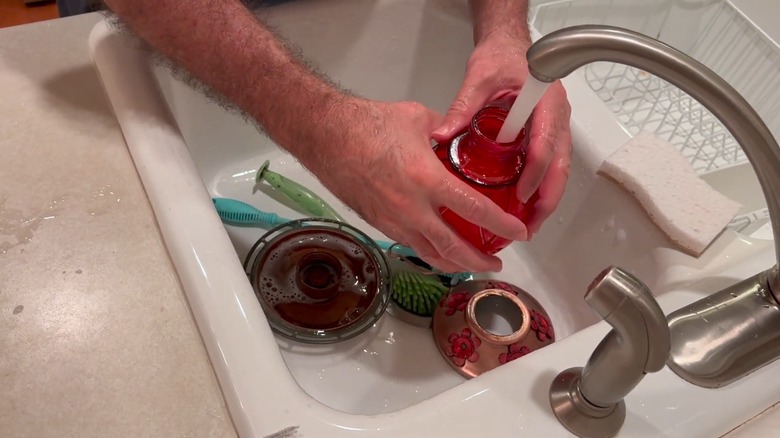
Although it might seem easier to simply rinse out your feeder as soon as you empty its contents, you should soak it first. This will loosen the accumulated debris and residual nectar along with letting your chosen cleaning solution eliminate the bacteria and other nasties. So, fill a plastic bucket or dishpan with hot water. Then, add a little unscented dish soap, like Dawn Original Dishwashing Liquid, to safely clean your hummingbird feeder. Substitute it with distilled white vinegar if you want an organic cleaning agent. Just add 1 part water to 4 parts of vinegar. Once you have your cleaning solution, keep the parts soaked for about one to two hours.
After the time is up, use a bottle brush to scrub the insides of the reservoir. If your feeder has a narrow neck, pour in 1 spoon of uncooked rice. Next, put in a few drops of a mild dishwashing liquid and fill ⅔ of the bottle with water. Screw on the cap and shake it well. As for the base, rub it with a brush and open up the clogged holes with an unused toothpick. Then, use dedicated brushes or an old toothbrush to cleanse the feeder ports, ant moat, and bee guards. When you're satisfied, rinse the parts well.
Not paying special attention to your moldy feeder
If you leave your hummingbird feeder up for too long, it'll be the perfect opportunity for mold to start establishing its stronghold. The problem will worsen during hot and humid weather. Since you don't want the visiting hummers to develop respiratory issues, pay special attention to your moldy feeder while cleaning it. Unsure if your device is sporting mold? Look for black spots marring the reservoir or other crevices.
Clean your moldy feeder as would a non-moldy one. Then, pour in 2 cups of hydrogen peroxide in the reservoir and leave it undisturbed for 10 to 15 minutes. This will allow it to oxidize the affected areas and dispatch mold. If possible, open up a new bottle to increase its efficacy. In case you notice black spots along the edge of your feeder or another part, spray it down with hydrogen peroxide and set it aside. Scrub the moldy parts once the waiting period is over to get rid of the spores.
Using bleach incorrectly to disinfect your hummingbird feeder
Bleach is a powerful cleaning agent and can help sanitize your hummingbird feeder. In fact, the International Hummingbird Society recommends soaking the device in a bleach solution every month. However, using it incorrectly can have negative consequences. For instance, adding more than a few drops to your device may change the feeder's color. It'll also be difficult to get rid of the associated smell or lingering taste. And if the leftover bleach reacts with the sugary nectar in your feeder, it'll give birth to dioxins — a poisonous compound for the hummers consuming it.
To avoid poisoning the birds, always dilute bleach with water in a 1 to 9 ratio. In other words, ¼ cup of bleach is ideal for 1 gallon of water. Soak your feeder's disassembled parts for 10 to 15 minutes for a regular cleaning session. Leave it in for an hour if you're cleaning the device after a long time or you spot mold spores. Once the time is up, scrub the parts well and rinse them multiple times with clean water.
Not rinsing out your hummingbird feeder properly
Whether you choose dish soap, vinegar, or bleach to wash your hummingbird feeder, it's important to rinse out the cleaning solution well. This is because residual soap won't just alter the nectar's taste. It'll also harm a hummer's stomach lining when it drinks contaminated nectar. Similarly, leftover vinegar and bleach can be hazardous, too. Although you don't want to leave behind hydrogen peroxide intentionally, it's relatively safer since it turns into water under the sun's rays.
After scrubbing your feeders, rinse them out repeatedly to ensure there's no cleaning solution left behind. A general rule of thumb is to wash the parts at least three times with room temperature or warm water. If you can still smell vinegar or bleach, give it an extra rinse to be on the safe side. This will ensure hummingbirds don't fall sick after sipping nectar from the feeders around your yard.
Putting non-dishwasher safe feeders inside the appliance
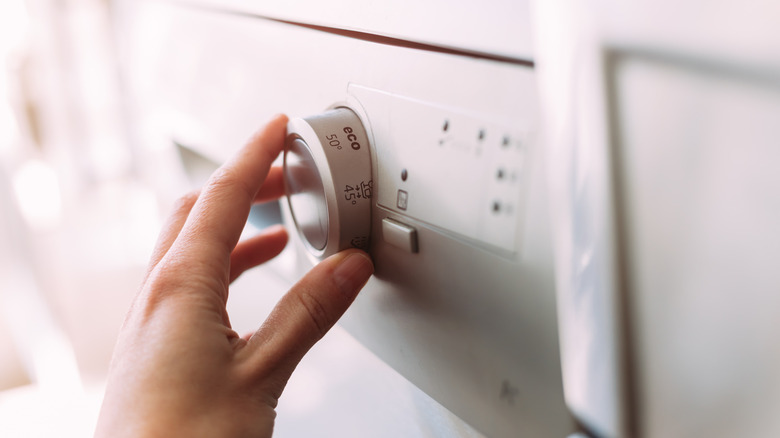
Washing your feeder daily or every other day can be tedious. So, to save some time and effort, you might pull apart the various parts and place them in your dishwasher. However, the high temperatures inside the appliance could liquefy the components or distort their shape. So, ensure your feeder is dishwasher safe — go through your user manual to be 100% sure — before placing it inside.
If your feeder is dishwasher safe, disassemble it and place large parts, like the base and reservoir, in the first slot. To keep the small bee guards or feeding ports from getting lost, put them in a small mesh laundry bag. Once you secure the parts inside, place it on the top rack, too. Don't forget to disinfect your appliance before and after cleaning the feeder. Also, avoid loading in your dirty dishes. This will minimize the risks of cross-contamination. Although you can use your dishwasher for regular cleaning, it won't be much help if you have a moldy device.
Not allowing the feeder enough time to dry before refilling
Finally, don't make the mistake of reassembling your feeder as soon as you rinse out its parts. Instead, give them sufficient time to dry. This is because trapped water droplets will invite mold and bacteria over, undoing all your hard work.
So, turn your feeder's components upside-down and lay them out on a clean microfiber towel. This action will move the moisture out without dirtying your freshly washed device. Alternatively, spread them on a dedicated dish drying rack. You can also wipe them with a dry microfiber cloth to speed up the air drying process. After the parts are completely dry, put them back in their designated spots and fill up your feeder with sugary water. Now the hummers can enjoy a clean feeder.