How To Spray Paint Wood Furniture (The Right Way)
We may receive a commission on purchases made from links.
Before you toss out an old piece of wood furniture, consider giving it new life with a fresh coat of paint; but it might be time to put down the paintbrush when it comes to these pieces of furniture. You might prefer the smooth surface — and convenience — of spray paint. However, spray paint does have a learning curve, especially when it's applied to wood. It takes the proper prep and painting technique. To make sure you treat your furniture right, consider all the different types of spray paint and the differing results each have.
For a durable, long-lasting finish that is perfect for heavy-use furniture in areas like kitchens and porches, enamel spray paint is your best choice. While it is best for durability, enamel paint has a strong odor that can cling to furniture even after application. Like enamel, lacquer spray paint has a hard finish, but it must be applied carefully and is not as approachable to beginner spray painters. The happy medium tends to be acrylic, as it's fast drying and comes in an array of colors and finishes. Regardless of what kind of paint you choose, if you don't follow the proper painting procedures, there's a chance your color will come out uneven and splotchy.
Prepping and priming your surface
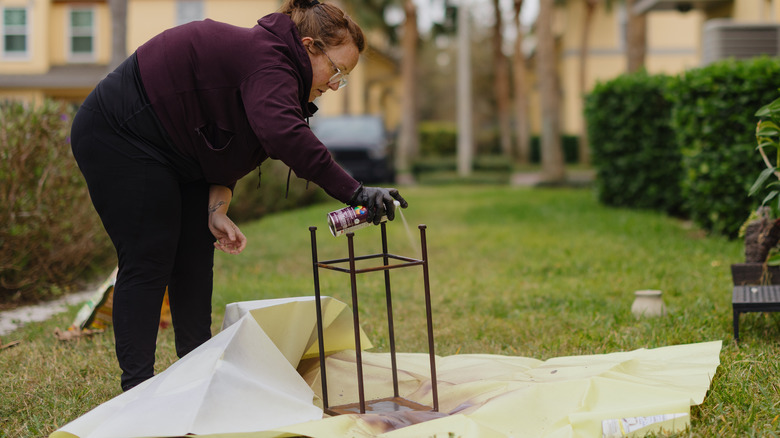
The most important step in painting is not the painting itself, but preparation. Spray paint can be applied over unfinished wood and previously stained or painted wood. Begin by taking your piece of furniture to an open, well-ventilated place, preferably outside, and cover the ground with a tarp, old bedsheet, or flat cardboard — unless you don't mind getting paint all over your driveway.
Then, remove all the hardware from your furniture, as well as anything else you don't want painted, especially fabric pieces like cushions. If the wood is unfinished, wipe it down with a damp cloth, but if it has previously been painted or stained, clean it with a solution of water and dish soap. To get rid of any stubborn bits of grease that might be sticking around, use a degreaser like the Krud Kutter Concentrated Cleaner/Degreaser. Make sure your surface is completely dry before moving on.
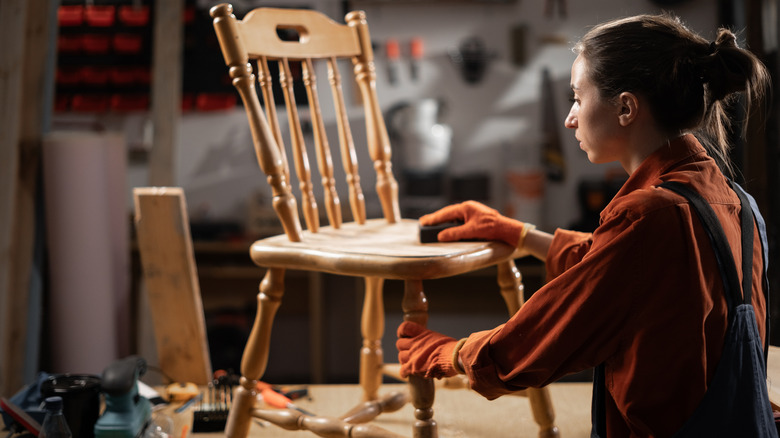
Now, it's time for the first messy part — sanding. Using a 150-grit sandpaper, gently sand the piece until the top layer is thoroughly scuffed, which provides a good surface for the paint to adhere to. Vacuum and wipe down your piece of furniture to clean up the dust created by sanding. This can be a good time to repair any cracks or holes with a wood filler, but you will have to re-sand those areas. As the last step in the prep, prime the wood. Primer ensures proper paint adherence and gives an even color result. Determine the best primer for painting your furniture and apply it according to the instructions — just make sure it has dried completely before you cover it with paint.
Painting and finishing wood
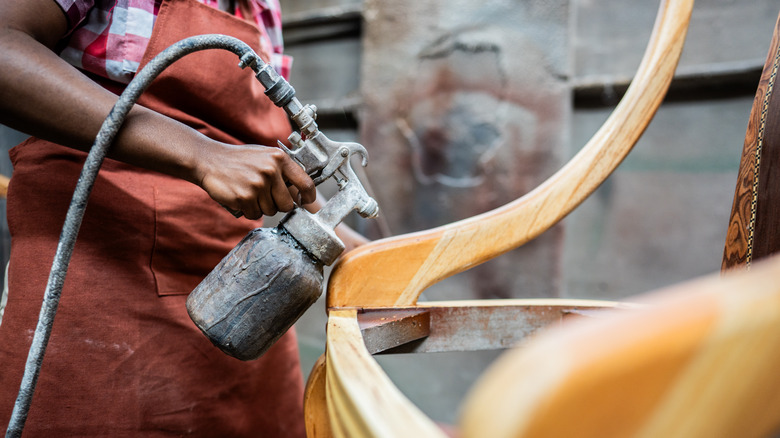
The main event — and second messy part — has come. Time to paint. While some tips and techniques are the same regardless of the spray paint used, make sure you follow the directions on your paint canister to achieve the best result. Maintaining a consistent distance between the canister's nozzle and the furniture is crucial for even coverage. Target 6 to 8 inches of distance, overlapping each pass by at least 30% as you move across the piece, spraying in long, steady strokes to achieve a thin, even coat. When the first coat has fully dried, give it a light sanding before following it up with another coat, repeating the process until you achieve the coverage you want.
Top off the painted surface with a clear coat finish of your choice, and you're done. At this point, you can reattach any hardware you removed or swap out the hardware for a trendier alternative. Set the furniture back into your home, and you're ready to enjoy a customized piece that will last you many years.