Don't Toss That Empty Milk Jug, Reuse It For A Clever Gardening Hack

Our planet has been grappling with a global plastic waste problem for decades, but things haven't gotten any better with each passing year. As of 2025, global thermoplastic production is expected to reach 445 million metric tonnes, with over 140 million metric tonnes of plastic from packaging likely ending up as global waste. The U.S. is the biggest contributor, as it churns out over 42 million metric tonnes of plastic waste annually. Much of this plastic ends up in landfills or oceans, and since it can take centuries to decompose, the problem is unlikely to end soon and will instead continue to pile up.
Recycling helps reduce this mounting problem. By conserving plastic materials, we can help cut down on pollution and reduce the need for new products. One plastic item that many of us tend to overlook at home is the milk jug. Once the container has been emptied, most of us toss it into the trash bin without giving it much thought. However, there are actually many genius hacks we can do to reuse milk jugs not only inside the house, but also in the garden. One hack to consider is turning a milk jug into a DIY watering can. Because it has a built-in handle and it's made of durable plastic, it is the perfect candidate for this transformation. You can use it not just to water houseplants, but also to hydrate your entire garden.
How to turn a milk jug into a DIY watering can
Turning a milk jug into a watering can is actually very easy and can be done in just a few minutes. But before starting, be sure to wash the container thoroughly with soap and water. Rinse it well to remove all traces of milk. This is necessary to avoid unwanted odors and prevent bacteria from milk from transferring to your plants, especially if you are using the DIY watering can to hydrate your vegetable garden.
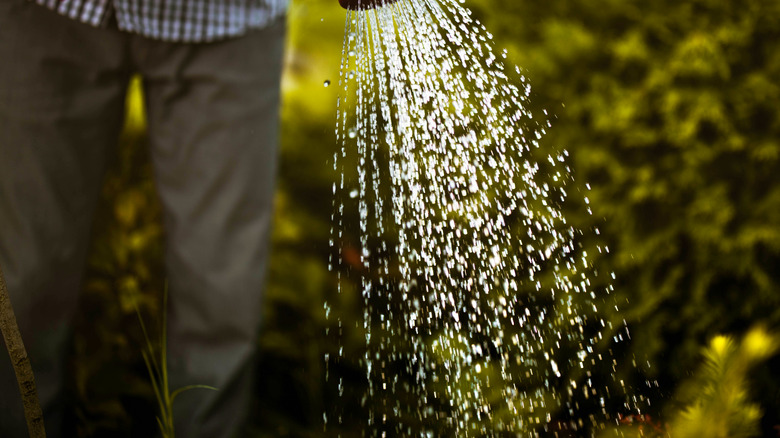
After cleaning the jug, you may now begin with the DIY project. First, twist off the cap and remove it from the container. Next, puncture holes in the cap. Use a needle or a pin to make tiny holes for a gentle, fine stream when watering the plants. If you want a heavier flow, use a thick nail and hammer to create large holes. The number of openings will depend on how fast or slow you want the water to land on your plants. If you want it done quickly, make as many holes as you like. But if you want better control over the volume of water and prefer to do the task slowly but surely, then opt for fewer openings on the cap. Once you have made the holes, fill the jug with water, screw the cap back on, and you are ready to go. Tip: For an even more sustainable gardening experience, reuse collected rainwater to hydrate your garden plants.