The Gorgeous IKEA KALLAX Hack That'll Take Your Shoe Storage To The Next Level
Finding extra storage around your home often feels a bit like a puzzle — you're often limited to pieces that you already own, and adding additional furniture to a space isn't always an option. Maybe your entryway is slightly too narrow, your hallway already sports a console table, or you simply don't want to clutter up the space with something large and clunky. That's where creativity with existing pieces can make all the difference. The IKEA KALLAX shelf, for example, is one of those versatile staples that many homeowners already own. It's affordable, easy to find secondhand, and adaptable to a number of DIY projects. With a few strategic tweaks, this humble cube shelf can be transformed into a stunning shoe storage solution that looks entirely custom-made for your space.
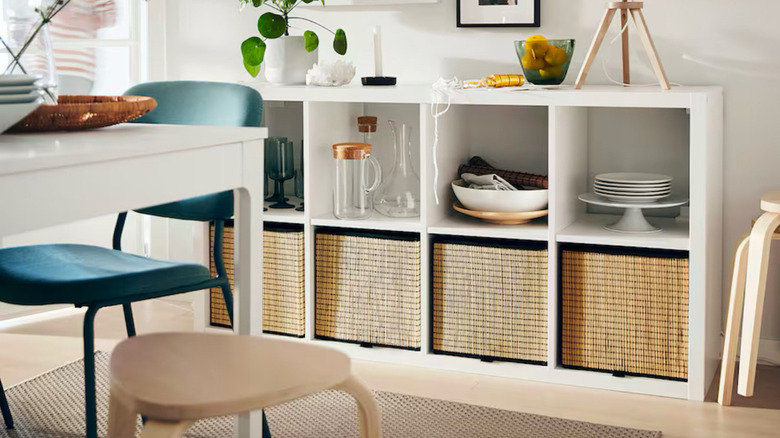
What makes this trick so effective is the effortless blend of practicality and style. IKEA's KALLAX Shelf is designed with a cubby storage system. Different models offer anywhere between two and twenty-five individual slots. These shelves can already be effective at storing shoes, but you may not want all of your clutter on display. That's where this trick comes in — by simply adding front-facing doors to those open cubbies, you create a sleek, unified look that hides mismatched sneakers, well-worn boots, and everyday flats from sight. The clean facade instantly elevates the piece from casual shelving to a polished cabinet, giving your entryway or front hallway a more intentional feel without sacrificing storage capacity. And, if you already own a KALLAX storage shelf, your expenses are narrowed to a few doors to hide your assorted shoe collection. You can also use old trim or repurpose molding to create a stunning display to make this trick even more budget-friendly.
Creating simple shoe storage for your entryway
To execute this simple KALLAX transformation, start by grabbing yourself a few KALLAX door inserts, one of the must-have KALLAX storage accessories in the IKEA catalog. Each insert will cost around $20, but they are designed to fit perfectly within each cube, eliminating the need for complicated measuring or cutting. You should also pick up a few pieces of wooden trim in your preferred style. Install the doors according to the instructions. Making sure that each door is flush with the front of the shelf itself will give a polished look. To take it a step further, cut and attach strips of trim to the front of each door, permitting them to open individually. Alternatively, you can secure a single, longer strip that extends the height between the top and bottom doors, allowing both to open in tandem, giving you access to two shelves at once. This can also help avoid any awkward gaps in the trim between individually modified doors. Give the entire project a generous coat of primer, and you're ready to personalize your new cabinet.
Once the doors and trim are in place, the customization options are truly endless. The right paint color for your cabinet can help it blend seamlessly into your entryway, whether it's one of the 2025 colors of the year or an existing shade that you have tucked away in the garage. If you want it to mimic a traditional entryway cabinet, attach legs to the bottom of your shelf, like IKEA's CAPITA Legs. Drill a hole in the front of your trim to add unique hardware or cabinet pulls that instantly elevate the piece. Leave a few cubbies open to mix and match your storage style with baskets or houseplants.