Why Your Garage Door Keeps Breaking (And How To Fix It)
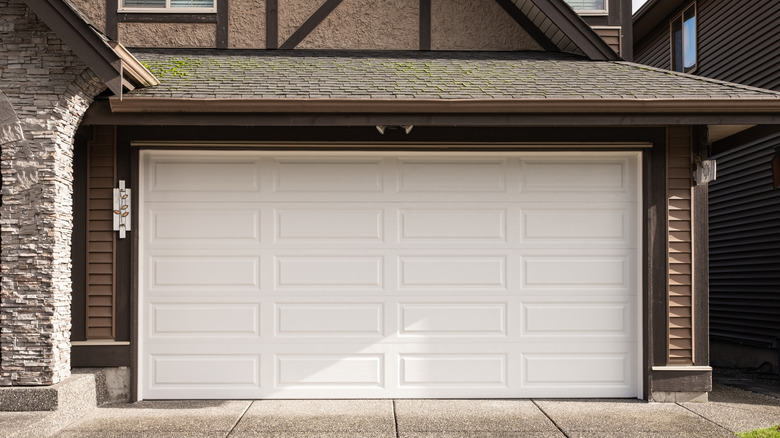
Most people don't think twice about their garage door until it refuses to open on a Monday morning when you're already running late. It's the sort of failure that quickly makes life more complicated than it should be. Often, the culprits are the springs. These coiled workhorses bear the weight of the entire door, and they're under constant tension. Over time, factors like corrosion from moisture, sudden weather swings, pushing the door beyond its intended load capacity, or plain old wear and tear can push them past their breaking point. When that happens, there's no real shortcut. You'll need to buy new springs and replace the old ones with care, making sure the right tools and safety precautions are in place to avoid injury.
It's worth noting that broken garage door springs can be downright dangerous. These springs store a surprising amount of energy, and when they snap, the release can cause serious damage to your property or anyone nearby. That's why replacement isn't something to take lightly. The sooner you address the problem, the sooner you get your garage door back on track and the less strain you put on other components of the door.
Why garage door springs break and how to fix them
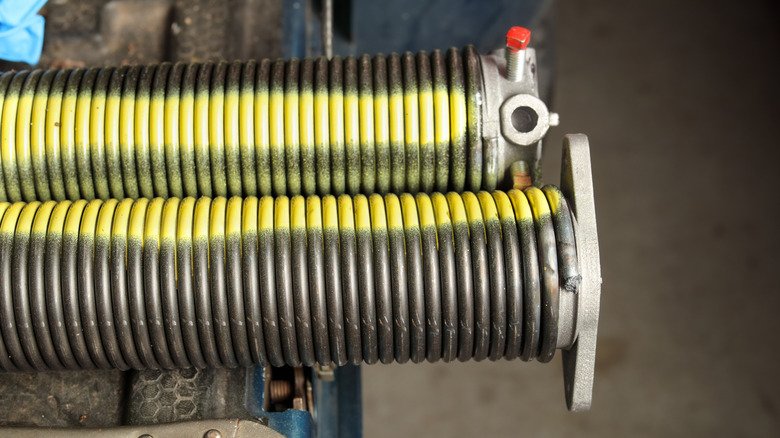
One of the biggest reasons springs fail is temperature fluctuation. In colder months, the metal contracts, and in summer heat, it expands. This constant cycle slowly weakens the coils until they give out. Then there's wear and tear. Every time you open or close the door, the springs take on the full weight of that movement, and over the years, the metal simply fatigues. Corrosion is another killer. If you live in a humid area or somewhere with frequent seasonal moisture, rust can eat away at the coils. And if your garage door is overloaded with extra insulation or heavy panels beyond its design capacity, you're essentially shortening the springs' lifespan with every lift.
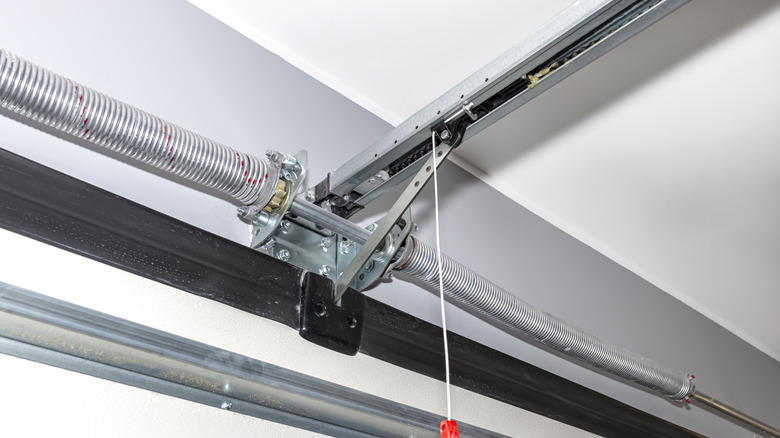
When replacing garage door springs, specifically extension springs, open the door and add C-clamps to both tracks. This ensures it won't slam shut while you work. Remove the worn springs, then detach the lift and safety cables. Fit the new springs into position, reconnect everything, and test the door's balance.
Torsion springs require a different approach. Begin by securing the door and finding the winding cone at the tip of the spring. Attach a winding rod to the cone and release the set screws. Rotate the rod a quarter turn (90 degrees), slide in the second rod, and carefully stretch the spring outward before tightening the screws again. Repeat the process on the other side if you have a second spring.
Garage door spring maintenance tips
Maintaining your garage door springs for peak performance doesn't take much effort, but it can save you from costly and inconvenient breakdowns. Start by inspecting them regularly. Look for gaps in the coils, visible rust, frayed cables, or any uneven stretch. If you notice the door opening jerkily or leaning to one side, that's often a common indication that the springs are under pressure and close to wearing out.
Lubricating your garage door springs is another simple but vital step. Apply a thin coat of silicone-based grease along the coils once or twice a year. This reduces friction and helps guard against rust. In addition, keep the springs dry. If your garage is susceptible to dampness, consider using a dehumidifier or sealing any leaks to stop corrosion before it starts. And while a visual check is helpful, a trained eye can spot issues you might miss. Scheduling a professional inspection annually ensures any small problems are caught early. This extends the life of your springs and keeps your door operating safely.