Don't Throw Out Old Cabinet Doors Without Trying This Brilliant TikTok DIY
We may receive a commission on purchases made from links.
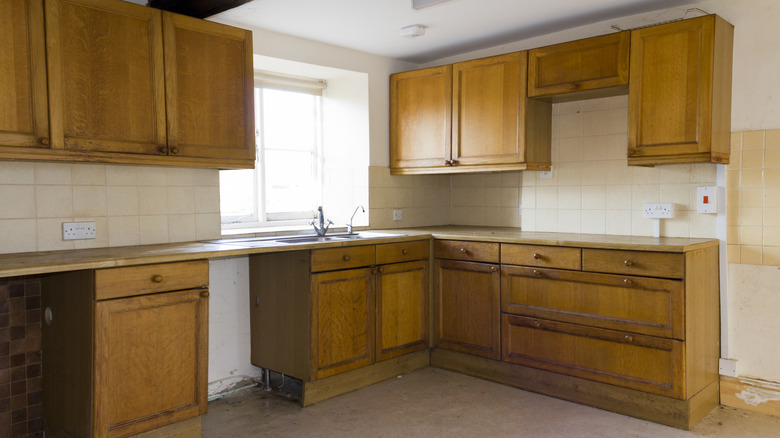
If it ever seems like your cabinets are getting older by the day, they may actually look the part. A nice set of cabinets can transform a room into a vibrant, modern space in your home that's open and warm. An outdated set can make your kitchen or bathroom look like it's still stuck in the 60s and dying to make it to the 21st century. The issue with updating cabinets is that doing so is very costly. Today, replacing cabinet doors can cost anywhere from $900 to $4,500, while refacing them can range anywhere from $4,233 to $10,223.
However, if you can't replace your outdated cabinets, there is one easy workaround that you might not have thought of. An option may be to reverse your cabinet doors. For example, if you have a raised cabinet door on the front that's flat on the back, this may be a good candidate for simply reversing the frame. Why? Because you're able to transition to a shaker-style cabinet panel — a style that's popular in many homes and has a modern feel. However, some cabinets can't be reversed, in which case, refacing or replacing them completely may be the best solution.
Cabinets that aren't a good fit include those with glass in the frame or light, decorative frames with ornate patterns. In these cases, it wouldn't make sense to reverse the doors, because they'll only look the same on the other side. In short, don't get rid of those doors just yet, as finding an approach to upgrade wood cabinets, instead of just replacing them, is always an easy way to save money on renovations.
Simple steps to reverse your cabinet doors
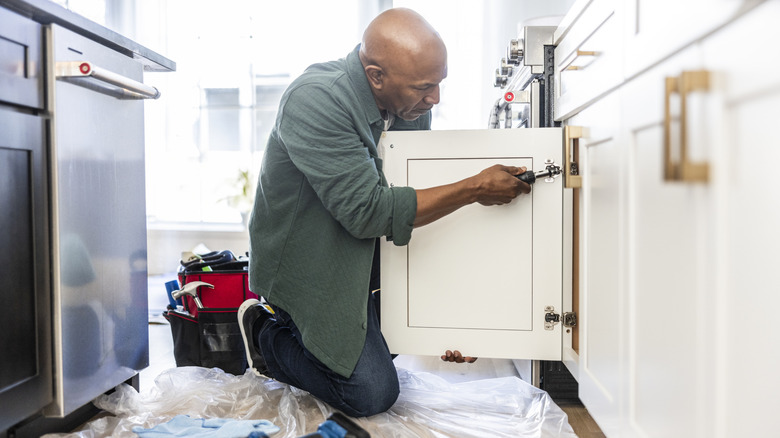
Luckily, reversing your cabinets is a kitchen cabinet choice that's a pretty simple project to take on. Common tools that you'll need to make it happen include a drill, sandpaper, wood filler, pencil, and finishing wood paint or stain, such as this Varathane one. In some cases, you may need to purchase new hinges for your cabinets. To start, measure the space required for the hinge mounted on the other side of the cabinet.
You don't want to be disappointed when it's time to reinstall the doors. Sometimes the shape (such as a curve) on the back of the cabinet may call for a different hinge size. First, remove the cabinet doors by unscrewing the hinges. Set them aside along with the screws. Now it's time to clean and sand the doors. Sanding helps to remove any dirt or dust and prepares them for staining or painting. After sanding, locate the previous drill holes on the other side of the door and cover them with wood filler.
Then, sand this area down so that the repaired area is flush with the rest of the door. Add your selected paint or stain, making sure to do a light sanding before each new coat for good adhesion. Afterward, mark the new drill spots for the screw locations on the cabinet door (and cabinet if too, if needed). Then, drill new holes on the back of the door and cabinet (if applicable) for the new hinges. Mount your cabinet doors and open them a few times to ensure they're properly aligned. Finally, reattach any pulls or ornaments to the doors.