DIY A Clever Countertop Storage Solution Out Of Thrifted Cookie Tins

Opening one of those Danish cookie tins and finding actual cookies inside? Now, that was a rare sight. Nine out of ten times you found sewing needles, stray buttons, and spools of thread in "cookie tins." Our mothers and grandmothers agreed that those tins made better storage boxes than dessert containers. In this DIY project, we repurpose old tins and stack them into a tiered countertop organizer that looks more like home decor than a hiding spot for sewing supplies.
How this project turns out largely depends on the tins you pick. If you choose matching tins, then you get a uniform look. And, if you use different sizes or patterns, the final look is a little more eclectic. You don't require anything fancy. In fact, you can even reuse the dented tins available at thrift stores because once you cover them, the dents will become invisible. The base is simple, but the end result feels polished.
To start, you need to gather a few things: Two cookie tins (obviously) of the same size, a glue gun, fabric of your choice, sturdy metal to create a stand, and cardboard for the lining. If you want to add some handles, you can use some popsicle sticks, pine, spruce, or bass wood that can be bent easily. These basic supplies are all you need to recycle that old tin and give it completely new life.
Transforming your tin into a storage solution
Creating a countertop storage solution requires a few simple steps. The first step is to thoroughly clean the tin to get rid of any grease or dust. Apply hot glue along the rim of the tin and carefully press a cutout fabric of your choice into place. Wrap the outside completely and fold the leftover fabric inside. Smooth it out to get rid of any wrinkles.
For the base of the tin, cut a piece of cardboard that fits snugly inside. Add glue and attach the same fabric to it. This gives a finished look to the boxes and hides the metallic look completely.
To add some texture, take a cotton rope and stick it around the outside, layer by layer, until the sides are completely covered. Use sturdy rods or dowels to add a frame. Wrap each one with rope as well, and bend two of them into curved shapes to serve as handles. Attach the rods securely with glue between the two tins and stack them to form a tiered stand. With everything in place, you end up with a stylish storage rack.
Customize your cookie tin organizer to fit any space
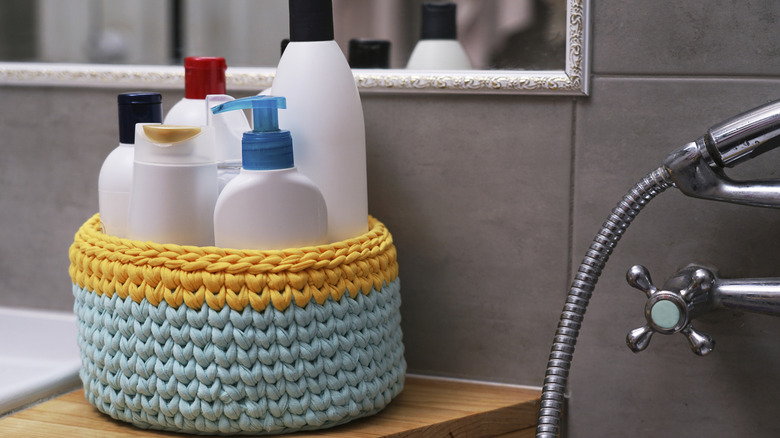
The best part about this DIY is its flexibility. While the original build shows off gingham fabric and white rope for a farmhouse finish, you can easily customize it to match any room in your house. You can get a statement piece by adding some bold colored fabrics or patterned paper, or even knitting your own covering. You can try neutral linen for a minimalist vibe or metallic contact paper for a modern look. You can swap the cotton rope with jute for a more rustic feel and something like a colorful yarn for a crafty look.
These cookie tins are easily available, so you can experiment without spending much. In fact, tin lids can also be easily reused in creative ways so it doesn't go to waste. For example, you can hang a decorated lid by the door as a cheerful "welcome" sign. To cover the tins, you can use things lying around the house like old clothes, tablecloths, or pillowcases. The rods can be repurposed from popsicles or old curtain rods. You can also use one tin if you'd prefer a smaller storage solution. So, every version feels unique in style because no two tins can turn out to be the same.
Once ready, you can place this organizer on any countertop in the house. Use your thrifted tin as a DIY bathroom storage solution or use it on your vanity for makeup and jewelry. You can add it in your kid's room for small toys. And let's not forget, you can always use these tins as planters and beautify your house. What was once a tin of holiday shortbread is now a clever accent piece you'll actually want on display.