How To Make Your Affordable IKEA Dresser Look Like A Custom Built-In
We may receive a commission on purchases made from links.
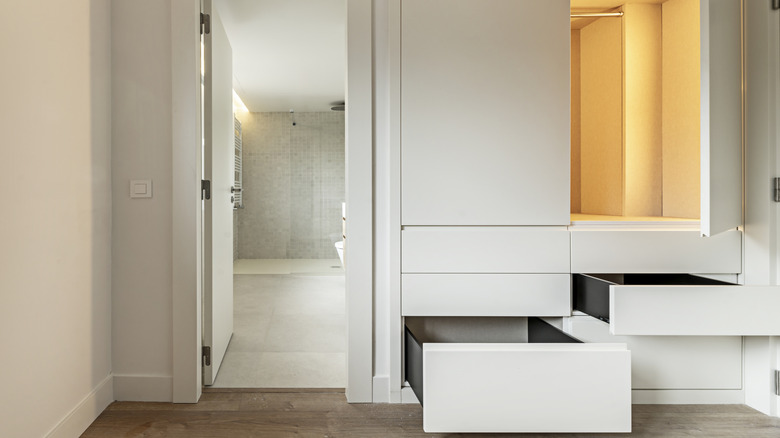
Built-ins can add useful storage and customized elegance without disrupting your home's style. They sit within walls to take advantage of unused space or awkward room layouts throughout your house, creating storage solutions in a closet or providing a seamless home theater in your living room. Adding a built-in can seem intimidating, especially if it involves drawers — a tedious project even for experienced woodworkers. A great way to "hack" the process, however, is by using a preexisting piece of furniture, like an affordable IKEA dresser, and framing around it rather than starting from scratch.
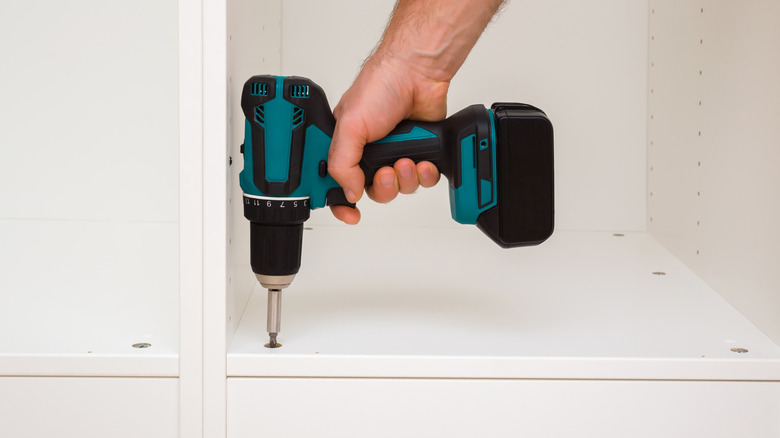
If you're interested in fashioning a built-in, you'll need a few things: a drill, a circular saw, plywood, and (of course) your IKEA dresser. Don't worry about getting a saw if you don't already have one, as you can have wood cut to size when you buy it at Home Depot or Lowe's. Just keep in mind that you'll need to have all your measurements handy, so double-check the sizing for each piece during the planning stage. Make a few sketches and jot down all the numbers you'll need (including those of your IKEA dresser), and don't forget to consider the size and height of your baseboards.
Installing an IKEA dresser as a built-in
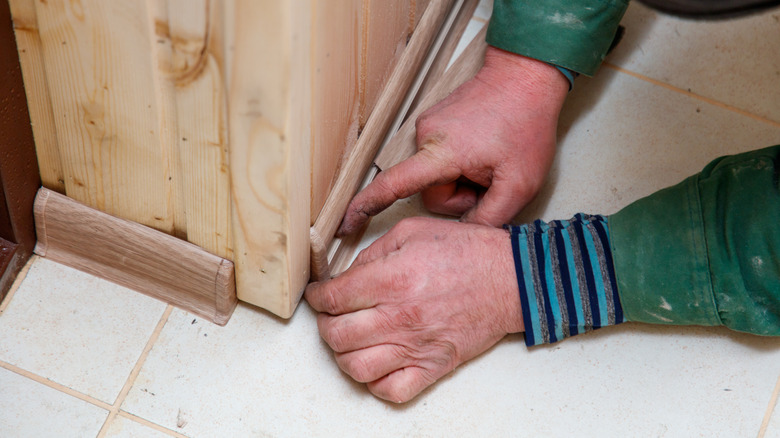
Once you've determined where you want your built-in drawer system, carefully remove the area's baseboards and set them aside — you'll need them later. This will allow the built-in to sit flush against the wall, plus it cuts down on labor. Construct a small platform to sit beneath your dresser, ensuring the bottom of the furniture will sit at or above the height of your baseboards. This makes the built-in look intentional and professional, not like a late-stage addition.
Place the platform in your desired location. If your IKEA dresser has removable legs, remove them along with the drawers, then center the unit on the platform; if not, use plywood boards to hide the legs. Secure the bottom of the dresser (or frame) to the platform with sturdy screws. For added stability, secure the back of the dresser to wall studs. Depending on its size, your dresser may already come with the appropriate parts for wall anchoring, but if not, and if the dresser's backing is too thin to support its weight, secure it via furniture safety brackets.
Using plywood, fill any gaps between the dresser and the walls, then screw the wood boards into the dresser's face. Set another plywood board on top of the dresser, forming the solid top of your built-in. Secure the baseboards you previously removed to the bottom face of your dresser's platform, completing the built-in illusion. You can either stop here or fabricate a shelving unit to bridge the gap between the dresser and your ceiling, which will instantly make the room look larger.
Add some final professional (and personal) touches
You might be tempted to start painting your new built-in dresser (we happen to know a trick for painting IKEA's notoriously difficult surfaces), but don't forget an integral part of the process: caulk. Filling any joints with caulk adds a professional touch and further ensures the security and stability of your built-in.
Then, after a thorough priming, you can finally paint your piece. For a seamless look, paint it the same color as your walls. After the paint has completely dried, add the drawers back to the piece and admire your handiwork. As an extra touch, try lining the drawers with contact paper — like this GORILLA GRIP Peel and Stick Paper from Amazon — to protect them while adding color or patterning.
While IKEA dressers already come with hardware, you can switch out knobs and drawer pulls for something that better matches your room's aesthetic. You can even turn thrifted materials into unique cabinet hardware, further adding personality to your custom, built-in piece.