How To Modernize This 2000s Paint Trend To Create A Stunning Accent Wall

We may receive a commission on purchases made from links.
In a world of McMansions and the more-is-more philosophy, there's something to be said about an early-2000s-era paint trend that embodies a less-is-more attitude. That is, the less you use it in a space, the more impact it creates. It's just the thing you need to liven up that ho-hum accent wall you've been meaning to update but just haven't quite figured out how yet. And what is this mystery vintage technique? It's sponge painting, but with a fresh twist — instead of the traditional mottled look, you'll create deliberate patterns.
Fortunately, this DIY accent wall idea is also inexpensive and uses items you already have under your kitchen sink. It starts with a few multipurpose sponges with scrubbers. Most home improvement pros recommend using a natural sponge for sponge painting due to the irregular hole patterns you find in them. If you're using commercial kitchen sponges for this job, you don't have to do without this feature. Try using a pair of tweezers to pick out pieces of the sponge so that the holes look more random.
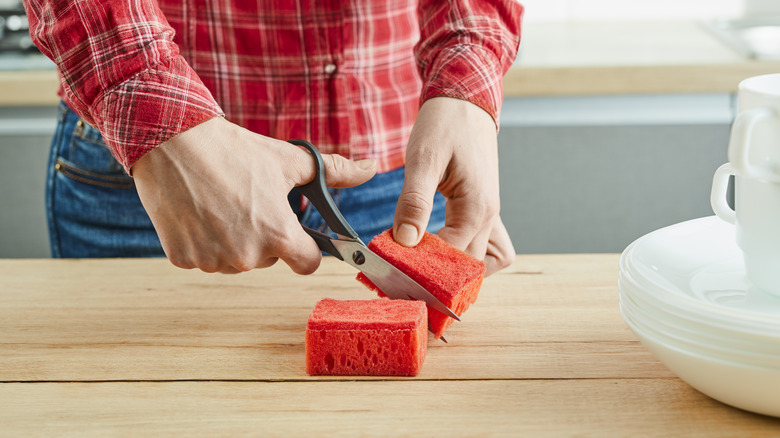
You're also going to doctor the sponge up a bit, so be sure to keep a point-tipped marker and a pair of scissors handy. This is the first part of your paint kit. The second part includes the paint color of your choice, a paint tray, rubber gloves, some painter's tape, and a drop cloth. You won't need gallons of paint for this — a quart of door and trim paint should be sufficient. Or, you can try some Rust-Oleum All-in-One Ultra Matte Paint for a more rustic look.
Creating a modern sponge-painted accent wall
Although going bold with pattern drenching has become a trend in recent years, filling an entire room with patterns made from spongy stencils might be a bit much for some people's tastes. In light of that, it's better to limit this design feature to just one wall, even if the room in question is blissfully drenched in all of your favorite patterns. To that end, you'll want to tape off the walls adjacent to the accent wall to ensure that the sponge pattern stays in its own lane, so to speak.
Next, make the sponge pattern. It can be shaped in any way you like, though if you prefer a more natural look, opt for a round-ish shape. Draw the shape on the soft side of the sponge with the marker and cut the shape out. If you're using the tweezers trick, you'll rip little bits of the sponge out at this stage. But if you don't want the hassle of doing that, simply order a pack of Neptune Natural Sea Silk Sponges to get the same shape.
@modern.desert.living who knew that sponge painting my wall would be so controversial 🤪💖 lused a sponge and cut it into an oval shape, then add Accessible Beige by @sherwinwilliams paint to the sponge and got most of the excess off before gently tapping it onto my walls in a row until the paint was almost off the sponge!! I repeated this process over and over again! Would you try this DIY in a space in your home? #accentwallpaint #paintedaccentwall #diypaint #diyhomeproject #sherwinwilliamspaints
Put on your gloves and pour some of the pigment into the paint tray. Dip the soft side of the sponge in it and then dab the excess off. Make a pattern on the wall by pressing the sponge onto the wall in rows or diagonals (or what have you). The patterns don't have to look perfect. That's one of the charms of this technique. If the rows look mostly straight when you stand back from the wall, you're golden.
How to personalize your sponge-painted wall
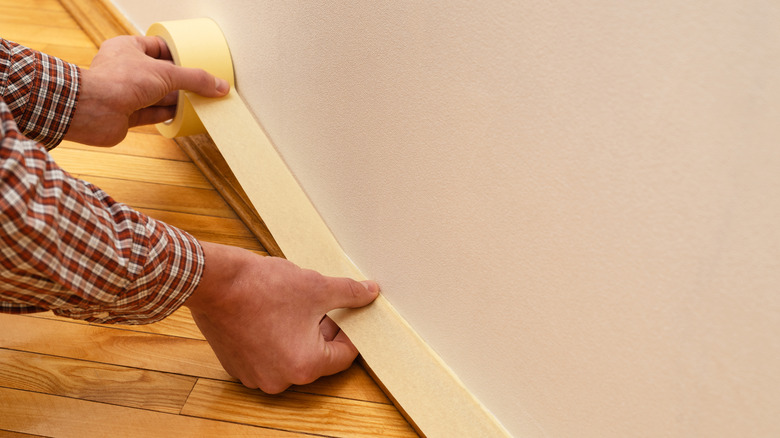
This trendy accent wall design technique works on its own, but if you'd like to add a bit of pizzazz to it, you have a couple of options. First, you could tape off the wall to create a sponge stencil border along the baseboard, below the ceiling, or both. Be sure to mask off the molding or the top edge of the ceiling to protect it from paint splatters. Then, add a parallel border of tape above or below that, depending on where you're creating the sponge paint effect. You'll probably want at least 3 or 4 inches between the two protective tape borders. Use that gap to paint a solid line. Then, once that's dry, sponge paint a pattern on top in a complementary color to make the sponge designs really stand out.
Secondly, consider making your sponge design a bit more elaborate if you want the accent wall to stand out even further. For example, instead of going with a quirky, slightly off-kilter oval, cut the sponge into a different shape, like a heart. You can freehand it or trace around an item, such as Dollar Tree's Crafters Square Heart-Shaped Chalk-It-Up Tags. The DT tag is less than 3 inches tall, making it the perfect size for a pattern for this sort of design.