Stop Making These Beet Growing Mistakes For A Better Garden Harvest
We may receive a commission on purchases made from links.
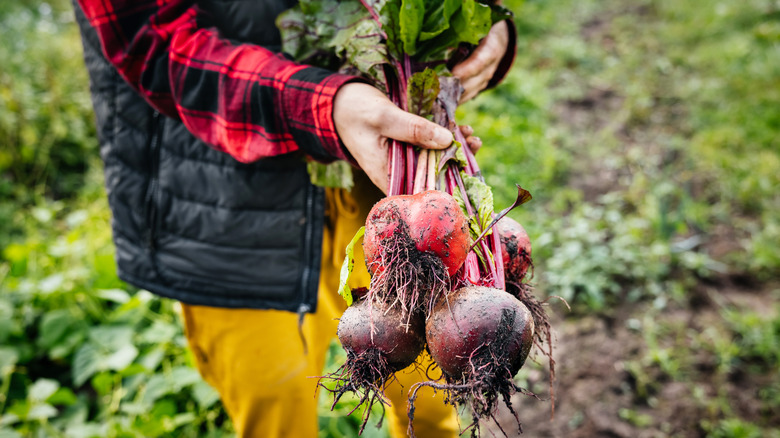
Dreaming of a bountiful beet harvest? Beets (Beta vulgaris) are a great vegetable to grow if you're a lazy gardener. They thrive relatively easily, but that doesn't mean this deep red-purple root crop is problem-free. Making common beet-growing mistakes could decrease your harvest, shrink the size of the beets, or render them tough and fibrous. Many of the issues happen before you even plant the seeds — a shady location, poorly draining soil, high soil acidity, and seed spacing can all affect the outcome of your harvest. Timing is also a common issue, whether it's when you plant the beets or pull up the roots. You'll also have setbacks if you don't get the irrigation, fertilization, and weeding correct.
When you're aware of these common issues and work to avoid them, you'll be rewarded with a bounty of the high-antioxidant, mineral-packed superfood veggie — typically about 50 to 60 days after planting your seeds. In addition to the classic red-purple option, beets come in several other colors, including golden yellow and white. They also come in different sizes, such as baby beets, which are perfect if you're looking for miniature veggies to grow in your backyard. Whether you prefer your beets big or small, bright red or sunshine yellow, the success of your efforts relies on avoiding several key mistakes.
Planting beets in a shady spot
While there are many plants that thrive without direct sunlight, beets are not one of them. Beets are a cool-season vegetable, which means they need cooler temperatures to germinate and mature, but that doesn't mean they like shade. Instead, they want bright light with cool temperatures. Beets can tolerate light shade, but too much of it affects their growth. When you grow beetroots in the shade, you'll likely see ample growth on top from the greens, but the root development will suffer. The exception is in hot weather, when some (the operative word is some) shade can benefit beetroot plants since they prefer cooler temps.
Bright sunlight will help beets develop a rich color and improve the flavor, so reserve a full-sun spot in the garden for these veggies. Aim for a place that gets a minimum of six hours of sunlight daily. A south-facing spot is ideal as it typically gets the most sun, but east-facing gardens also receive lots of bright morning sun. Just make sure the area doesn't get too much afternoon shade. You can get a tool, like the AquaHorti Sunlight Meter, from Amazon, to calculate how many hours of direct sunlight the area receives. Or take photos with your phone every few hours to see how the sunlight changes in the area throughout the day.
Planting in compact, poorly draining soil

Compact or clay soil is the enemy of the beetroot. If you try to grow beets in heavy clay soil, you'll likely get misshapen roots rather than the perfectly round or cylindrical vision you're expecting. Their growth is restricted when the soil is tight and compact. It's also a mistake to grow the veggies in poorly draining soil. The roots could rot before they mature, and poor drainage can increase the risk of disease. Another soil issue? Rocks and stones can get in the way of the roots.
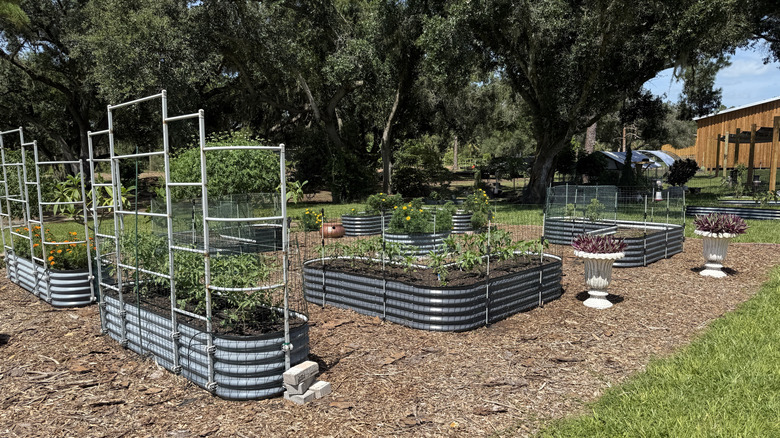
For ideal growth, choose a spot with good drainage and light or loamy soil that's free of rocks. Don't be discouraged if you're surrounded by clay soil, though. Improving heavy clay soil in your garden is possible by amending it. Organic matter, like compost or well-rotted manure, worked into the soil can help loosen compacted areas and make it more suitable for beetroots. Remove rocks, sticks, and other large debris from the ground before planting. Another option is to grow the beets in a raised bed, where you can use optimal soil to promote improved growth.
Planting beets in acidic soil
Beets are sensitive to soil pH and don't do well in highly acidic soil which can limit their growth, leaving you with underwhelming roots. Nutrient deficiencies resulting from pH-related lockout in the soil can also be a problem. Too little boron, for example, could cause the beetroots to crack, exhibit stunted growth, or develop black spots. Boron availability in the soil is influenced by pH, along with other key nutrients.
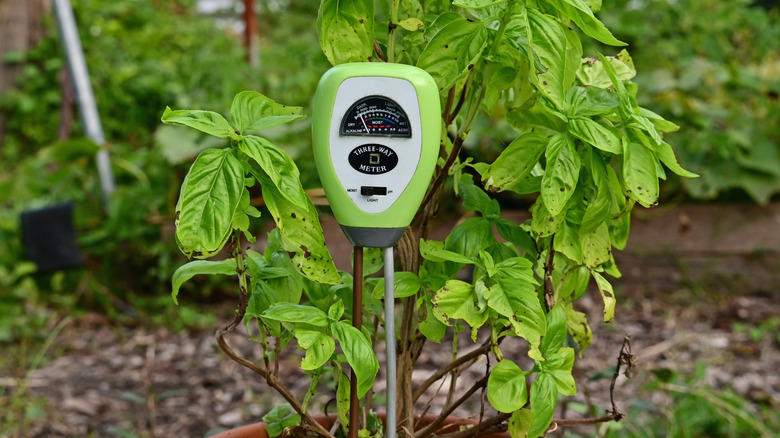
Perform a soil test to check the current pH in the area you wish to plant the beets. You want a range between 6.5 and 7.0 for optimal growth. If the pH is less than 6.0, you'll need to amend it to make it less acidic or find a new spot to grow your beets, as you might not get favorable results. While you're testing the soil, check the boron levels to see if you need to supplement it. To resolve the deficiency, add 6 to 7 tablespoons of Borax every 1,000 square feet of space, or use a fertilizer that contains boron.
Planting beets too early or too late
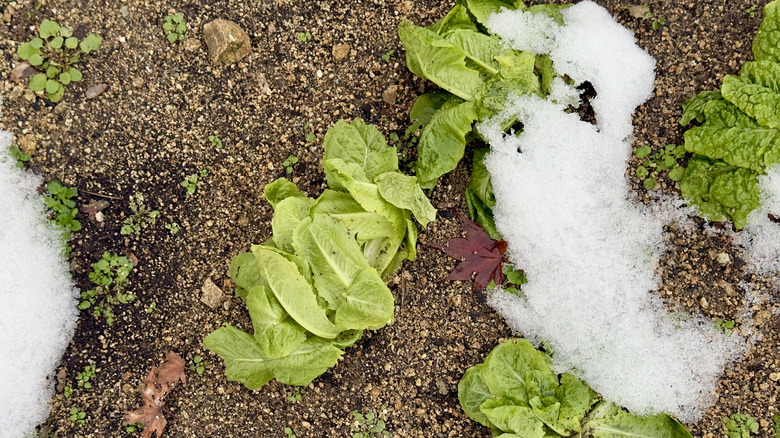
You can plant beets in the spring and fall since they prefer cooler weather — but the exact timing depends on your climate. Getting the timing wrong could affect how well your beets grow. Planting too early in the spring will likely delay germination, while late-spring planting can cause these cool-season plants to heat up more than they prefer toward the end of their growth period. Hot weather during the maturing process can decrease the amount of sugar in the roots, affecting the flavor. Beets that develop in overly warm conditions can also be lighter in color than those that mature in cooler temps. Warm weather can also cause beets to bolt and flower, which pulls energy away from the roots. For fall planting, if you wait too late in the season, you might not give the roots enough time to mature fully before they stop growing because of the weather. If you plant too early in the fall, it might still be too hot for the seeds to germinate.
So how do you know when to plant? The soil temperature can help you decide. Beet seeds won't germinate if the soil temps are below 40 degrees Fahrenheit. Ideally, you're looking for a temperature range between 55 and 75 degrees Fahrenheit for optimal germination temperatures. Seed germination starts to drop off when it gets hotter than 80 degrees Fahrenheit, even though it can still happen up to 90 degrees Fahrenheit. For fall crops, count back from the first expected frost — you generally want to plant your seeds no later than 10 weeks prior to the first expected heavy freeze, but you can wait a little longer if you're okay with smaller roots.
Putting the seeds too close together
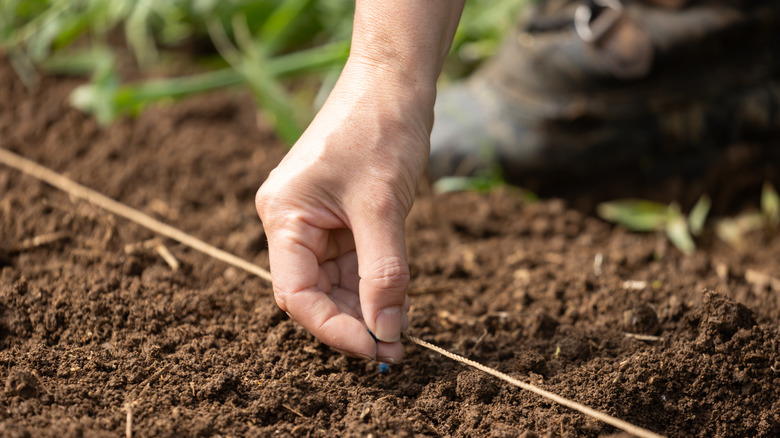
Beet seeds are one of several easy vegetable seeds to grow to add flavor to your garden. However, you have to get the spacing correct when you put the seeds in the ground. Planting beets too close together can result in smaller or misshapen bulbs. Spacing that's wider than necessary wastes valuable real estate in your garden.
When planting beets, place the seeds about 1 inch apart and sow them between ½- and 1-inch deep. If you plant multiple rows of beets, space them out about 12 to 18 inches. Once the seedlings emerge and reach about 4 to 5 inches, you'll need to thin them out to give the roots space to grow. Between 3 and 4 inches is ideal spacing (but leave 6 inches for the roots if you want larger results to store for the winter). Bonus: You can eat the seedlings you thin as a salad green — roots, leaves, and all.
Providing too much nitrogen
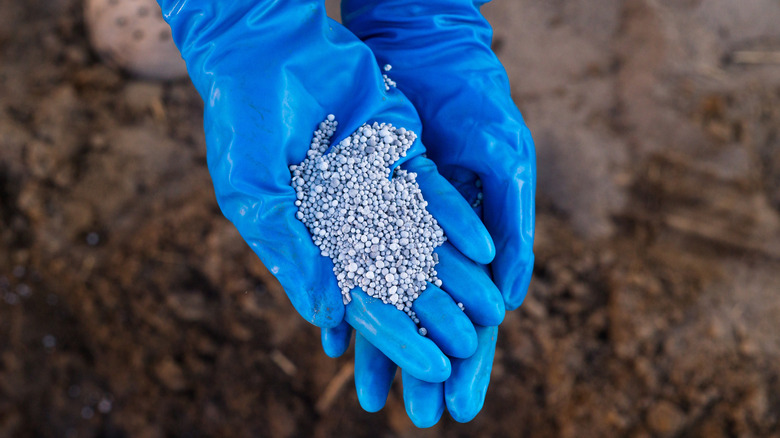
Fertilizer, including nitrogen, helps beets grow. It's a necessary nutrient, but excessive nitrogen can leave you with disappointing results. High nitrogen levels typically cause a boost in green leafy growth above the soil while sacrificing root growth — you'll get luscious beet greens, but you'll likely pull up smaller beets than expected. The quality also tends to suffer because more energy goes into growing the leaves than producing sugar, resulting in a lower-sucrose concentration in the harvested beetroots. Late-season nitrogen can also cause impurities in the beets. Striking the right balance of nitrogen is essential for your harvest.
Nitrogen is most important early on in the growing process. That's when you want strong leaf growth, as it's essential for the beets to produce sugar. A larger leaf canopy helps absorb more sunlight, which goes into the sucrose production. The beets don't really need much nitrogen after August (for fall plantings). You can supply the necessary nitrogen needed by working fertilizer into the ground before you plant the seeds — choose an option with both nitrogen and phosphorus. The added phosphorus also helps with root growth if the soil is deficient.
Letting the soil dry out between watering
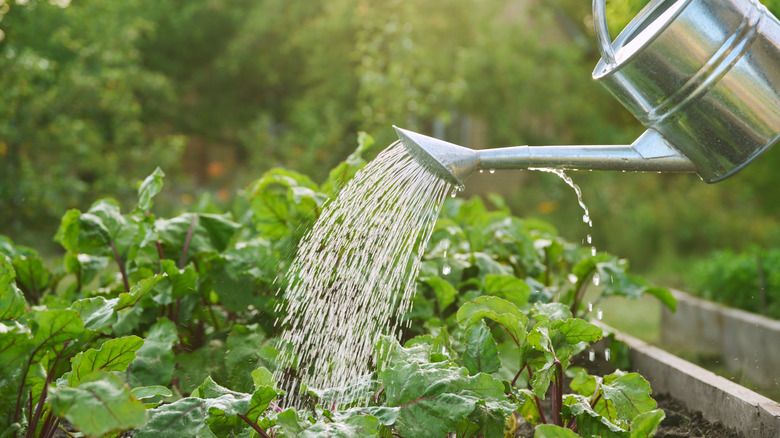
Don't skimp on the water when it comes to beets. Dry conditions can cause problems even before the seeds germinate — if the soil is too dry, the seeds might not be able to break through the crusted surface of the garden. Beetroot plants also don't like to dry out too much between waterings. If they don't get enough water (or the water levels fluctuate significantly), they'll often have a hard, woody texture in the roots, or they might crack. Slow leaf growth and changes in the leaf color may also occur. However, it's also possible to overwater the plants, which can cause slowed growth. Watering consistency is especially important in the first six weeks — issues during that time could force the plants to flower prematurely.
To maintain the perfect balance, water your beets during dry spells to keep the soil consistently moist. They typically need about 1 inch of water weekly between rainfall and supplemental watering. Watch the outer leaves — if they turn yellow, the plants might not be getting enough moisture. Seeing red on the leaves? That could mean you're watering them too much. Mulching the plants can help you retain moisture in the soil, which could cut down on how much supplemental watering you need to do.
Failing to remove weeds around the beets
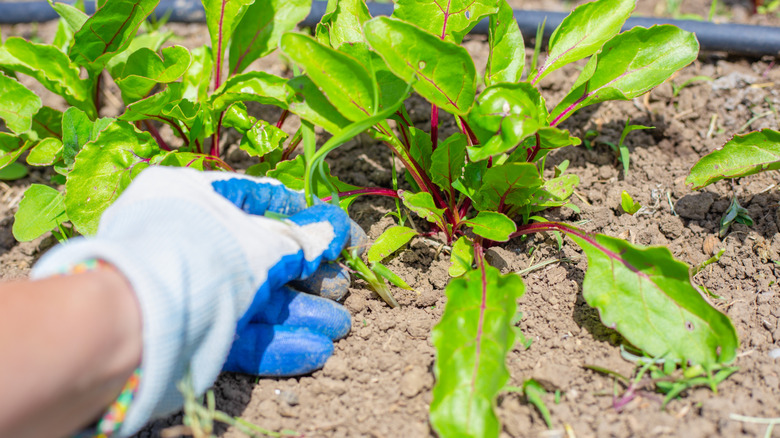
If you're a gardener, you're probably well aware of the importance of getting rid of weeds promptly, whether it's to reduce competition for nutrients or eliminate the risk of pest infestations. But pulling weeds is usually a chore people hate (or at least try to avoid). That's a big mistake in your beet patch. This vegetable crop isn't cut out to win the competition against weeds for space and nutrients. Since you want to harvest and eat the roots of the beet plants, you don't want anything else growing under the soil, including weed roots. If you let the weeds grow, you could end up with stringy beets.
Monitor your beet patch closely to spot weeds early, especially as they start to grow. You'll likely see fewer weeds as the greens mature, as they help block sunlight to weed seeds, but it's still a good idea to check for unwanted plants regularly. The best option for removal is to pull weeds by hand as soon as you see them to minimize disruption to the beetroots. You can also use gardening tools, but avoid going too deep, as this could disrupt your beets' roots. Adding mulch around your beets can help prevent weed growth to make the job easier.
Harvesting beets too early or too late or overharvesting greens
Beets are a little like Goldilocks — you want to harvest them when they're just right. Waiting too long to harvest your beets allows the roots to get tough or woody and less appetizing. Younger beets are typically more tender and flavorful, but they could also be on the small side if you pull them too early. If you want to harvest the greens, you can do so while keeping the root growing, but you can also run the risk of overharvesting them. If you pick a large portion of the leaves, the roots may suffer.
Instead of harvesting all of your beets at once, take only as many as you need at a time, waiting until the roots are at least 1 inch wide. The mature size can vary based on the beet variety, but the typical ideal harvest size is usually between 1.5 and 3 inches in diameter. Also, don't go in order, picking every beet in the row. Instead, skip a root or two — think of it as late-season thinning that leaves more room for the remaining beets to grow larger. Continue harvesting the beets, being careful not to let them exceed 3 inches in diameter. You'll also want to remove any remaining beets in the fall before the soil freezes. To harvest leaves, cut them with scissors, removing no more than a third of the foliage per plant.