Can You Paint Your Bathroom Sink?
Some home renovation projects are simply out of the budget. Paying for a complete bathroom transformation can cost anywhere from $6,000 to $17,000. If you want to renovate your home DIY-style without spending thousands, there are a few simple, affordable renovation hacks you can do to elevate your space without breaking the bank. You may have seen homeowners online painting every part of their homes, from their trash cans to their fridge. A new trend on the rise is adding a coat of paint to your bathroom sink. As it turns out, if you have a ceramic or tile sink, this is a totally possible project.
As long as you have the correct type of paint and tools, you should be able to revamp your sink for a much more affordable price. It's important to do your research for your specific sink and ensure that you're opting for products that will not damage your sink or easily bubble up. Given that the ideal humidity level for bathrooms is around 30% to 60%, with many bathrooms far exceeding that number, you'll want to choose moisture-resistant products.
What products do you need to paint your sink?

If you want to revamp your sink with a few coats of paint, you'll need the right tools and products. Ideally, you should use a paint specifically made for tubs and tile, as well as some epoxy. This will not only help you protect your sink, but it can also help the paint to stick. You can also grab an epoxy-based paint or even a spray paint designed for appliances. Look for one with a satin or semi-gloss finish, as these are easier to clean and can help protect the surface.
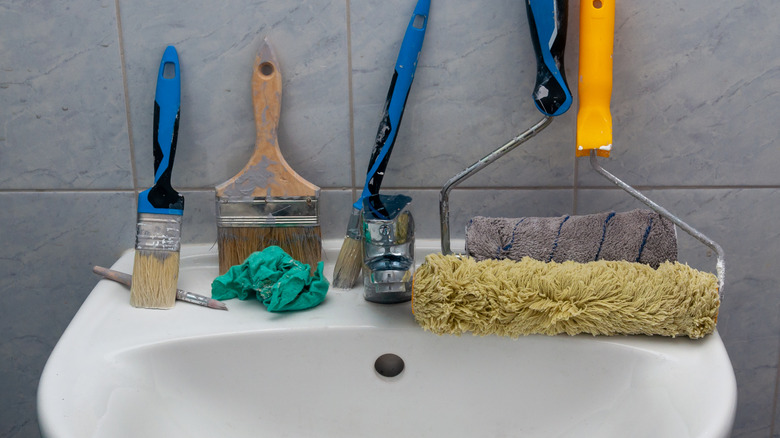
To prep the sink for painting, you'll need an all-purpose cleaner, sandpaper, a roll of painter's tape, a few different sizes of paintbrushes, a wrench, and a screwdriver. For your own protection, make sure to grab a pair of gloves as well as a mask if you don't want to breathe in the fumes. The room should also be well ventilated while you are working.
How to paint your bathroom sink
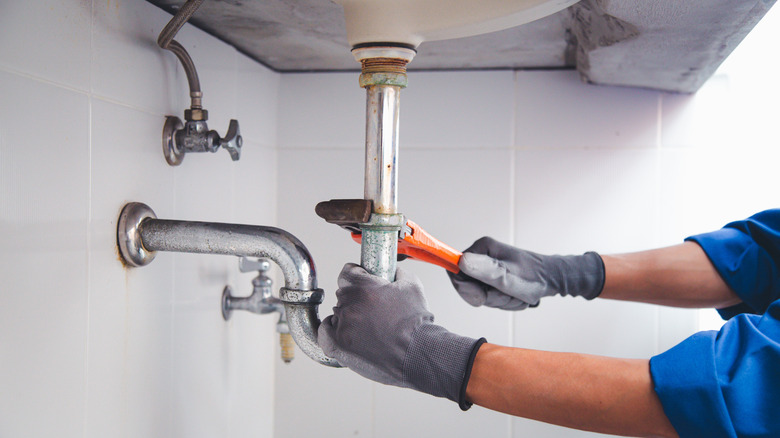
First, make sure to turn your water off. Using your screwdriver and wrench, remove your sink fixtures and disconnect the drain line so you have a clean slate for painting. Next, you can give your sink a deep clean with your all-purpose cleaner to ensure you're not trapping any dirt or grime underneath the paint, and sand the surface. If you want to protect the wall or any surfaces around the sink, like the countertop, use your painter's tape to cover any exposed areas.
For your first coat, apply your paint in a thin layer. After letting that dry for about two hours, you can add your second coat. Depending on your type of paint and project, you might need to add a third. Finally, if your paint isn't already epoxy-based, you can add a final coat of epoxy. You will need to allow it to sit and cure for up to 72 hours before replacing the fixtures and using the sink as normal. If you want to expand your project, you can even give your bathroom countertop the same epoxy upgrade.