Here's How To Get Stubborn Clogs Out Of Your Paint Sprayer Nozzle
We may receive a commission on purchases made from links.
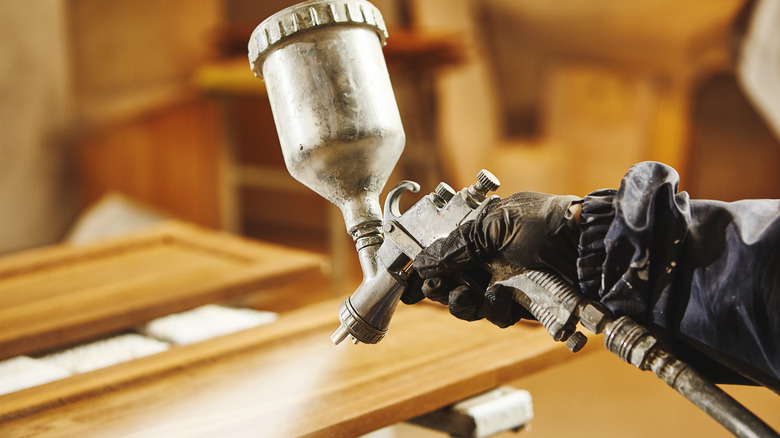
Using a paint sprayer can be beneficial for saving time on larger paint projects with big surfaces to cover. The sprayers can also be helpful in minimizing the appearance of brush or roller strokes in your painting, enabling you to achieve a more even and beautiful finish. Unfortunately, however, even if you buy the best paint sprayer on the market, the sprayer nozzle can sometimes get clogged, preventing you from painting evenly or causing the paint to come out improperly and leaving gaps or clumps. You will need to move the tip backward (the "unclog" position) to and spray out the excess paint or debris until it runs clean to get rid of stubborn clogs.
The nozzle in your paint sprayer gets clogged often because the particles of paint that stay in the nozzle dry and block it. This happens more frequently if you didn't clean it out well when using it to paint previously. You should also ensure that you take steps to remove any lumps or dry spots in your mix before putting it into your sprayer by straining the paint. Other causes for a clogged sprayer include particles in the air or debris that can get in the nozzle as you paint or paint too thick for the nozzle that doesn't have the right viscosity to evenly spray. You should also ensure that you're trained well on how to use your paint sprayer tool for DIYs so you are achieving the right finish for your projects.
How to unclog and prevent future clogs in your paint sprayer nozzle
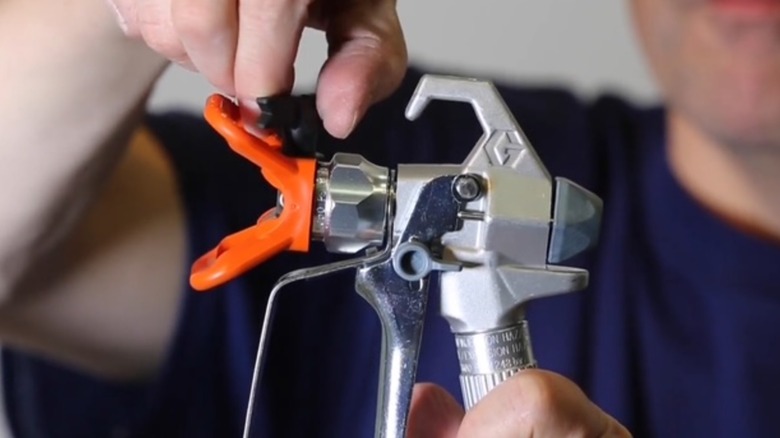
Make sure you double-check the thickness or viscosity of your paint against the nozzle sprayer. You can easily resolve this issue by purchasing the correct paint for your sprayer or taking steps to thin the paint and measure its viscosity. Sometimes, people add a little bit of water to their paint sprayer, but you'll want to ensure you understand the paint thickness factors ahead of time before trying this hack. Once you've checked paint viscosity, the first step for unclogging is engaging the trigger lock by turning it down, then changing the nozzle attachment to the unclogging position. The tip points forward in an active position, so you'll need to reverse the nozzle completely. Then, disengage the trigger lock and spray any excess debris and paint out of the back of the nozzle into a bucket. Turn the tip back, and you shouldn't have any more trouble spraying.
You can perform some preventative maintenance for tip clogs by straining your paint before adding it into the sprayer. Invest in a strainer bag, like the Sukh 5PCS Paint Filter Bag, and some gloves, such as the PROMEDIX Disposable Gloves. Stretch the bag over the bucket, then pour your paint over it, removing the bag when finished to squeeze the rest of the paint through the filter. This is where your gloves come in handy. You can remove your gloves over the filter bag and discard it all in one go for mess-free cleanup. Your paint should then be clear of debris or dryness, allowing you to spray with ease.