Transform Dollar Tree Products Into The Perfect Kitchen Storage Caddy With An Easy DIY
We may receive a commission on purchases made from links.
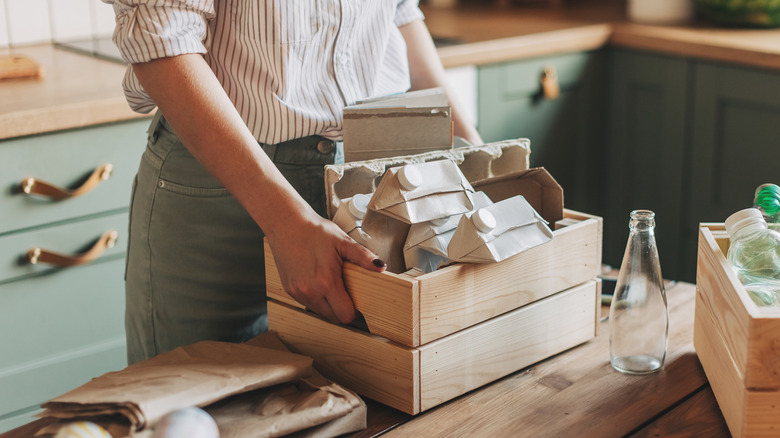
Kitchen caddies are great for all kinds of storage jobs. Condiment carrier. Napkin holder. Official spice rack declutterer. If you've been looking for a storage caddy to help with any of these tasks (and then some), then you'll appreciate knowing this budget-friendly hack. With its large section of wood supplies and other crafty items, Dollar Tree is your go-to spot if you want to make a personalized wooden kitchen caddy with a handle.
Most of the supplies for this budget-friendly Dollar Tree hack come from the store itself. The few that don't still boast low prices, so there's no need to worry that this DIY will break the bank. To make the wooden caddy, you'll need Dollar Tree's Square Wood Pallets. The project calls for three of the one-sided pallets, so you'll need to purchase a couple of packets of the miniature pallets to have a sufficient number. Then pick up a pack of Craft Wood Dowels to make the caddy's handle.
You'll also need two cutting boards with paddle handles for each caddy you make, but you may have to venture out to find them. This Yalikop Six-Piece Set of Mini Wooden Cutting Boards With Paddle Handles is still on budget, setting you back less than $9. As far as tools are concerned, you'll need either a small hand saw or something like these Craft911 Ultra-Sharp Japanese Steel Pruning Shears. To patch all of this together, be sure to bring your glue gun and glue sticks to this maker's party, too.
Putting the Dollar Tree kitchen caddy together

For this DIY, the three miniature pallets form the caddy's bottom and sides, and the two cutting boards create the caddy's end pieces. Take a look at the pallets. Notice that one side is made of parallel slats and is completely flat. If you turn it over, you'll notice that those parallel slats are held together by two pieces of wood that are attached to the slats perpendicular. Those perpendicular pieces are positioned about an inch from the end of the slats.
@foodtalkdaily Make THIS with Dollar Tree cutting boards! #organization #kitchenorganizing #decorhacks #diyhomedecor #kitchenhacksthatwork
Place one of the pallets flat-side down on your work surface. Add a strip of glue to the bottom end of the cutting board: The handle should be pointing up. Attach that to the pallet on the outside of one of the crossbars. If you've done this correctly, the pieces should fit like tongue-and-groove wood items. Repeat the step with the other cutting board on the opposite end of the pallet. Next, glue the pallet sides onto your caddy. Repeat the same basic process to attach those to the piece as you did to attach the cutting boards. Next, slide one of the dowels into the holes at the top of the cutting boards to make the handle. Trim the ends of the dowel with the saw or shears if they're too long. Glue keeps the dowel in place.
It'll take about 10 minutes for the glue to set. However, it can take up to 12 hours to completely dry and harden, so handle the caddy-in-construction with care. When in doubt, however, you can add 23-gauge craft nails to the caddy. Those will reinforce the glue.
Ways to level up this project
You can take some additional steps to either add more character or function to the kitchen caddy. For example, you can stick a piece of Dollar Tree Adhesive Cork Sheet to the bottom of the caddy to make it non-slip. Because the cork has tiny holes in it, it'll grip your counters like a suction cup would and prevent the caddy from sliding around even if the counter gets wet. Cork is also rot-resistant and will protect your counter from the roughness of the mini pallet's wood surface.
Additionally, if you decide to make more than one kitchen caddy, why not stencil the function of the caddy onto one of the cutting boards using some Word and Alphabet Stencils from Dollar Tree? For this, you'd need some acrylic paint, paint brushes, and carpenter's tape to hold the stencils on the boards while you work. Or you can forego words and use picture stencils to label each caddy. Try a stencil of a steaming coffee mug for a coffee caddy, for example.
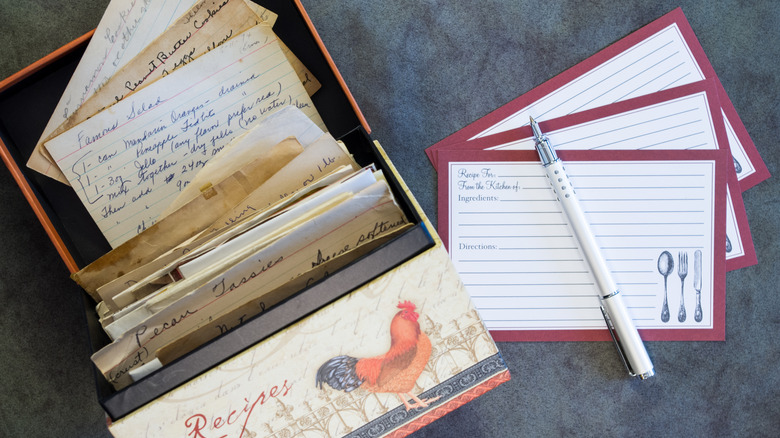
Gluing on add-ons, like Wooden Clothespins, can give the caddy some additional storage features. These can hold recipe cards if you use the caddy as a way to store spices without cluttering up your kitchen. And speaking of recipe cards, this caddy is just the right size for 4-inch by 6-inch cards. So if you've been looking for a large, old-fashioned recipe box to put your hand-scripted crowd-pleasers in, you can consider it found.