DIY Stylish Rustic Kitchen Shelves Using A Few Affordable Upcycled Materials
We may receive a commission on purchases made from links.
Bringing rustic charm into the home is a popular choice due to its eclecticism and broad styling opportunities. One of the key ingredients in achieving a genuine rustic design is a sentimental feeling, one tapping into distant memories and embracing a time when things were simpler. Your kitchen is an excellent place for integrating that natural look and comforting character. Since the style focuses on elegant simplicity, uses organic and unrefined materials, and allows (or even encourages) various imperfections, rustic decor is a great project for DIYers. If you've already tried to make beautiful rustic kitchen shelving with old wood scraps, there are plenty of similarly fun and affordable projects to add functional storage and enhance your aesthetic. To get started, DIY some shelves using reclaimed wood pieces and a non-slip carpet underlay to effortlessly create that cozy charm alongside numerous decorative and storage possibilities.
For these rustic DIY kitchen shelves, you'll need some reclaimed or muted colored wood pieces (like these onlytak Unfinished Wood Planks), a saw, a drill, and some wood screws. If you have old wood pieces to use for the shelving (this could be a creative way to repurpose leftover floor scraps, deck boards, or fencing), you'll cut costs significantly. The icing on the cake to this rustic look is the rug underlay, which you can get at a super affordable $7.99 with this BALEINE Non Slip Rug Pad.
Using wood and a rug underlay for rustic kitchen shelves
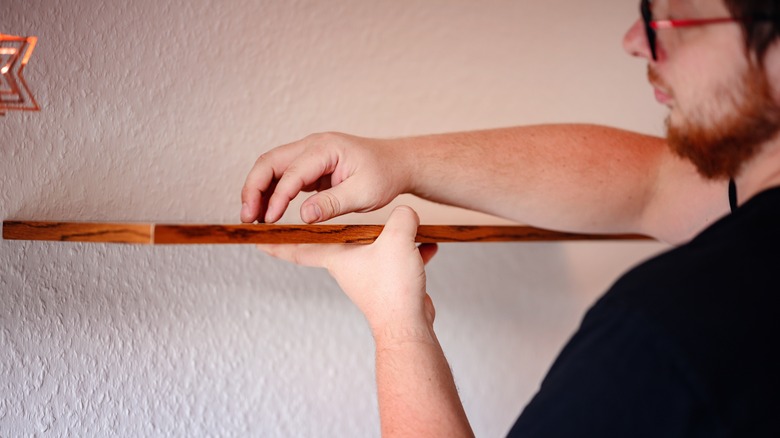
You'll have to measure and cut your wood shelves to a size that will fit your space and the items you want to store. In the kitchen, a depth of around 12 to 16 inches provide versatile storage for most items, though you could go shallower for decorative displays like vases, candlesticks, cutting boards, kitchen utensils, or cookbooks. Cut two boards of equal width to a matching length. One board will be for the shelf's bottom, and the other will be the back. Secure the back to the bottom with screws. Then, cut two smaller boards to make the shelf's sides. Screw these into the ends of the bottom and back pieces to make a shelf with an open top and front.
Lay the front of the shelf over the carpet underlay, and cut out the outline in the pad. Use a staple gun to attach the rug pad to the front part of your shelf. Then, cut the front trim — two thin wood strips to span the top and bottom of the shelf's front and two shorter strips to run vertically on the front's sides. Drill them into place to frame the underlay.
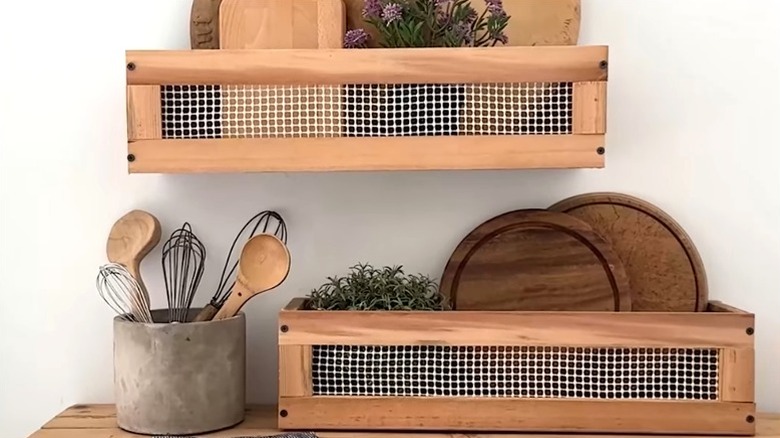
With so many carpet underlay designs available, you have numerous ways to customize the shelf's appearance. You can also cut the pad diagonally for an angled mesh look, or use different pad styles to reveal or hide the stored items as you see fit. If you go with a more open shelving concept, incorporate some essential decor items to style your kitchen to your preference.