Mistakes Everyone Makes When Painting IKEA Furniture
Giving IKEA furniture a fresh coat of paint sounds easy enough, but the many failed DIY projects out there suggest otherwise. To get you on the right track — and save you hours wasted on an unsuccessful paint job — here are some of the most common mistakes to avoid when painting IKEA furniture.
Believe it or not, mistakes often pop up before you even pick up the paintbrush — forgetting to prep your furniture beforehand or improperly doing so is where things tend to go wrong. One key piece of information to keep in mind as you work on your project is that much of the standard IKEA furniture, including the popular Kallax series, is made of particleboard and fiberboard. The surface of these materials is smooth and non-porous, meaning it doesn't hold paint well. This is why prepping and priming are so important, and why so many IKEA furniture paint jobs go awry.
And before you even get to those steps, think about the orientation of your furniture. It's great if you're working on furniture that's already disassembled, but if not, don't take it apart just to paint it. Some IKEA furniture is not designed to be disassembled and reassembled. If your furniture is already in one piece, simply remove the hardware. If your furniture is disassembled, lay the panels flat on the ground before you begin. Finally, not using the right tools and handling the furniture before the paint dries and cures are also mistakes to avoid.
How to prep and prime the furniture before painting
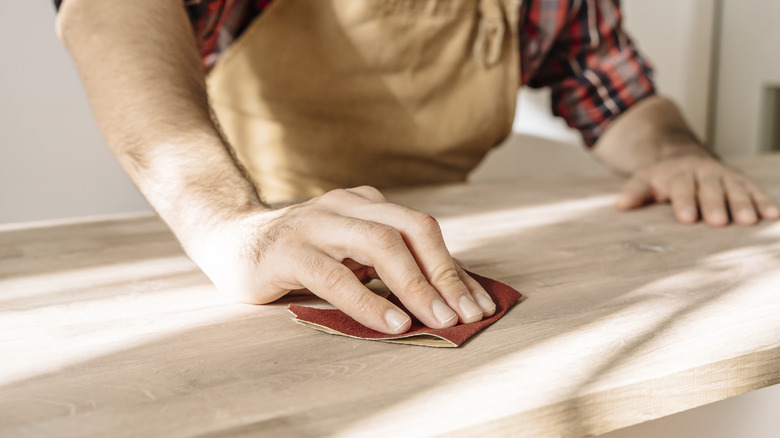
Failing to prep your furniture properly is the most crucial mistake, dooming your project before you even start painting. You'll want to start by lightly sanding the surface, creating a more textured base for the paint and primer to adhere to. Wipe everything down thoroughly once you're done sanding so you don't accidentally paint over bumps.
Next, you'll need to use a primer. It's tempting to skip this step and dive straight into painting, but that's where you'd mess up the project. Without primer, the paint will have trouble sticking to the surface and likely chip soon after. You'll want to use a shellac-based primer that promotes adhesion. An excellent primer for painting furniture can get the job done without even sanding the surface first, although we still recommend sanding to increase your chances of success. It's recommended to apply primer using a roller for an even result. If you notice any bumps in the surface after priming, you can lightly sand again, but just be careful not to remove too much of the primer.
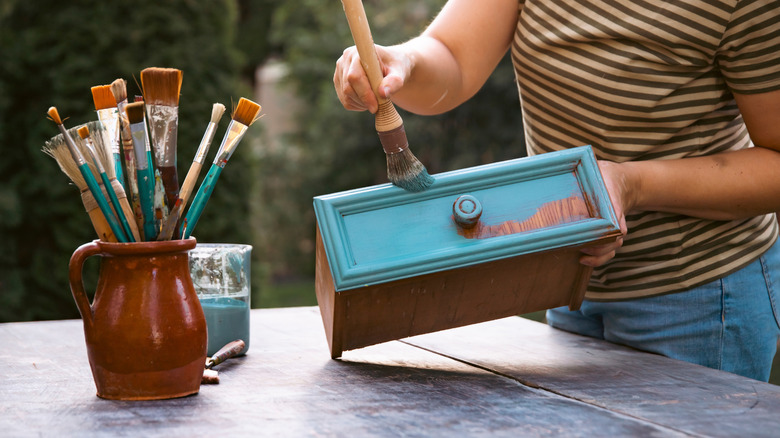
Part of the prep is choosing the right paint and finish. Gloss and eggshell are recommended finishes for this type of project as they are relatively durable. Make sure the paint you choose is compatible with your primer, as you'll end up with a mess otherwise. Choose a high-quality, reliable primer first and adapt your paint of choice to it rather than the other way around.
How to paint your IKEA furniture
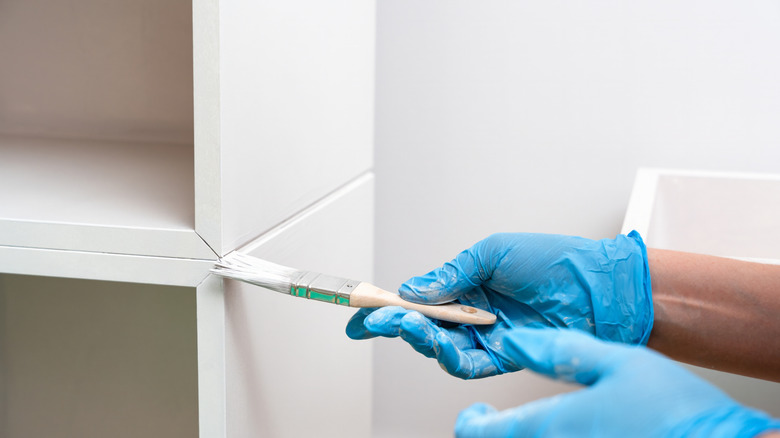
It's finally time to paint your IKEA furniture after all that careful prep, but that doesn't mean mistakes can't happen now. First up, avoid mainly using a paintbrush, as it may leave visible brushstrokes. A foam roller works well, possibly paired with a small brush to get into tight crevices. To achieve the most professional result, however, invest in a paint spray gun. Having a mix of tools on hand is best to cover all bases.
Another mistake you might make is ignoring the paint's drying and curing instructions. You need to ensure the previous coat of paint has dried completely before applying the next one, and allow the paint time to cure once you're done with the project. Avoid moving the furniture or touching it excessively before the paint has fully cured, as this can cause flaws in the finish. How long it takes for paint to dry and cure depends on the climate and the type of paint, so read the instructions carefully.
Once the paint has fully cured, you have the option of sealing it with a clear top coat. Skipping this step isn't the worst mistake, but a top coat can give your furniture a smoother finish and increase its longevity, so it's often recommended. Once again, check the compatibility between your primer, paint, and top coat. Many DIY enthusiasts swear by polycrylic for sealing, as it doesn't turn yellow over the years and has minimal odor.