How To Safely Harvest The Gel From Your Indoor Aloe Vera Plant
We've all been there: that uncomfortable, stinging feeling after a long day in the sun, when your skin is red and screaming for relief. For many of us, the first thing we reach for is a bottle of cooling aloe vera gel from the drugstore. That familiar green gel provides instant, soothing comfort, but what if that relief didn't have to come from a plastic bottle with added chemicals and dyes? The aloe vera plant on your windowsill, the one you bought for its beautiful spiky leaves, is a living, breathing pharmacy.
The gel inside those thick leaves is the same substance used for sunburns, minor scrapes, and dry skin. It's a completely natural and potent source of moisture and healing. With just a few steps that involve cutting some leaves with a sharp, clean blade, you can get the purest form of the gel for your skin. Harvesting it properly will give you a fresh supply whenever you need it without harming the plant, so you can keep growing aloe vera for years to come.
The correct way to cut an aloe vera leaf
The first step in harvesting your aloe vera gel is selecting the right leaves and making the proper cut. When looking at your plant, you should only cut leaves that are on the outer edge, since these are the oldest and most mature. Younger, smaller leaves at the center of the plant should be left alone to continue growing. A healthy, mature leaf will be thick and have a vibrant green color. Avoid using any of the aloe vera's brown leaves or ones that seem unhealthy.
To make the cut, you'll need a sharp, sterilized paring knife or a pair of garden shears. Place the blade as close to the base of the stalk as possible, and make a clean, angled cut. This angled cut will help promote drainage and prevent water from pooling at the base of the plant. A clean cut will also minimize the risk of infection and disease for the plant. Avoid cutting more than one-third of the plant's leaves at any given time, because this can cause stress and prevent it from growing more in the future.
Preparing the leaf and extracting the gel
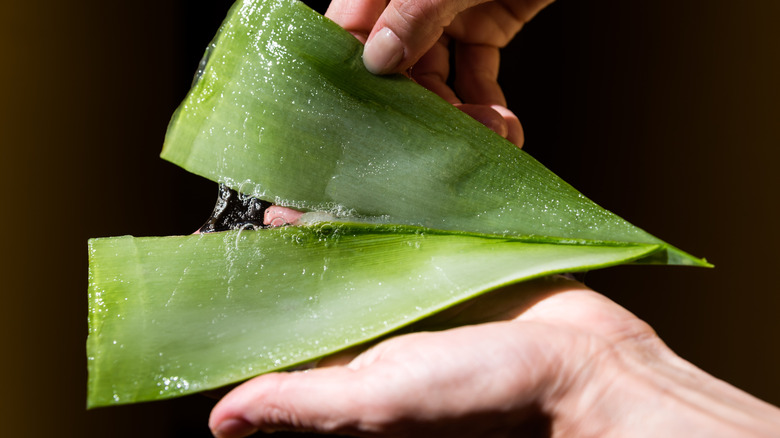
Once you've cut the aloe leaf, you need to prepare it before you can get to the gel. The first step is to drain the aloin, a yellowish-brown substance found in the leaf's latex. Aloin can be a skin irritant and cause stomach cramps if swallowed. To drain the aloin, stand the leaf upright in a glass or jar with the cut side down for about 10 to 15 minutes. You'll see the yellowish liquid begin to drain out. After the aloin has drained, rinse the leaf with cold water and pat it dry.
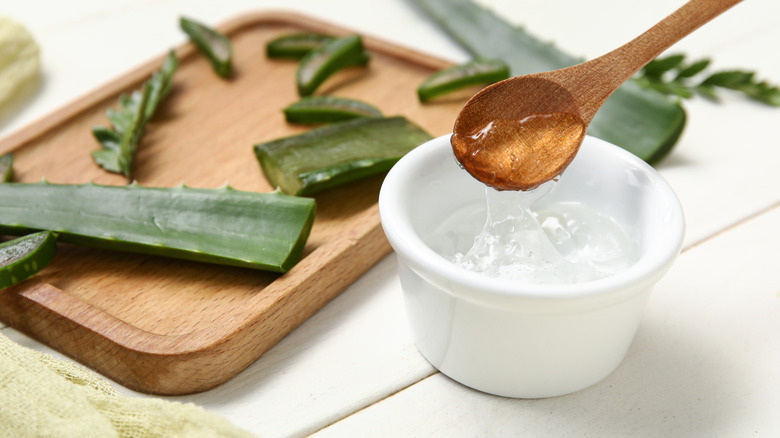
Next, use a paring knife to carefully slice off the prickly edges of the leaf. Now you can get to the gel. You can either fillet the leaf by slicing under the green skin on both sides, or you can use a spoon to scoop it out after slicing off the top layer of skin. Both methods work well, so you can choose which one is best for you. Once collected, store the gel in a sealed container — up to seven days in the refrigerator or several months in the freezer. To make sure your plant remains healthy for future harvests, keep an eye out for common aloe plant issues.