The Stunning Accent Wall That Stole Buyers' Hearts On HGTV's My Lottery Dream Home

There are plenty of stunning home features that attract buyers on "My Lottery Dream Home," but for one Ohio couple, it was a rustic accent wall that stole their hearts. Garry and Sheryl (who won an impressive $5 million from a scratcher) appeared on the show and asked David Bromstad to find them the ultimate snowbird getaway in Bradenton, Florida. Among the homes they toured was a stylish $450K shabby-chic property that delivered big on farmhouse style.
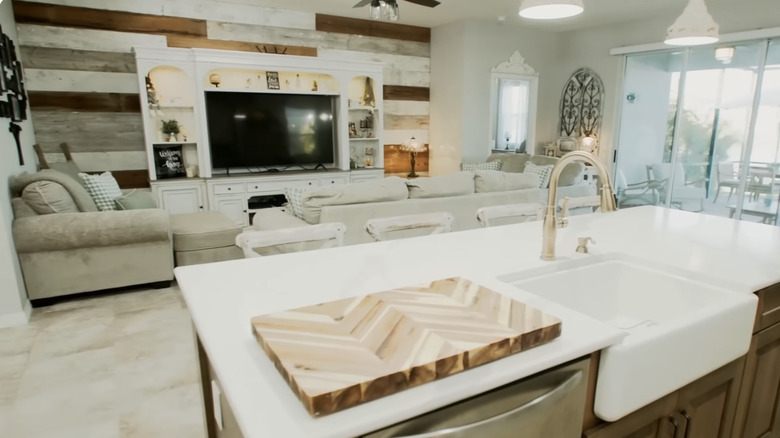
Particularly impressive was the reclaimed wood accent wall in the family room, which Garry was instantly drawn to. "I like the way they've done that wall over there," he enthused (via HGTV YouTube), singling out the eye-catching design element that blended natural dark and light wood hues with some panels painted white. Its rustic, earthy feel made it the focal point of the open dining-living area, and both his wife and Bromstad agreed that it added a lovely touch.
Choosing an accent wall and design that fits your style may seem like a daunting task, but if you're looking to add some country charm to your home, this "My Lottery Dream Home"-approved option is a winner. Better yet, it can be DIYed in any room of the house — large or small — in a single day using everyday tools and reclaimed wood panels. These can be found online or at your local hardware store in various natural shades, which can also be stained or painted to your liking.
How to DIY a reclaimed wood accent wall
There are plenty of trendy accent wall ideas that can bring your home to life, but none deliver as much rustic, shabby-chic charm as a reclaimed wood wall. When deciding how many panels to buy, start by measuring the length and height of your wall, and then multiply those two numbers to get the square footage. Now, add 5 to 10 percent to that total to account for possible waste, and place your order accordingly.
Before getting to work, wipe the wall with a damp cloth and let it dry completely to ensure the surface is totally clean. Painting it a complementary color can help camouflage potential gaps between panels (as reclaimed wood is imperfect and may not align throughout), though it's not necessary. Next, wearing gloves to avoid splinters, place the panels on the floor, pairing boards with similar widths to form rows. Now is the time to choose the direction of each panel so that its gradations are arranged in an aesthetically pleasing manner. You may need an electric saw to cut edge panels to size.
Using a level, install either the bottom or top row in its entirety. Then, work your way up or down in a zig-zag pattern, using construction adhesive to attach each panel to the wall. Starting at the top allows more room for error, as a baseboard trim can hide any gap that remains at the bottom. Once all panels are installed, add finishing nails as needed for reinforcement.