Craft A Stylish Mug Display While Decluttering Kitchen Cabinets, Here's How
We may receive a commission on purchases made from links.
Many a coffee fan loves a good mug collection but hates the clutter that can potentially come with it. You might even have snagged some of those valuable mugs you could find in a thrift store, and used ordinary storage remedies, like accordion racks and mug trees. However, for creative home decorators, these options might lack the originality they seek. After all, who wants a statement piece that everyone else has? Fortunately for the skilled DIYer, the statement piece you're looking for is as close as a stack of discarded pallets. All it takes is a little measuring, a little cutting, and the stylish mug rack you've been waiting for is born.
This piece uses a standard 40-inch by 48-inch wooden shipping pallet for its base. These can be found in places like hardware stores, construction companies, bars, restaurants, and even on Craigslist or Facebook marketplace. Often you can find them for free. That said, if you just happen to see a few somewhere, like a construction site, it's best not to assume that they're free. Always ask first.
In any case, you'll deconstruct the pallet with the help of a circular saw, as well as a pencil and a tape measure. Then you'll refine it using 120-grit sandpaper, a sander, and 2-inch French cleat picture hangers from the CFOFT Store. You'll also need a drill with a Phillips head bit and the coat hooks (with screws) of your choice. Finally, you'll dress it up with some stencils and paint.
Making the pallet mug holder
You're not going to use the whole pallet for the mug holder. You'll trim it down to a size that's basically four deck boards high and a half a pallet wide. To clarify the latter measurement, you'll cut the pallet in half down the side of the center vertical support board. For accuracy, measure this with the tape measure and mark your cuts with the pencil. Deck boards are the one by four horizontal slats that the pallet is constructed of. Use the circular saw to make the cuts.
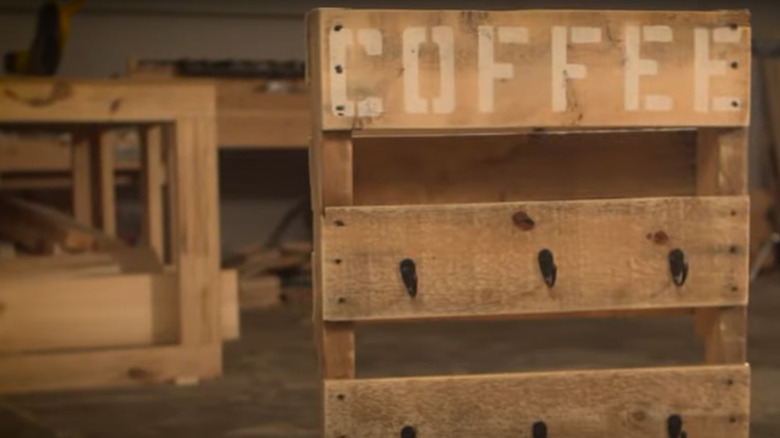
Once it's cut, sand any roughness off with your sander and the 120-grit sandpaper. You may want to wear gloves and some safety goggles for this part. Following this step, mark the front of the pallet with pencil marks to indicate where you're going to attach the coat hooks. You'll use the drill to attach standard metal coat hooks to the boards once they're marked. Or, if you're going for a themed look, by following the ultimate guide to rustic decor, use something like the railroad spike cast iron hooks from the My Fancy Farmhouse Store. You'll attach hooks to the bottom three of the four boards.
Because this piece is heavy, you'll want to use two of the French pleat picture hangers to mount it on the wall. Be sure to find the wall stud before attaching the cleats to the wall, to fully support your new mug display. Finally, you'll give the piece some personality with stencils and paint. Words like "coffee" or "java", or other related topics are suitable things to scribe on the top board of the piece.
Making the piece even more useful
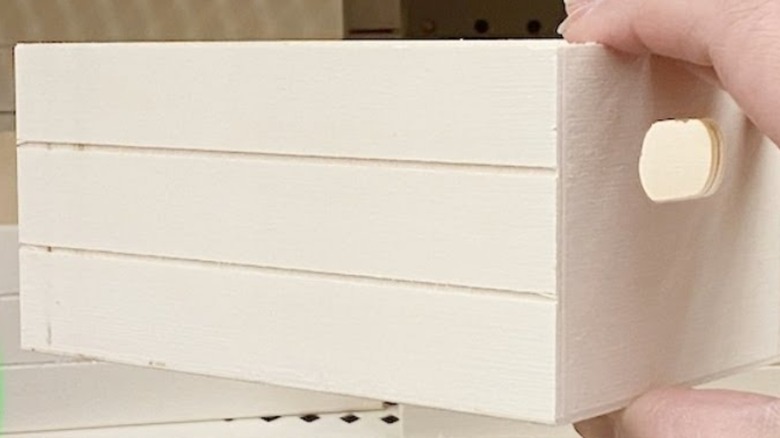
One of the reasons why you have a piece like this, besides its decorative appeal, is for storage. The original design certainly gives you a place to park your mugs. However, if you'd like to upgrade your coffee mug storage for even better kitchen cabinet decluttering, consider adding some mini wooden crates from the Dollar Tree to it. In these, you can stash items like K-Cups or bags of coffee beans. Or, if you're hanging this in the den or downstairs bar area, put drink coasters in them. You'll get bonus points as a crafter, if you decorate a bunch of unfinished wood coasters from Comesix to personalize this piece even more.
The crates are a little more than 5 inches long. Once you cut the pallet boards down to size, you'll be left with approximately 20 inches of board to work with. Three of the wooden crates will fit comfortably on one of the boards if you leave an inch or two of space between each of them. When you're done, you'll have three evenly-spaced wooden crates attached to the board. If you'd like, you can add some coffee-themed stencils from the MAYJOYDIY Store to the front of the mini crates.
Finally, so that the mug rack doesn't look top-heavy, you'll want to adjust the placement of the hooks a bit. Instead of putting them on the bottom three boards, you'll fasten them to the top three. This leaves the bottom board for your three wooden crates and the items you'll put inside them.